Looking to switch up your hairstyle without a long-term commitment? You’re not alone! According to industry stats, about 40% of women are turning to hair extensions, and quick weaves are becoming a popular choice. But one question often comes up: What Is A Quick Weave and How Is It Installed? Let’s dive in and find out!
What is a quick weave?
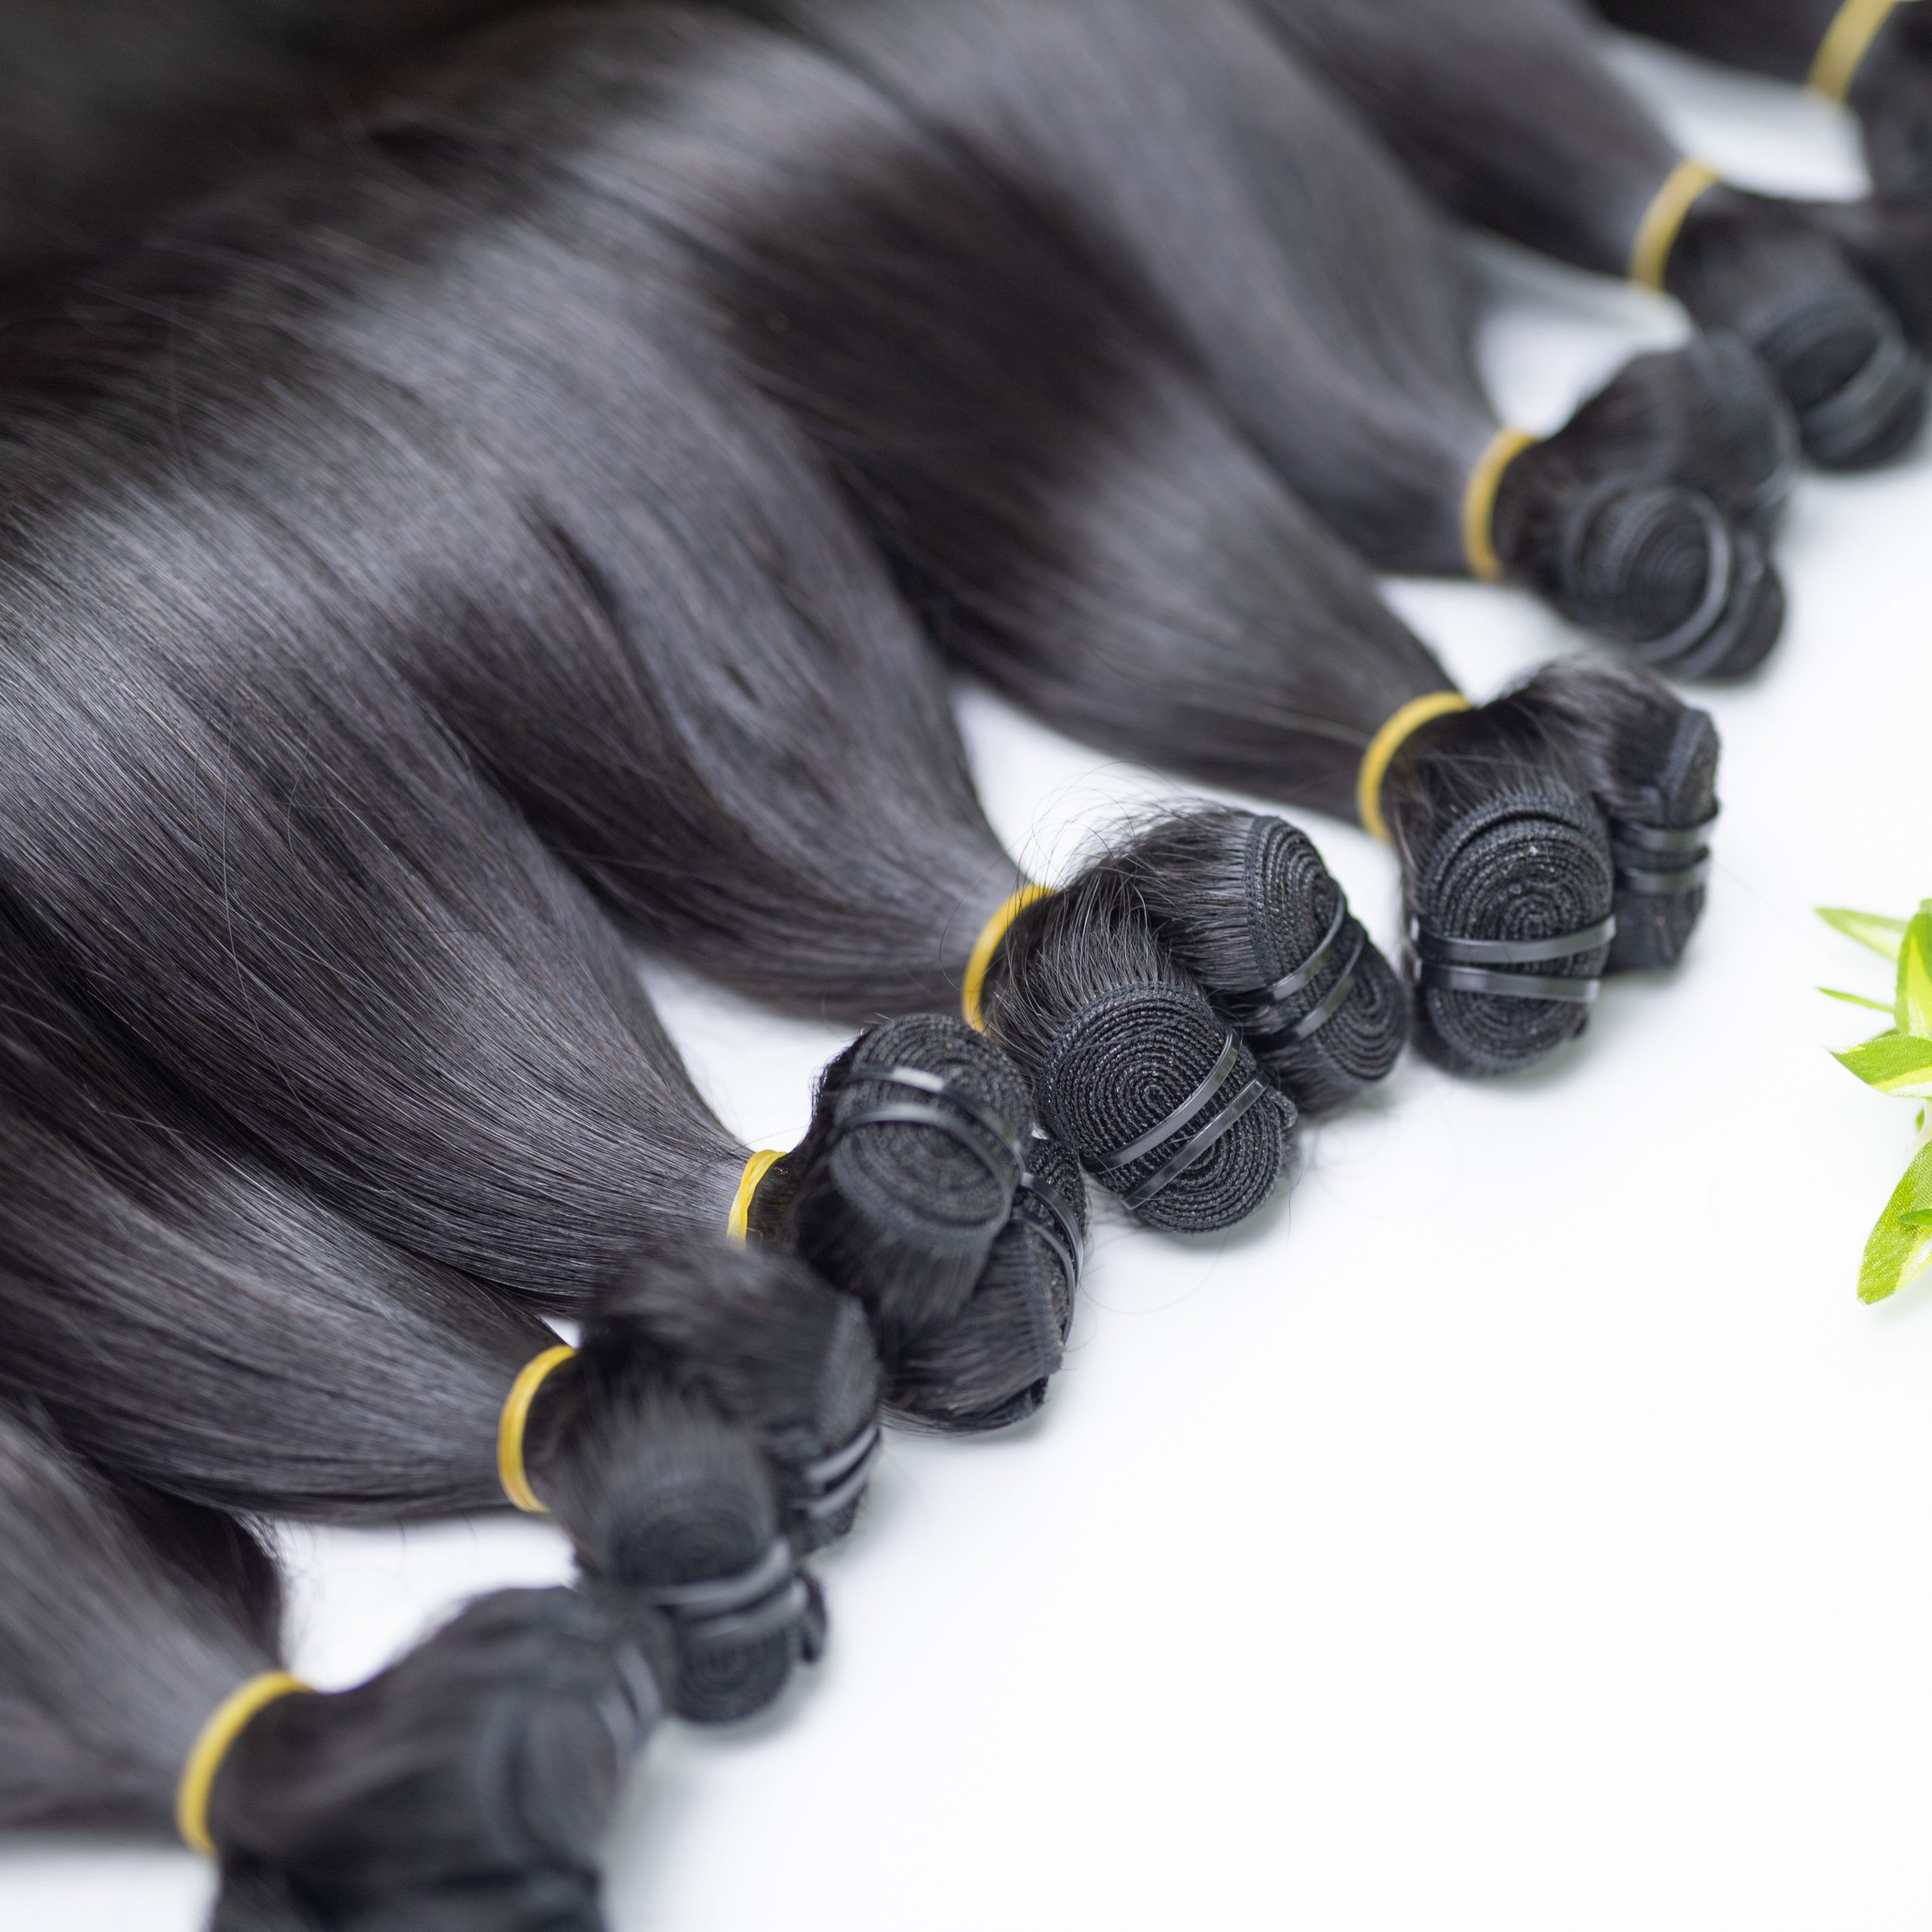
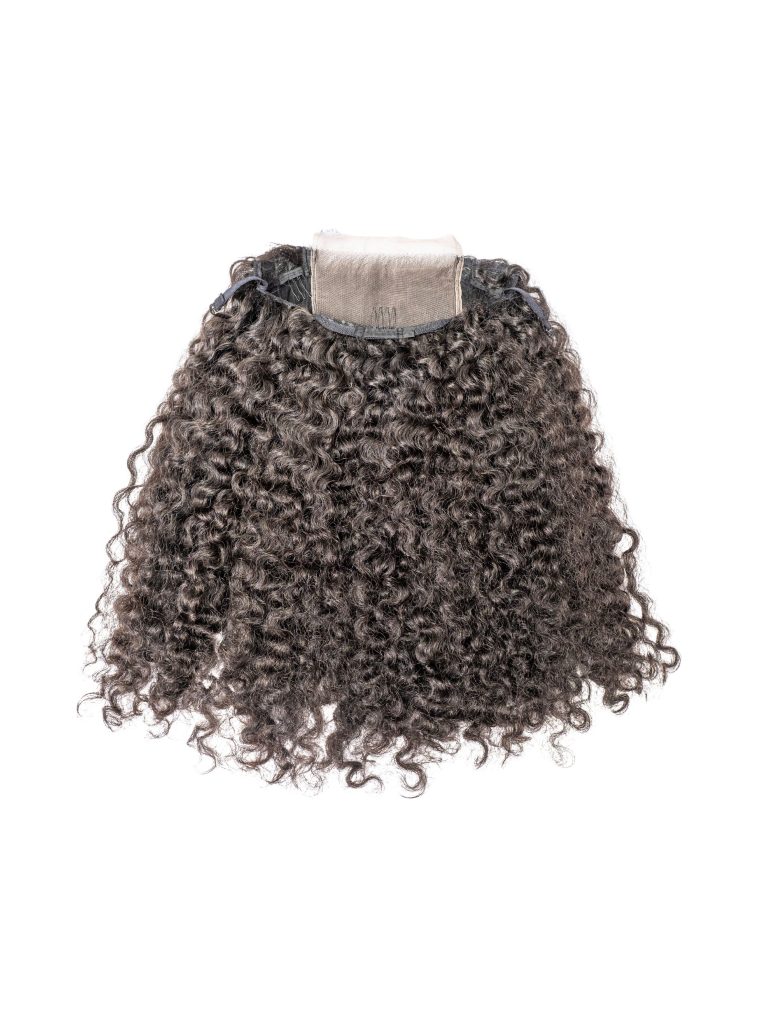
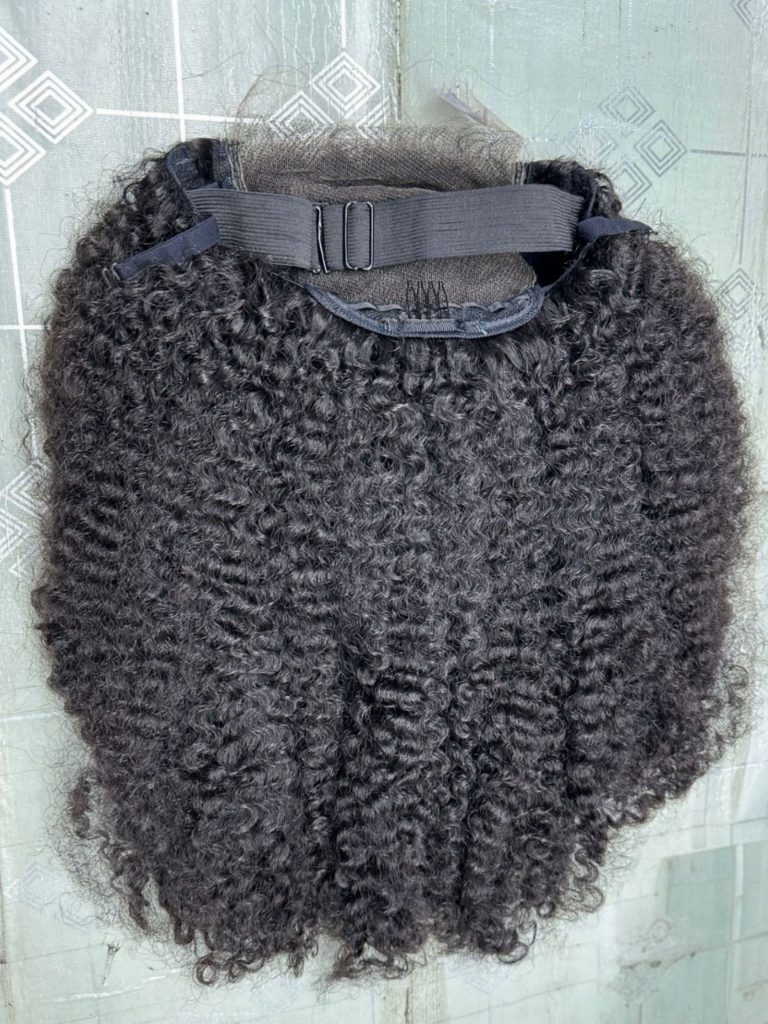
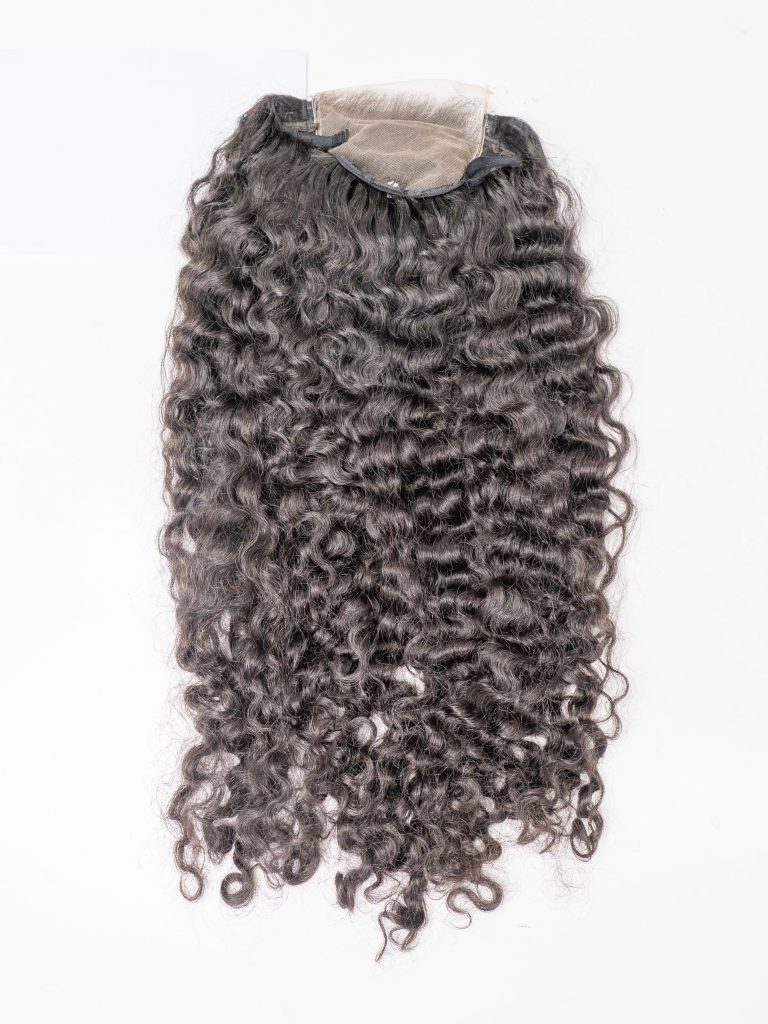
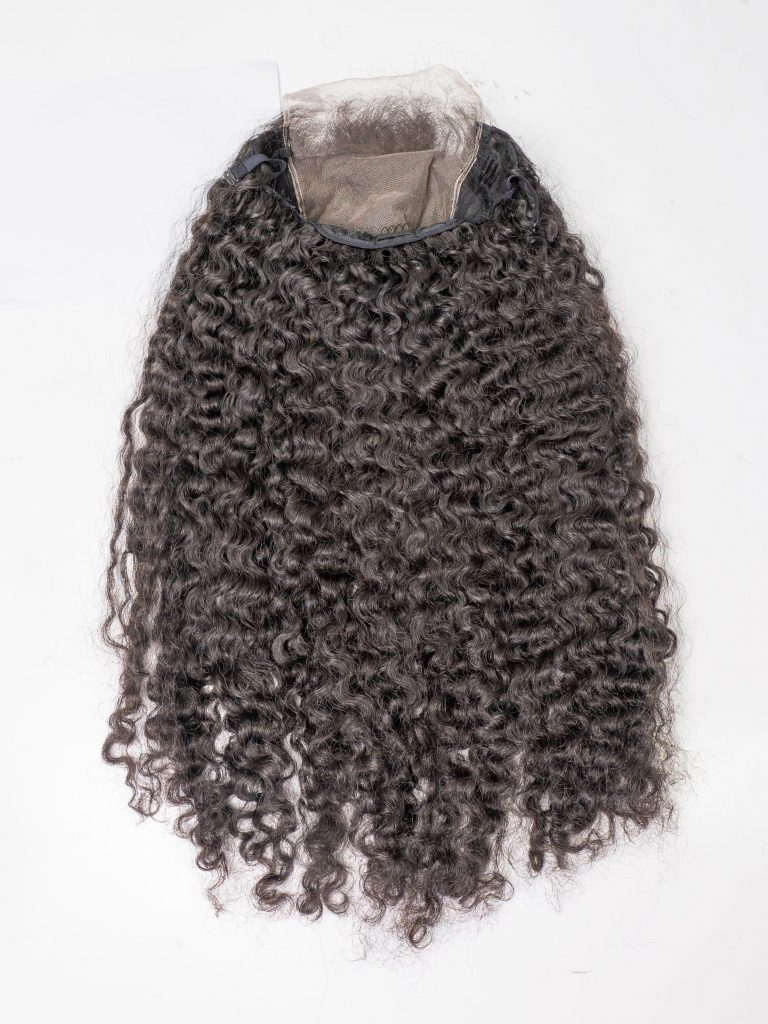
A quick weave is a method where the hair wefts are glued directly to a protective wig cap before bonding to your head. Unlike the traditional sew-in weaves, this method will take you a relatively short amount of time. You can do this method at home by following the complete guide.
Obviously, a quick weave has its own pros and cons. Although it’s convenient and very affordable, you may face the potential damage to your scalp and natural hair. To avoid potential damage, proper installation and care is very important.
How long does a quick weave last?
Quick weaves last about four to five weeks. Shedding is a sign that it’s time to take out your quick weave. To ensure it lasts as long as possible, sleep with a silk scarf at night to protect it while you sleep. You can pin it back or use rollers to preserve curls in a curly weave. You should also avoid oil-based products since oil weakens the glue.
What Are the Pros of Quick Weaves?
Quick weaves have gained popularity for a variety of compelling reasons. Here are some of the key advantages:
Speedy Installation: One of the most significant benefits is the quick installation time. A skilled stylist can complete the process in as little as 1.5 to 2 hours, making it a convenient option for those with busy schedules.
Affordability: Compared to other hair extension methods like sew-ins or tape-ins, quick weaves are generally more budget-friendly. The cost of hair glue and a wig cap is minimal, and you can even opt for less expensive hair extensions if you’re on a tight budget.
Low Maintenance: Once installed, quick weaves require relatively little upkeep. With proper care, you can extend the lifespan of the weave, making it a low-maintenance hairstyle.
Less Tension on Natural Hair: Because the hair extensions are glued to a wig cap and not directly to your natural hair, quick weaves typically exert less tension on your scalp. This can be a relief for those who are sensitive to the pulling and tightness associated with other extension methods.
These benefits make them an attractive option for many people looking to experiment with different hairstyles.
What Are the Cons of Quick Weaves?
While quick weaves offer numerous advantages, they come with their own set of drawbacks. Here are some points to consider:
Shorter Lifespan: Quick weaves generally last between 4 to 6 weeks, which is shorter than other extension methods like sew-ins or tape-ins. This means you’ll need to replace them more frequently.
Potential for Hair Damage: The use of hair glue can lead to hair damage if not applied and removed correctly. Incorrect removal can result in hair loss or breakage.
Limited Longevity in Humid Conditions: The adhesive bond of the hair glue can weaken in humid conditions, potentially reducing the lifespan of the quick weave.
Not Suitable for All Hair Types: Quick weaves may not be the best option for those with extremely thin or fragile hair, as the hair glue and wig cap can cause tension and potential damage.
Being aware of these cons can help you make an informed decision on whether this method is the right fit for your needs and lifestyle.
What is the Correct Way to Do a Quick Weave?
Executing a quick weave with precision is essential for both its appearance and longevity. Here’s a step-by-step guide to doing it the right way:
Step 1: Prepare Your Natural Hair
Start by washing, conditioning, and thoroughly drying your natural hair. Apply a heat protectant and straighten your hair for a smoother base.
Step 2: Protect Your Scalp
Apply a scalp protector or oil to create a barrier between your scalp and the adhesive. This helps prevent irritation and potential damage.
Step 3: Install the Wig Cap
Place a wig cap over your natural hair, ensuring it fits snugly. Some people opt to sew the cap down at the edges for extra security.
Step 4: Apply Hair Glue to Extensions
Take your hair extensions and apply a thin layer of high-quality hair glue along the weft. Avoid using excessive glue as it can create a messy finish and weaken the bond.
Step 5: Attach the Extensions
Carefully place the glued side of the extension onto the wig cap, pressing down firmly for a few seconds to secure the bond. Start from the nape and work your way upwards, ensuring the tracks are aligned and spaced correctly.
Step 6: Cut and Style
Once all extensions are securely attached, trim any excess length and style as desired. You can use heat styling tools, but do so sparingly to prolong the lifespan of the extensions.
Step 7: Seal the Deal
Some people opt to apply a sealant over the glued tracks for added security. This is especially useful if you plan to keep the quick weave in for an extended period.
Step 8: Final Touches
Finish off with a light-hold hairspray to set the style and add a shine serum for extra luster.
