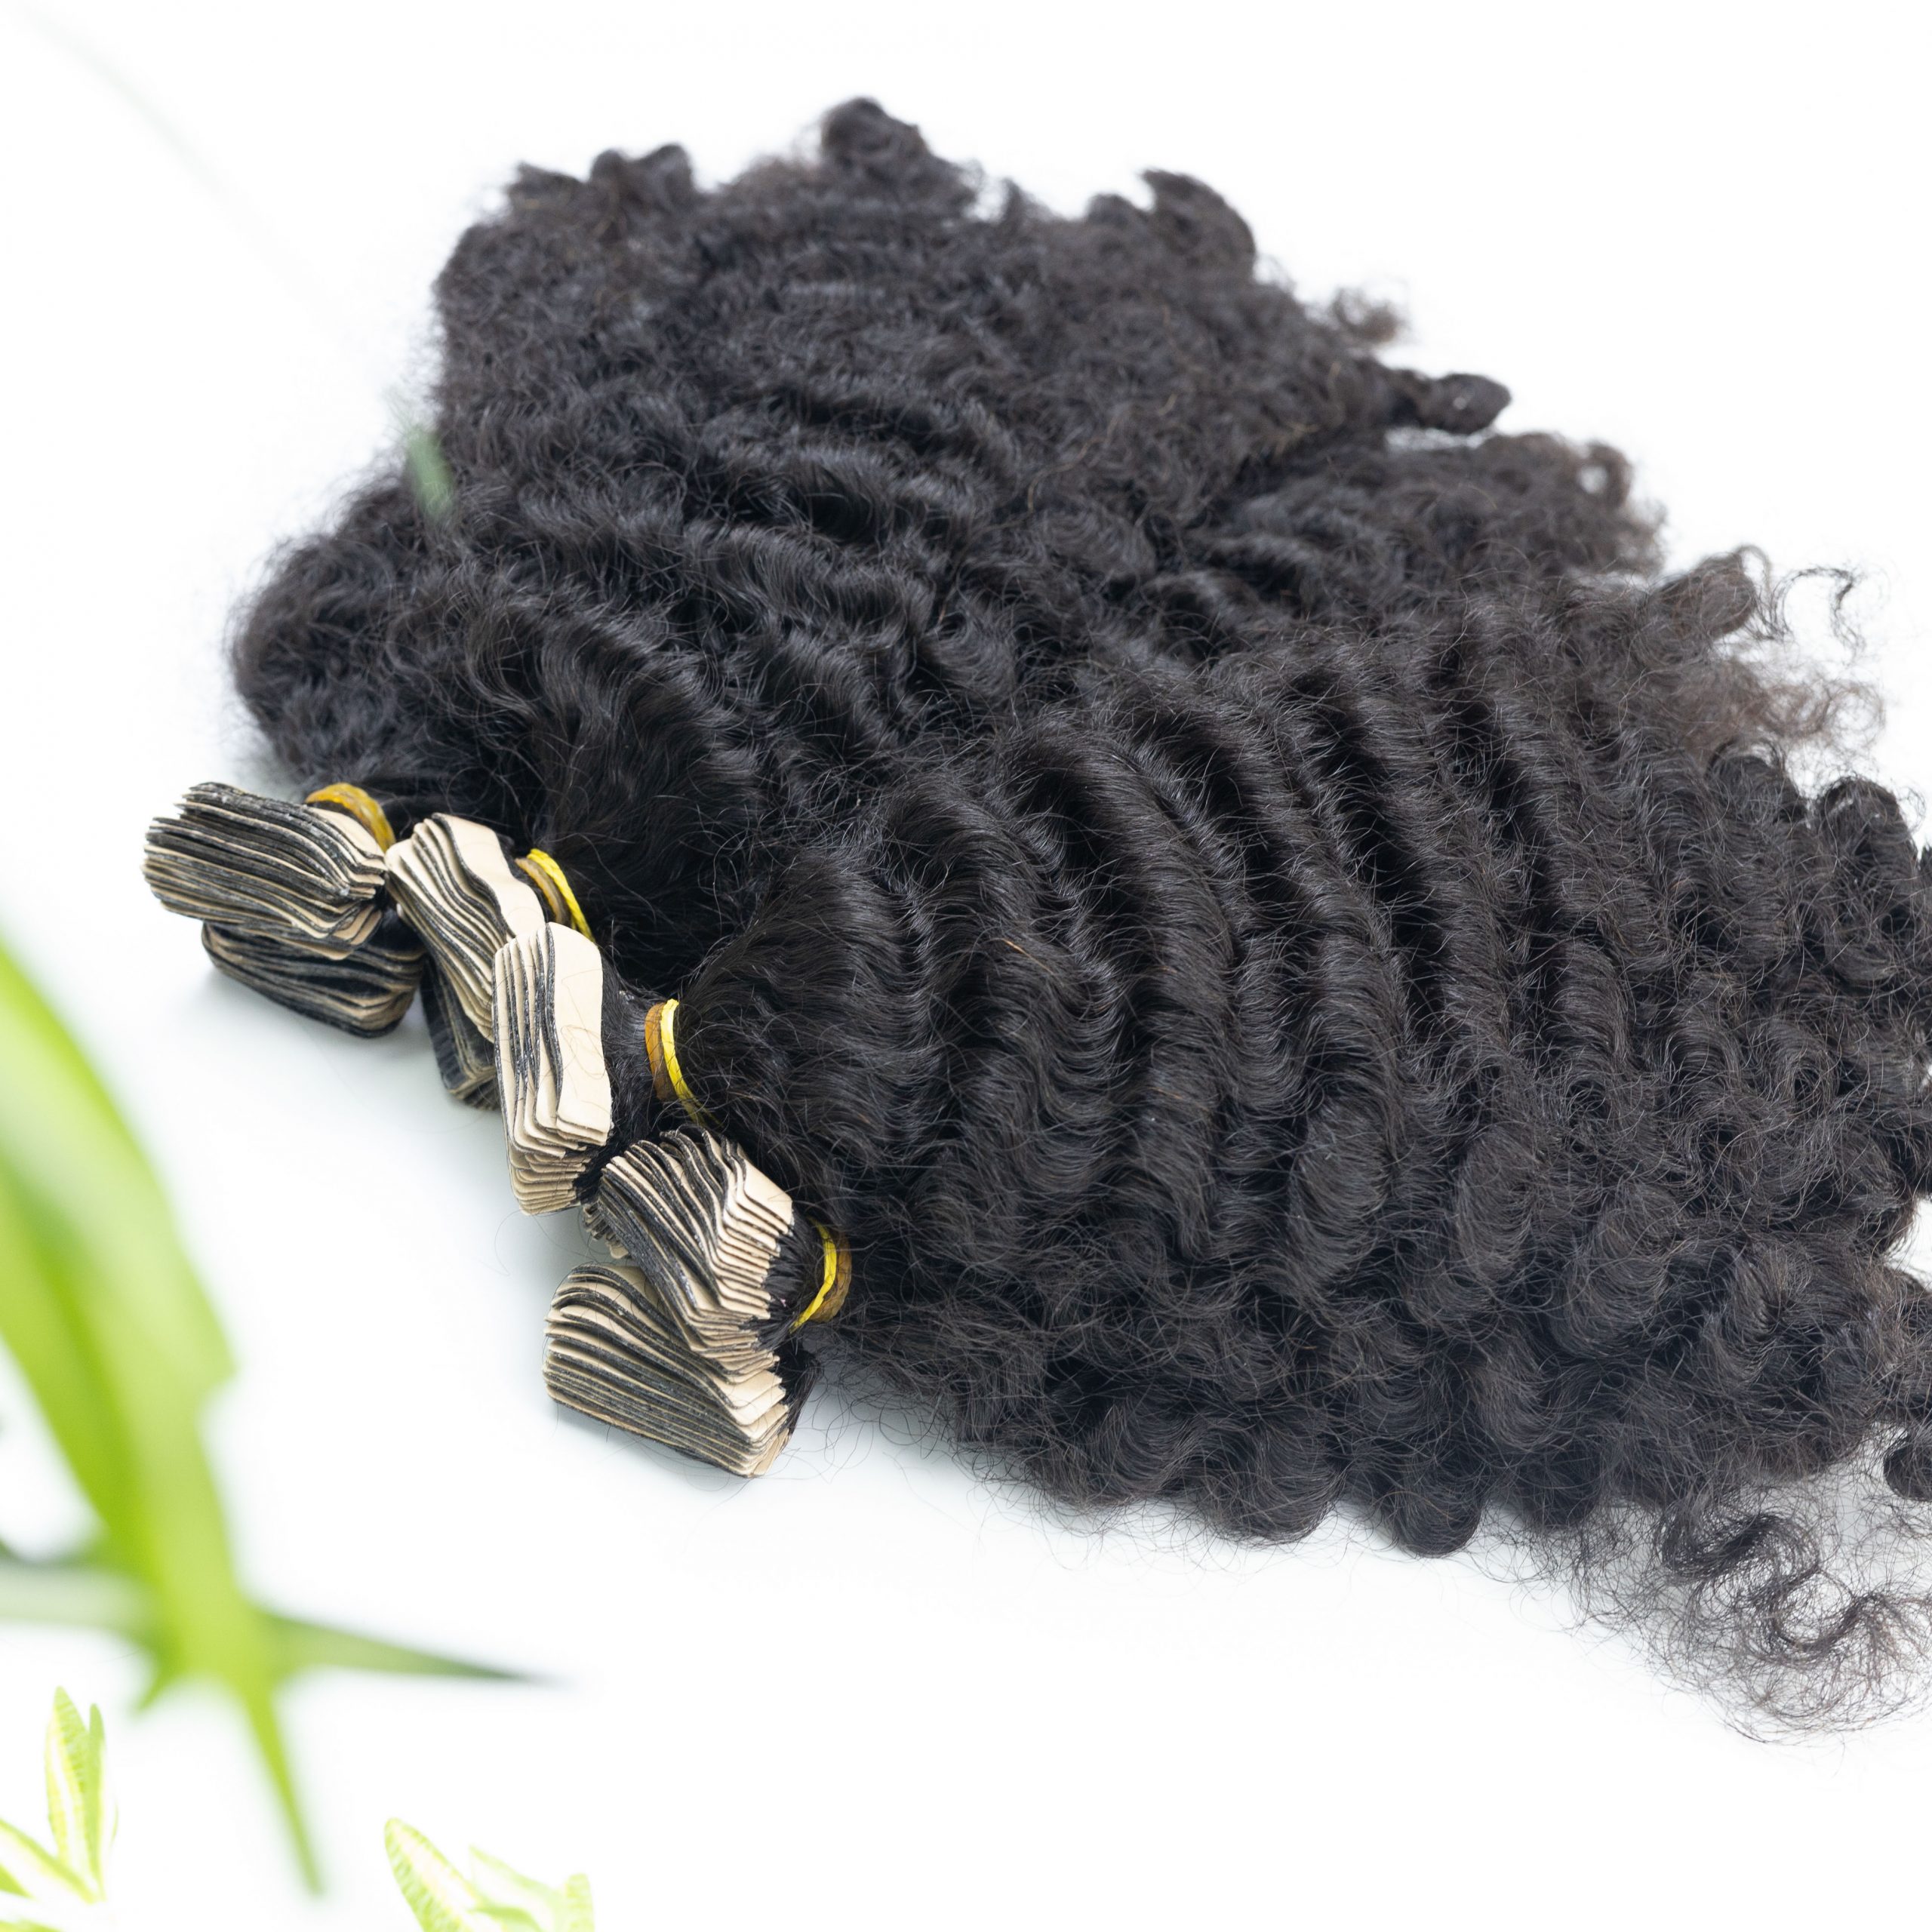
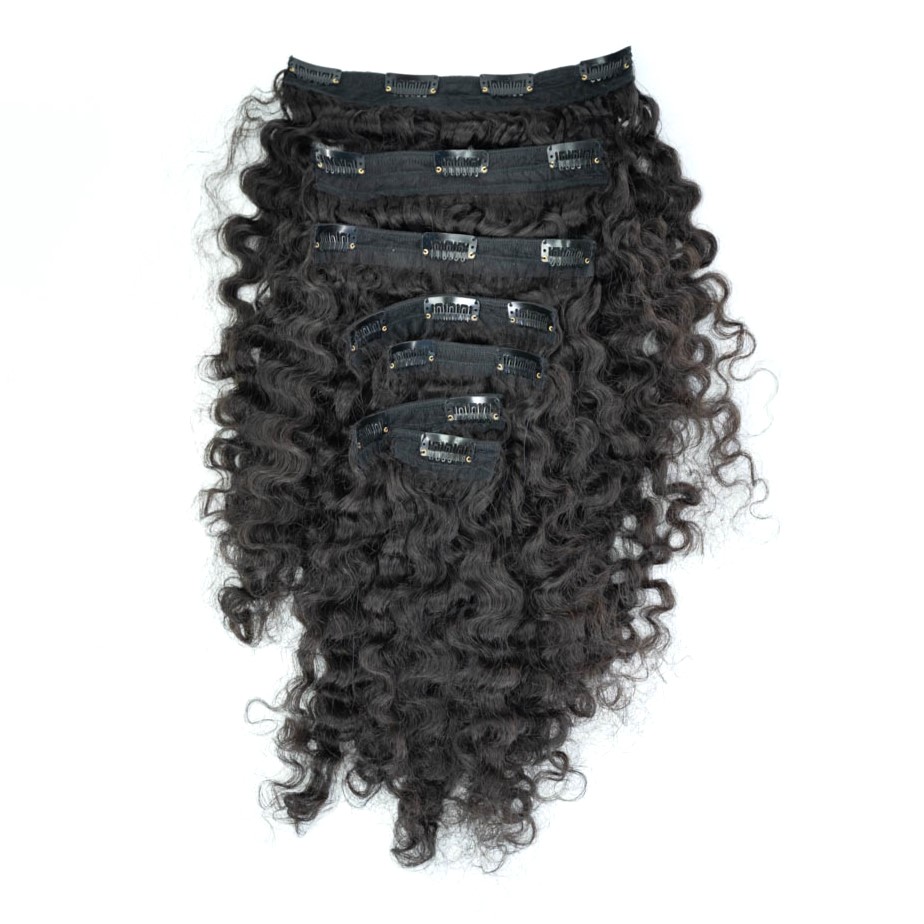
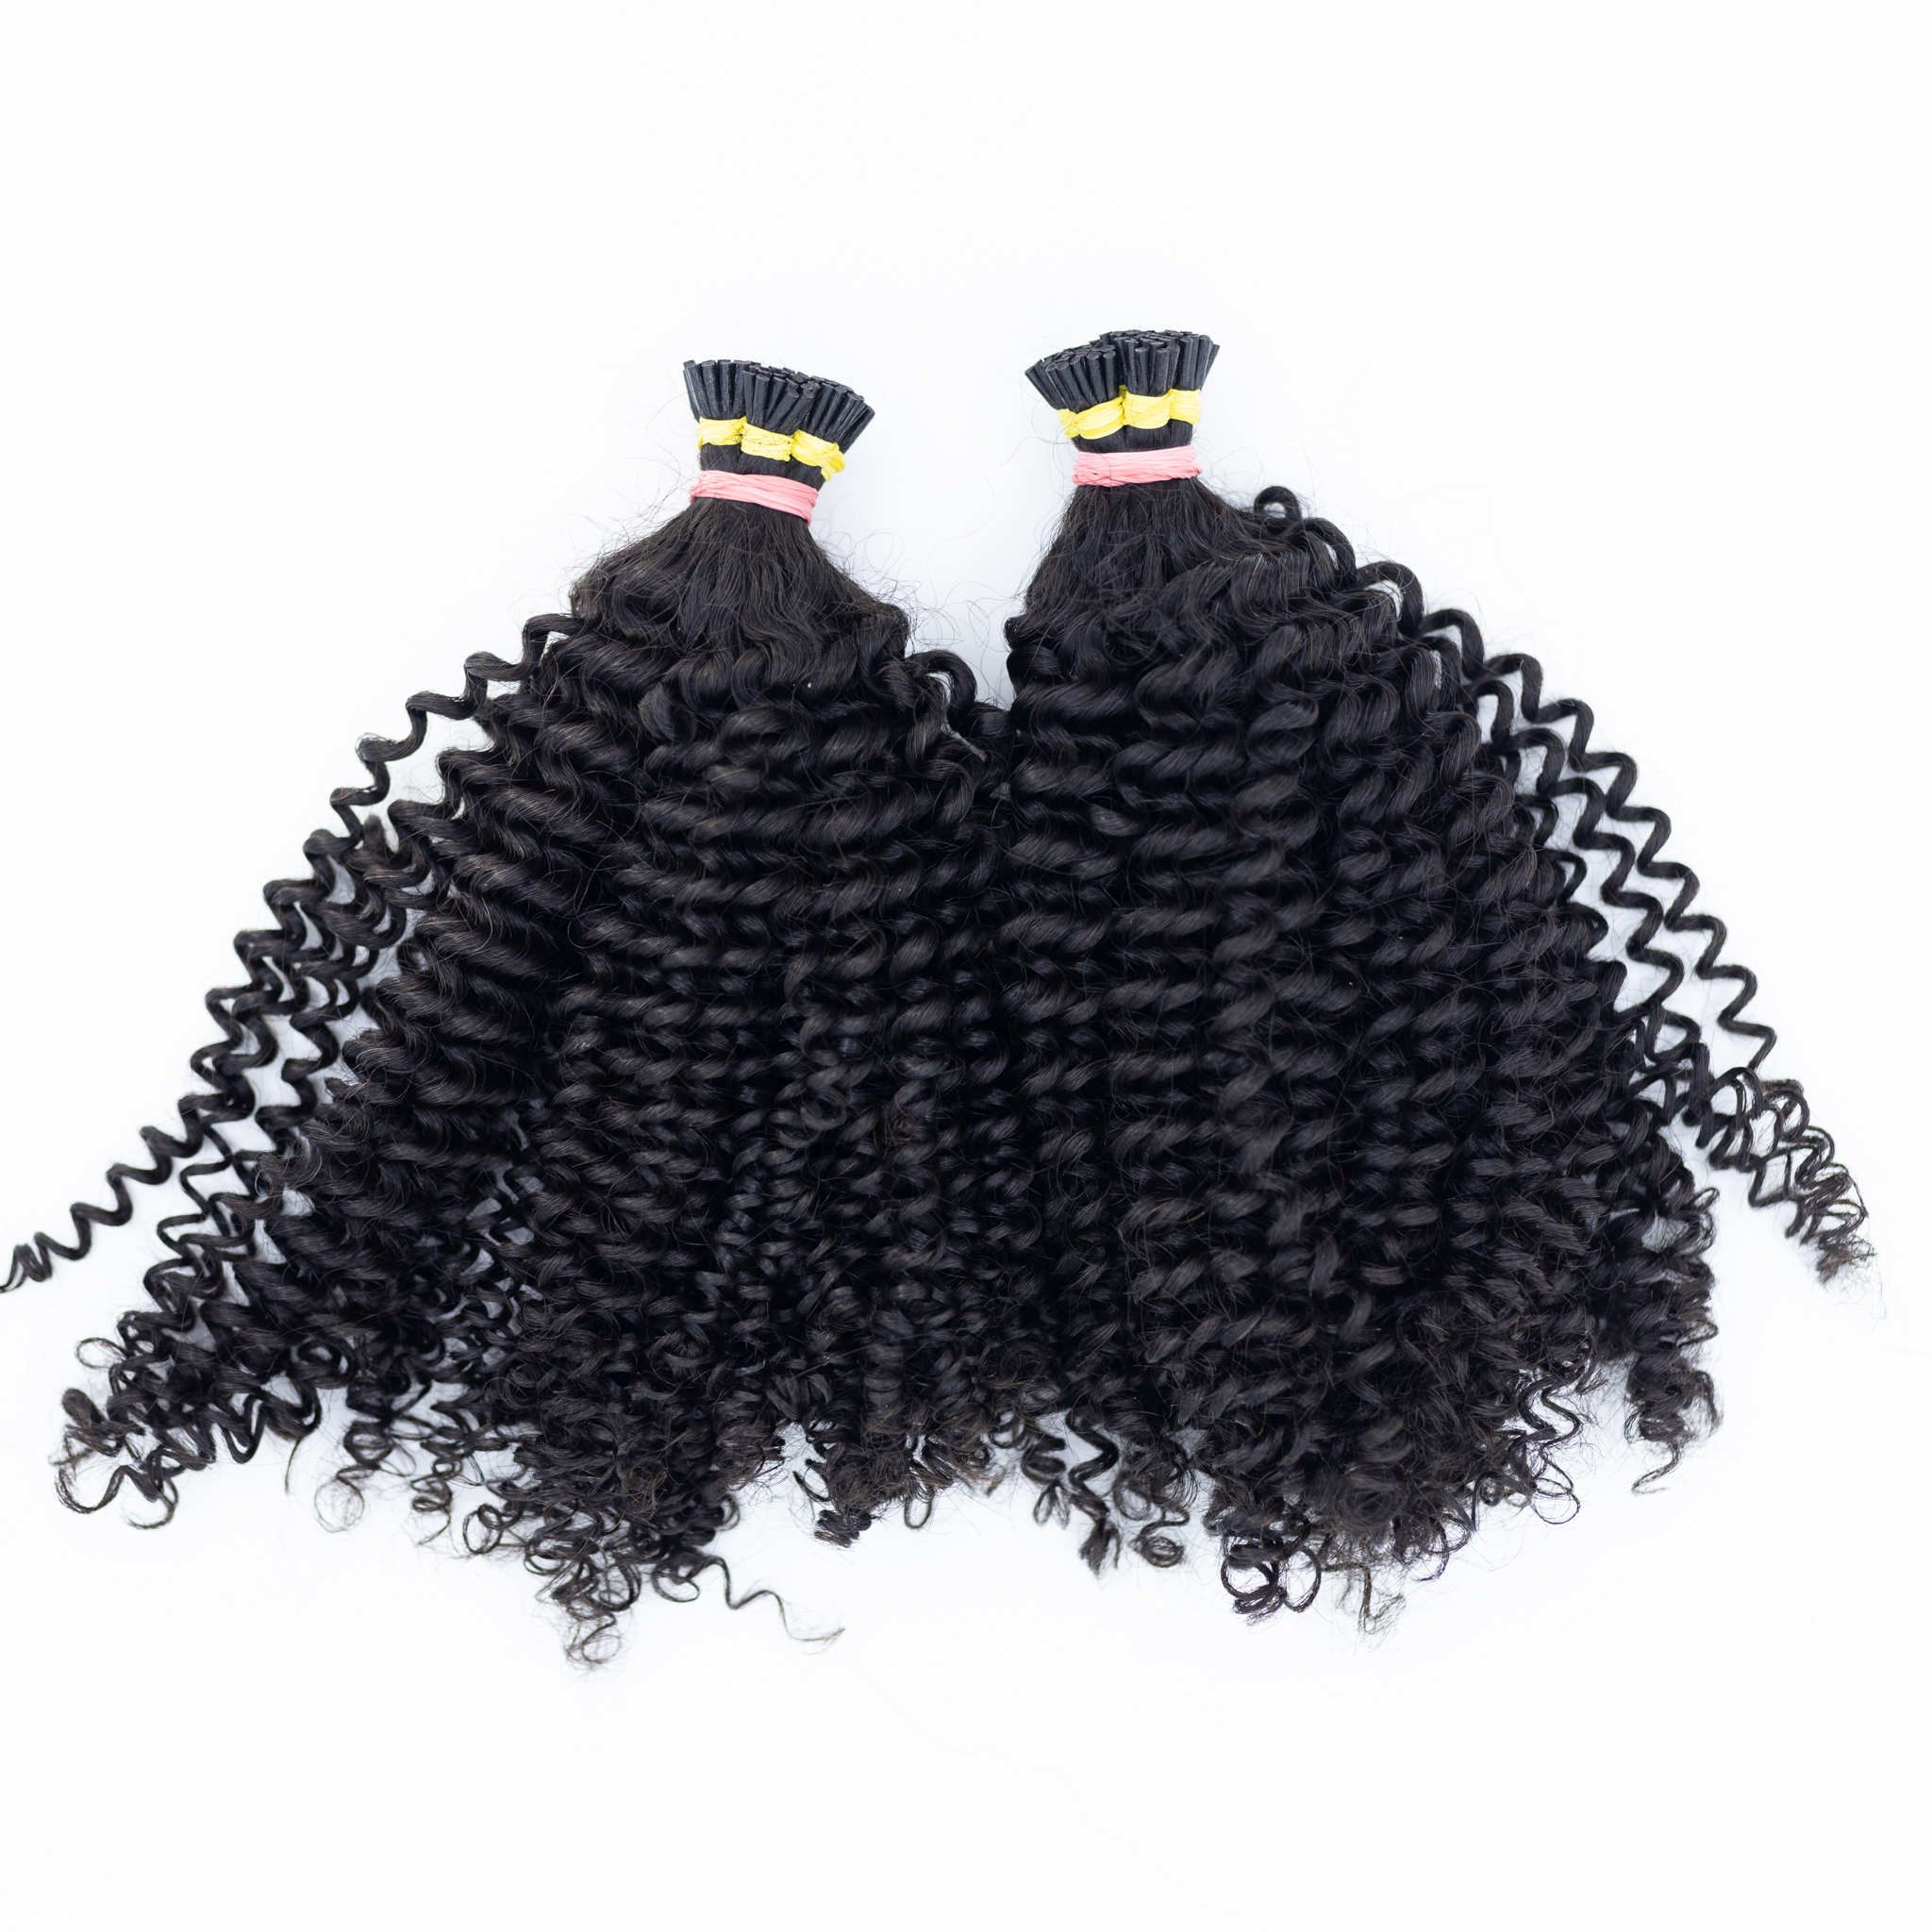
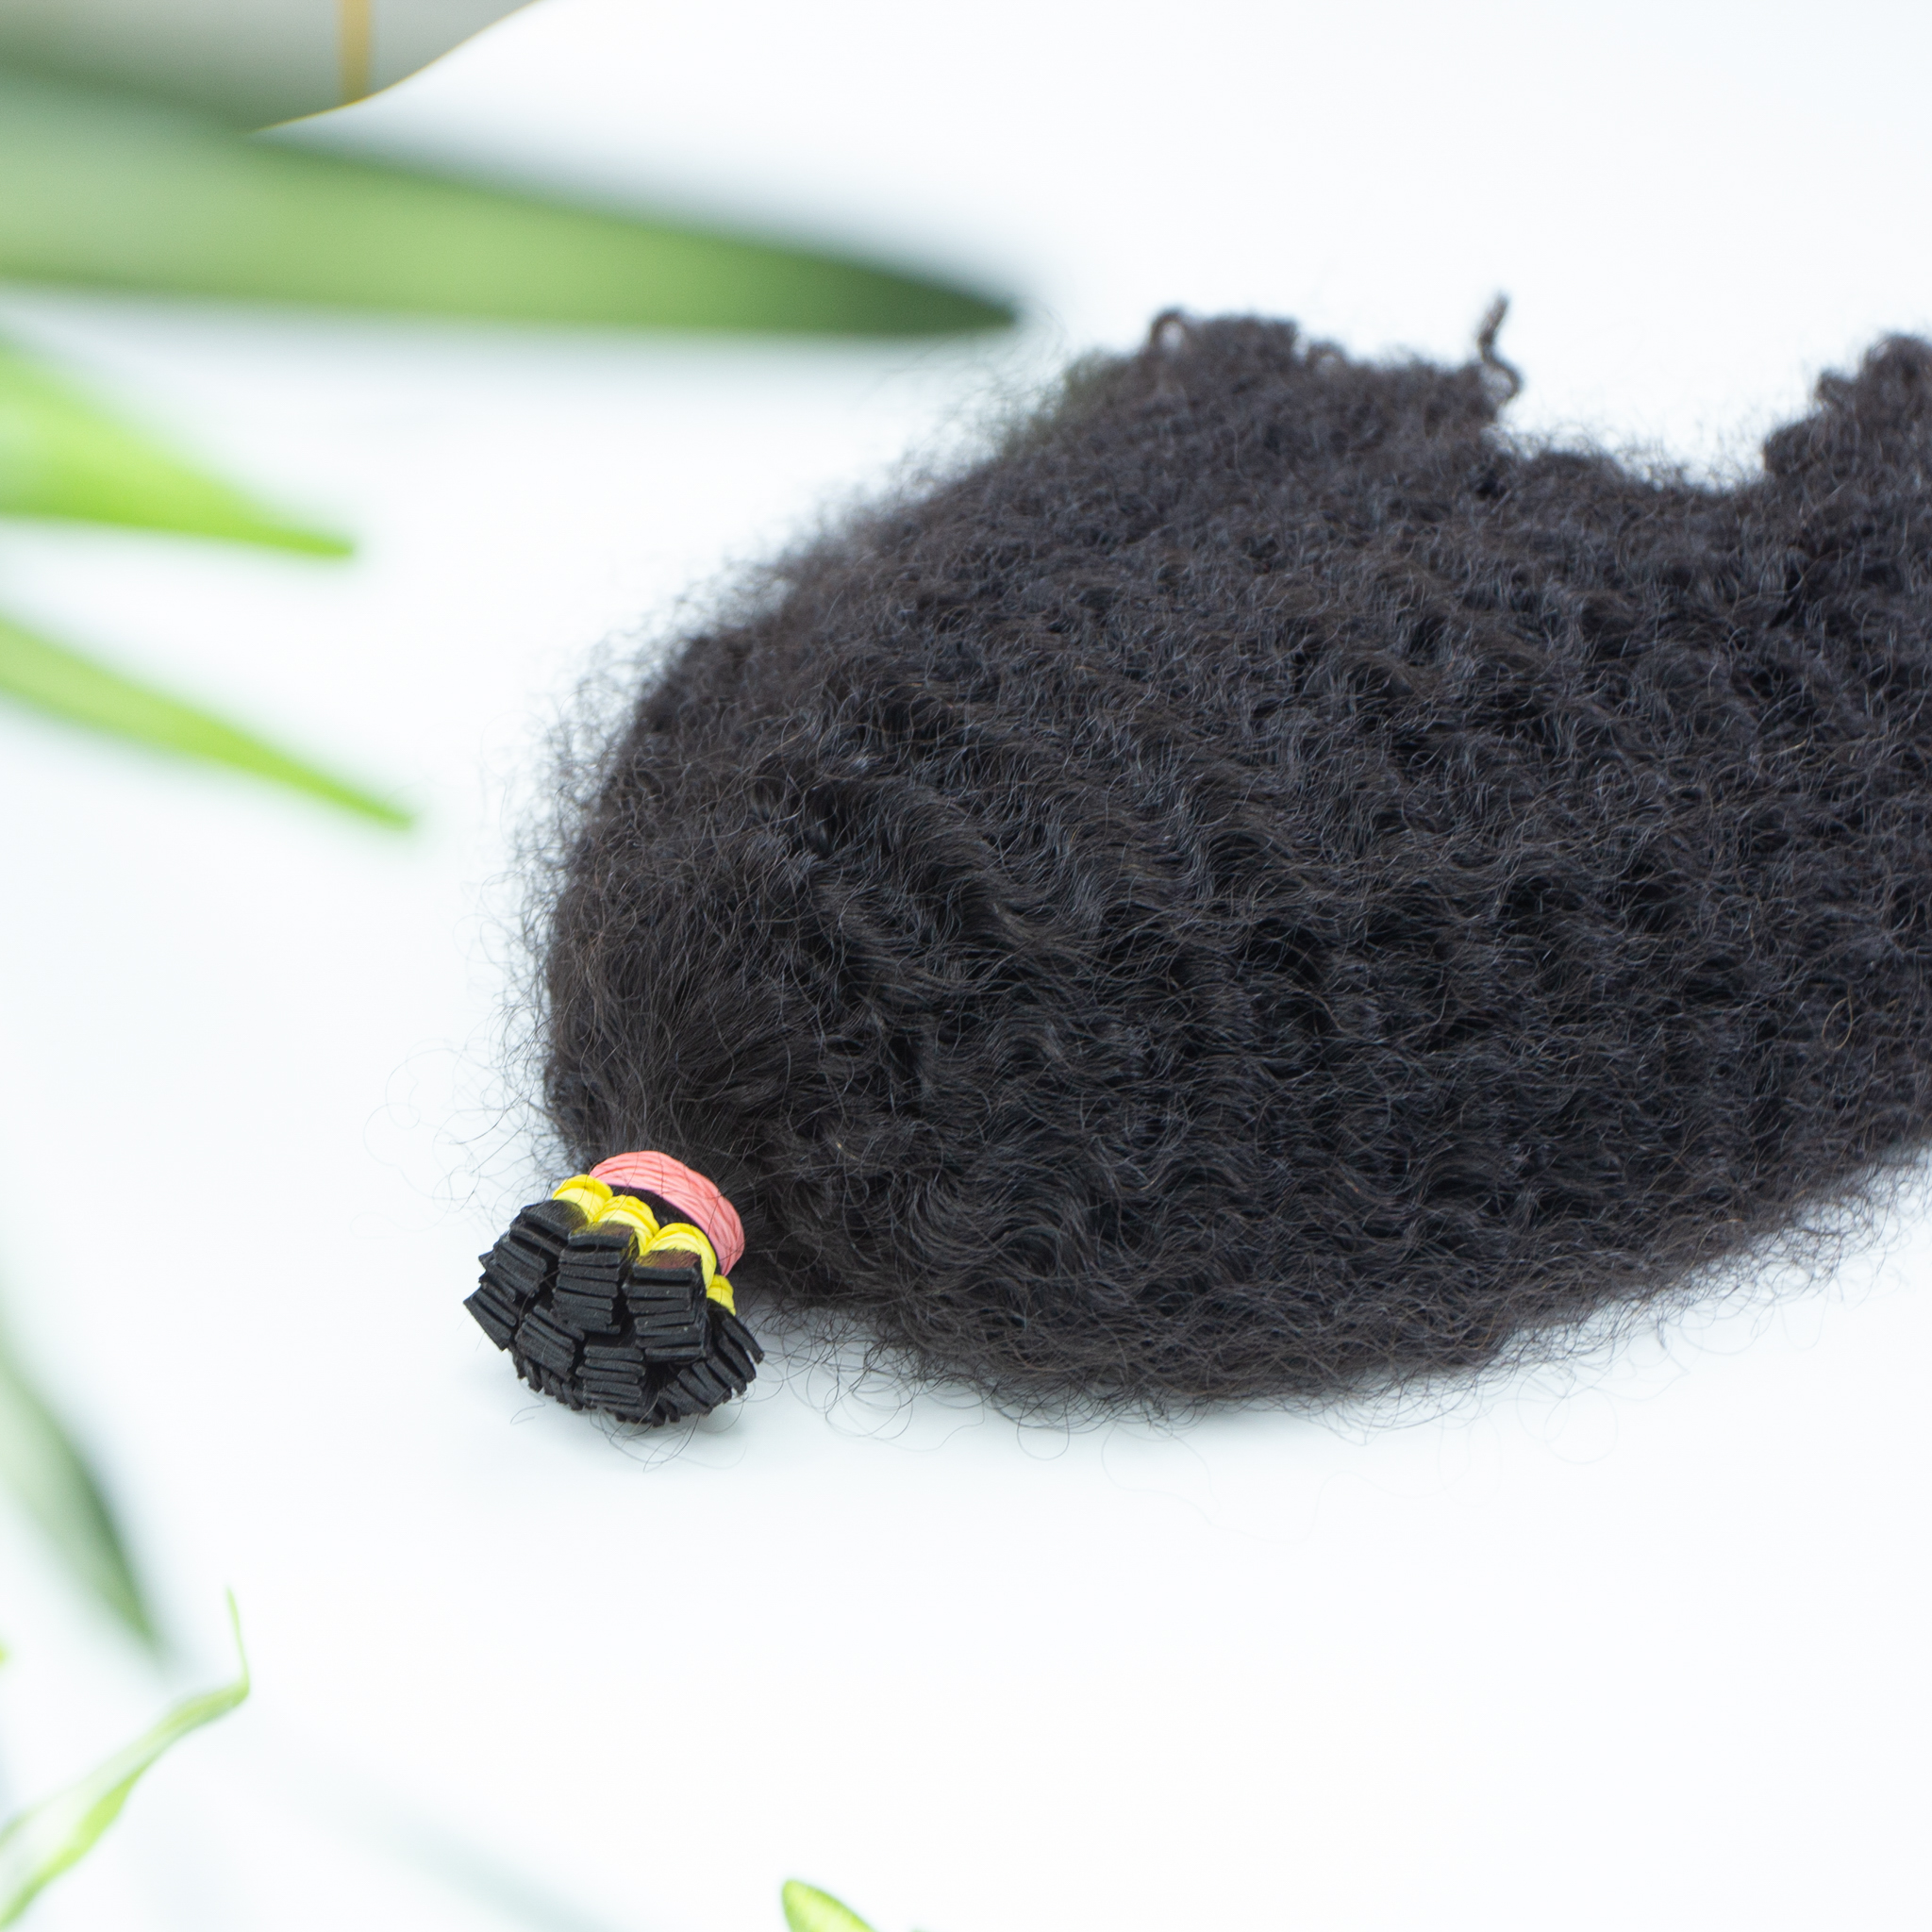
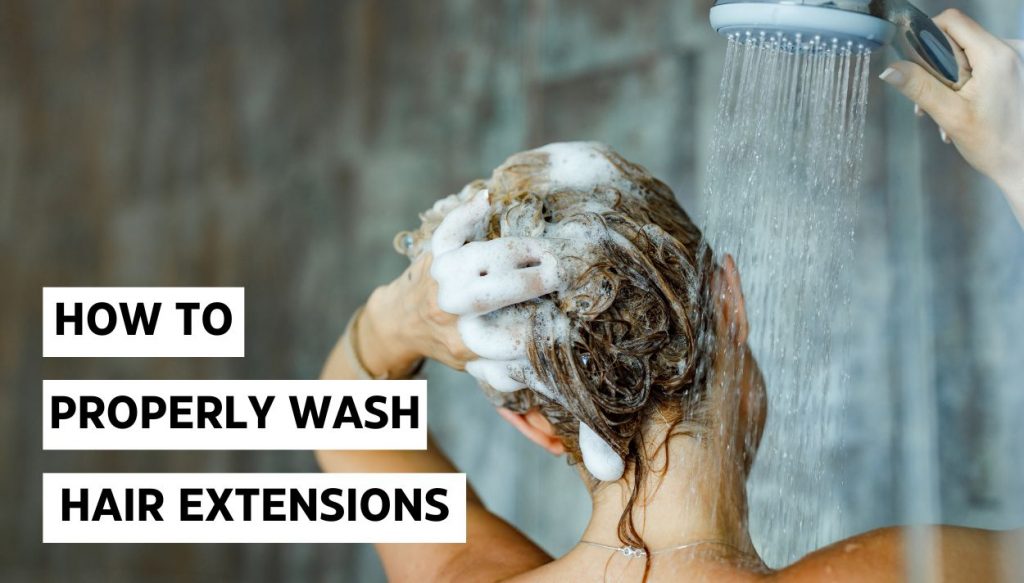
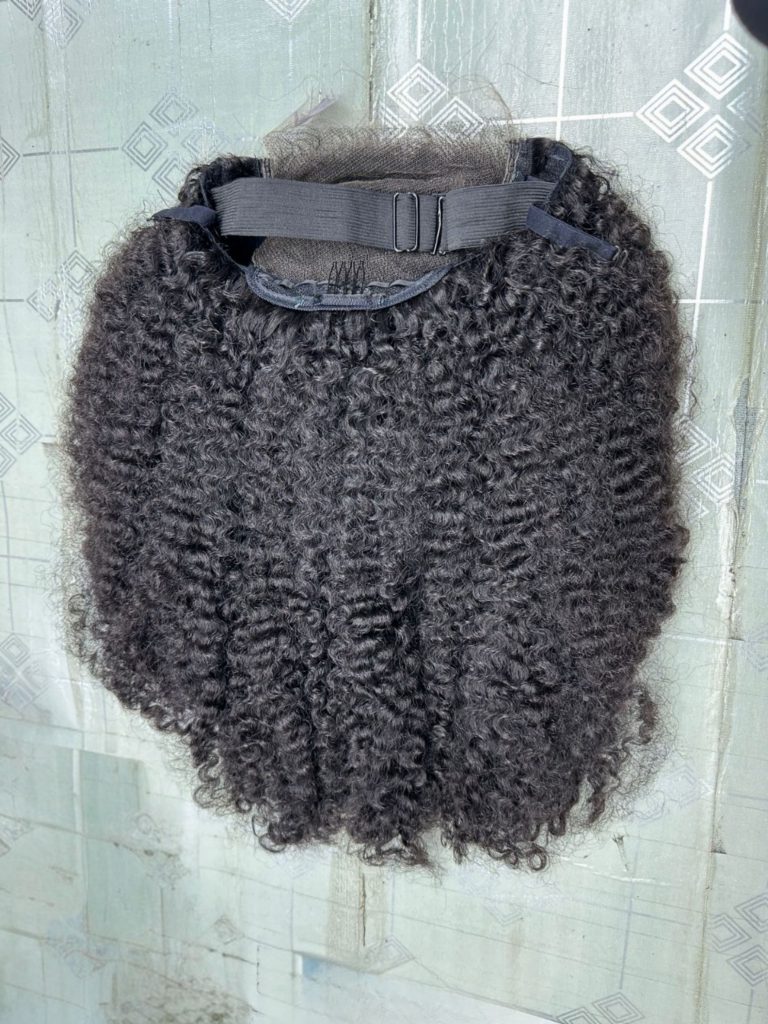
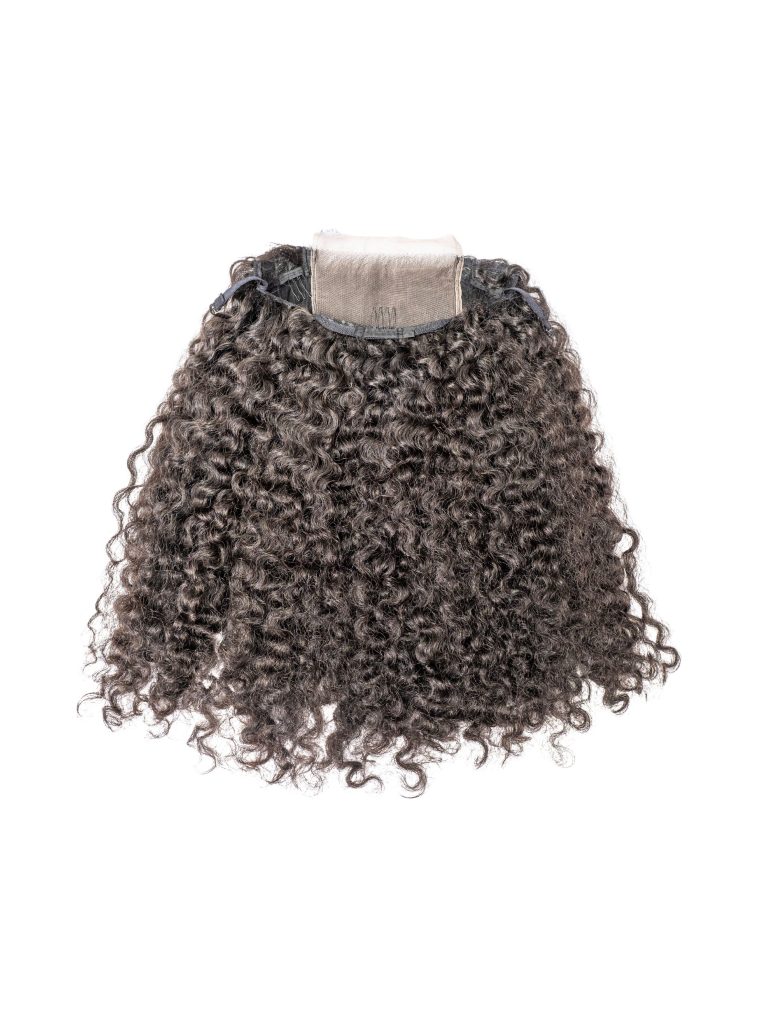
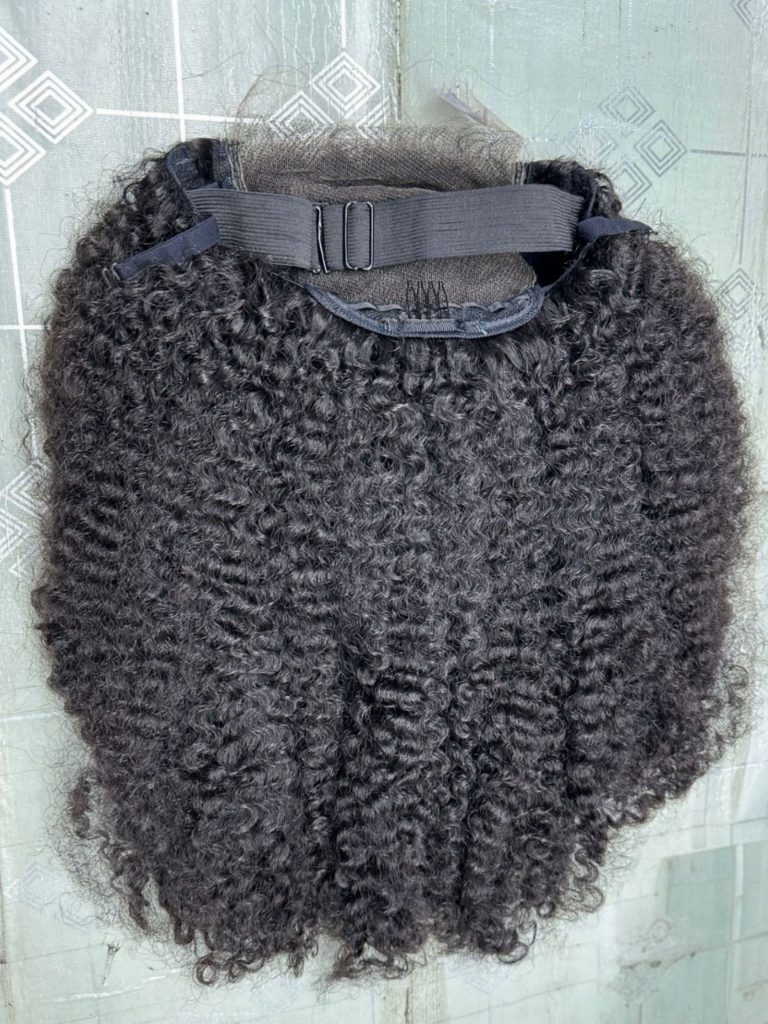
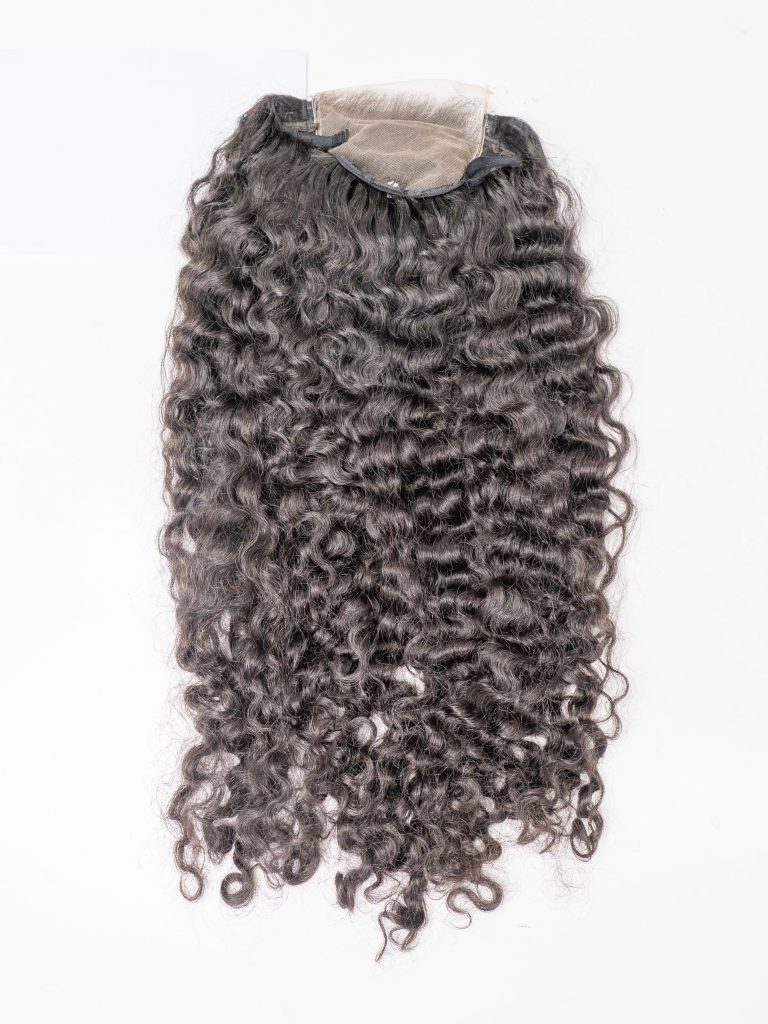
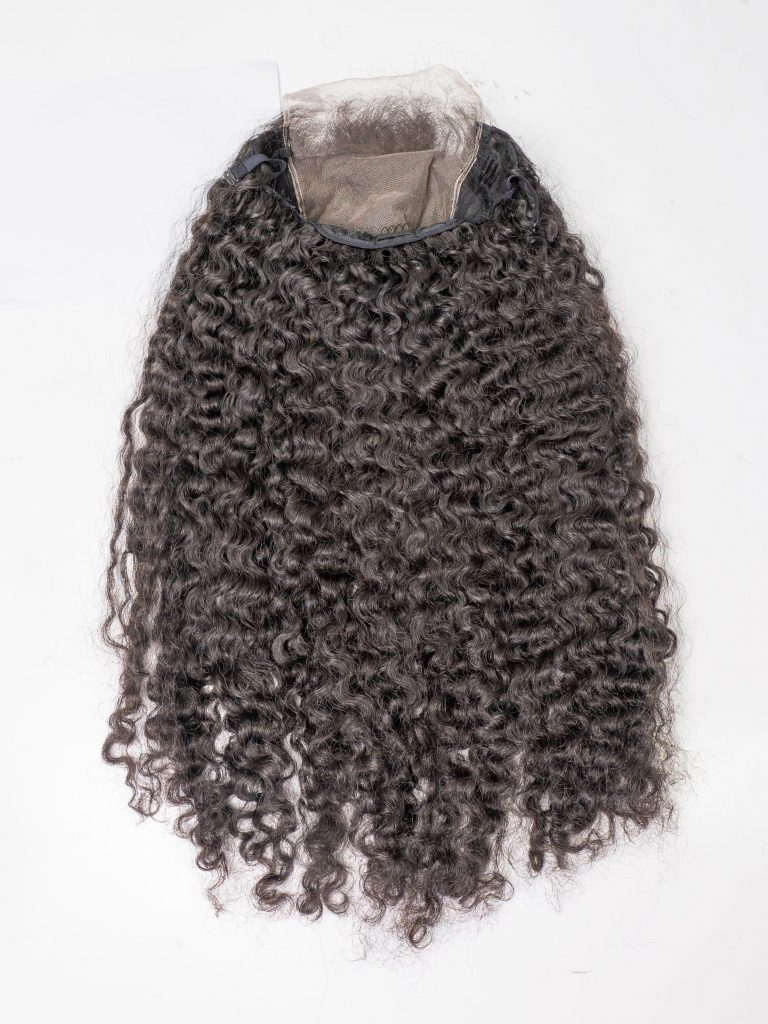
If you wear hair extensions, you know how important it is to keep them clean and well-maintained. Proper washing techniques can help extend the life of your extensions and ensure they look natural and seamless with your hair. In this guide, we’ll cover the essential steps for washing both clip-in and permanent hair extensions.
5 Steps Guide to Wash Your Hair Extensions
Washing your hair extensions properly is essential for keeping them looking their best. Whether you have clip-ins, tape-ins, or other types of extensions, following the right technique will help extend the life of your investment.
Step 1: Brushing Your Hair Extensions
Before washing, it’s important to gently brush through your hair extensions to remove any tangles or knots. Start at the bottom and work your way up, using a wide-tooth comb or a detangling brush designed for extensions. This helps prevent further tangling and matting during the washing process.
Step 2: Prepare the Washing Place
Find a clean, well-lit area to wash your extensions, such as a sink or tub, and fill it with lukewarm water. Lay out a towel to protect the surface, and make sure the water temperature is lukewarm – hot water can damage the extensions, and have your shampoo, conditioner, and other necessary supplies nearby and ready to use. Avoid using hot water, as it can damage the hair extensions.
Step 3: Shampoo Your Extension
Gently dip the extensions into the water and swish them around to distribute the shampoo. Avoid rubbing or scrubbing, as this can cause matting. Let the extensions soak for a few minutes, being careful not to get the hair attachment or tape too saturated.
Apply a small amount of a sulfate-free, gentle shampoo and gently massage it through the length of the hair and gently massage.
Step 4: Rinse it up
Rinse the extensions thoroughly with cool water until all the shampoo is removed. You can use a showerhead or a cup to pour water over the extensions. Thoroughly rinse the shampoo out of the extensions using cool water. This helps seal the cuticle and prevent drying. Make sure to remove all traces of shampoo to avoid any residue.
Step 5: Detangle and Leave to Air Dry
Gently squeeze out excess water from the extensions, avoiding twisting or wringing. Gently detangle the extensions with your fingers or a wide-tooth comb, working from the bottom up. You can refer to apply a leave-in conditioner or detangling spray to prevent further tangling. After all, lay the extensions flat on a clean, absorbent towel and let them air dry completely before reinstalling or styling.
How to Wash Clip-In Hair Extensions
Using clip-in hair extensions is more popular than other hair extensions because of its portability and ease of use. You can see they can easily be removed independently of your hair with just a few basic steps, which makes washing them really easy too. However, you should still refer to the steps below to wash your hair extensions to ensure the best quality of your hair over a long period of use.
Step 1: Uninstall Clip-In Hair Extensions Carefully
Before washing, unclip the extensions from your hair, taking care not to pull or tug. Gently brush them to remove any tangles.
Step 2: Soak Your Extensions In Lukewarm Water
Fill a sink or bowl with lukewarm water and submerge the clip-in extensions, allowing them to soak for 5-10 minutes. This helps loosen any dirt or product buildup. While the extensions are soaking, apply a small amount of shampoo and conditioner to the clips. This will help keep them clean and prevent rust.
Step 3: Apply Shampoo and Condition
Gently massage a small amount of sulfate-free shampoo into the extensions, working it through from the roots to the ends. Rinse thoroughly, then apply a small amount of a moisturizing conditioner. Let it sit for a few minutes before rinsing.
Step 4: Air Dry and Style
Lay your clip-in extensions flat on a towel and allow them to air dry completely before styling and reinstalling.
here are some tips for styling hair extensions after they’ve dried:
- Use a boar bristle brush or a wide-tooth comb to gently detangle and smooth the extensions. This helps create a seamless blend with your natural hair.
- Apply a small amount of lightweight, silicone-free hair serum or oil to add shine and prevent frizz. Focus on the ends and mid-shafts.
- If you want to curl or wave the extensions, use a large barrel curling iron or wand. Wrap large sections around the barrel, holding for 10-15 seconds before releasing. This gives a natural, loose curl.
- For straight styles, use a flat iron on a low to medium heat setting. Run it through the lengths of the extensions, working in sections.
- Consider using hot rollers or velcro rollers to add volume and body to the extensions. Let them cool completely before removing them.
- Finish with a light-hold hairspray to keep your style in place throughout the day. Avoid overly stiff or crunchy products.
FAQs
Q: How often should I wash my hair extensions?
A: It’s generally recommended to wash your hair extensions every 2-3 weeks, or as needed if they become excessively dirty or oily.
Q: Can I use my regular shampoo and conditioner on my extensions?
A: It’s best to use a gentle, sulfate-free formula specifically designed for hair extensions to avoid drying out or damaging the hair.
Q: How often should I wash my hair extensions?
A: This depends on how often you wear them. If you wear them daily, wash them every 1-2 weeks. If you wear them less frequently, you can wash them every 2-4 weeks.
Q: Can I use a hairdryer on my hair extensions?
A: It’s best to avoid using heat styling tools on your extensions, as this can damage them. If you must use a hair dryer, use a low heat setting and hold it at least 12 inches away from the extensions.
Q: Can I dye my hair extensions?
A: Yes, you can dye your hair extensions. However, it’s best to use a semi-permanent or temporary dye, as permanent dyes can damage the extensions.
Final Thought
Washing your hair extensions regularly is essential for maintaining their beauty and longevity. Proper hair extension care, including regular washing, is essential for keeping them looking their best. By following these simple steps, you can extend the life of your extensions and enjoy beautiful, healthy-looking hair.
