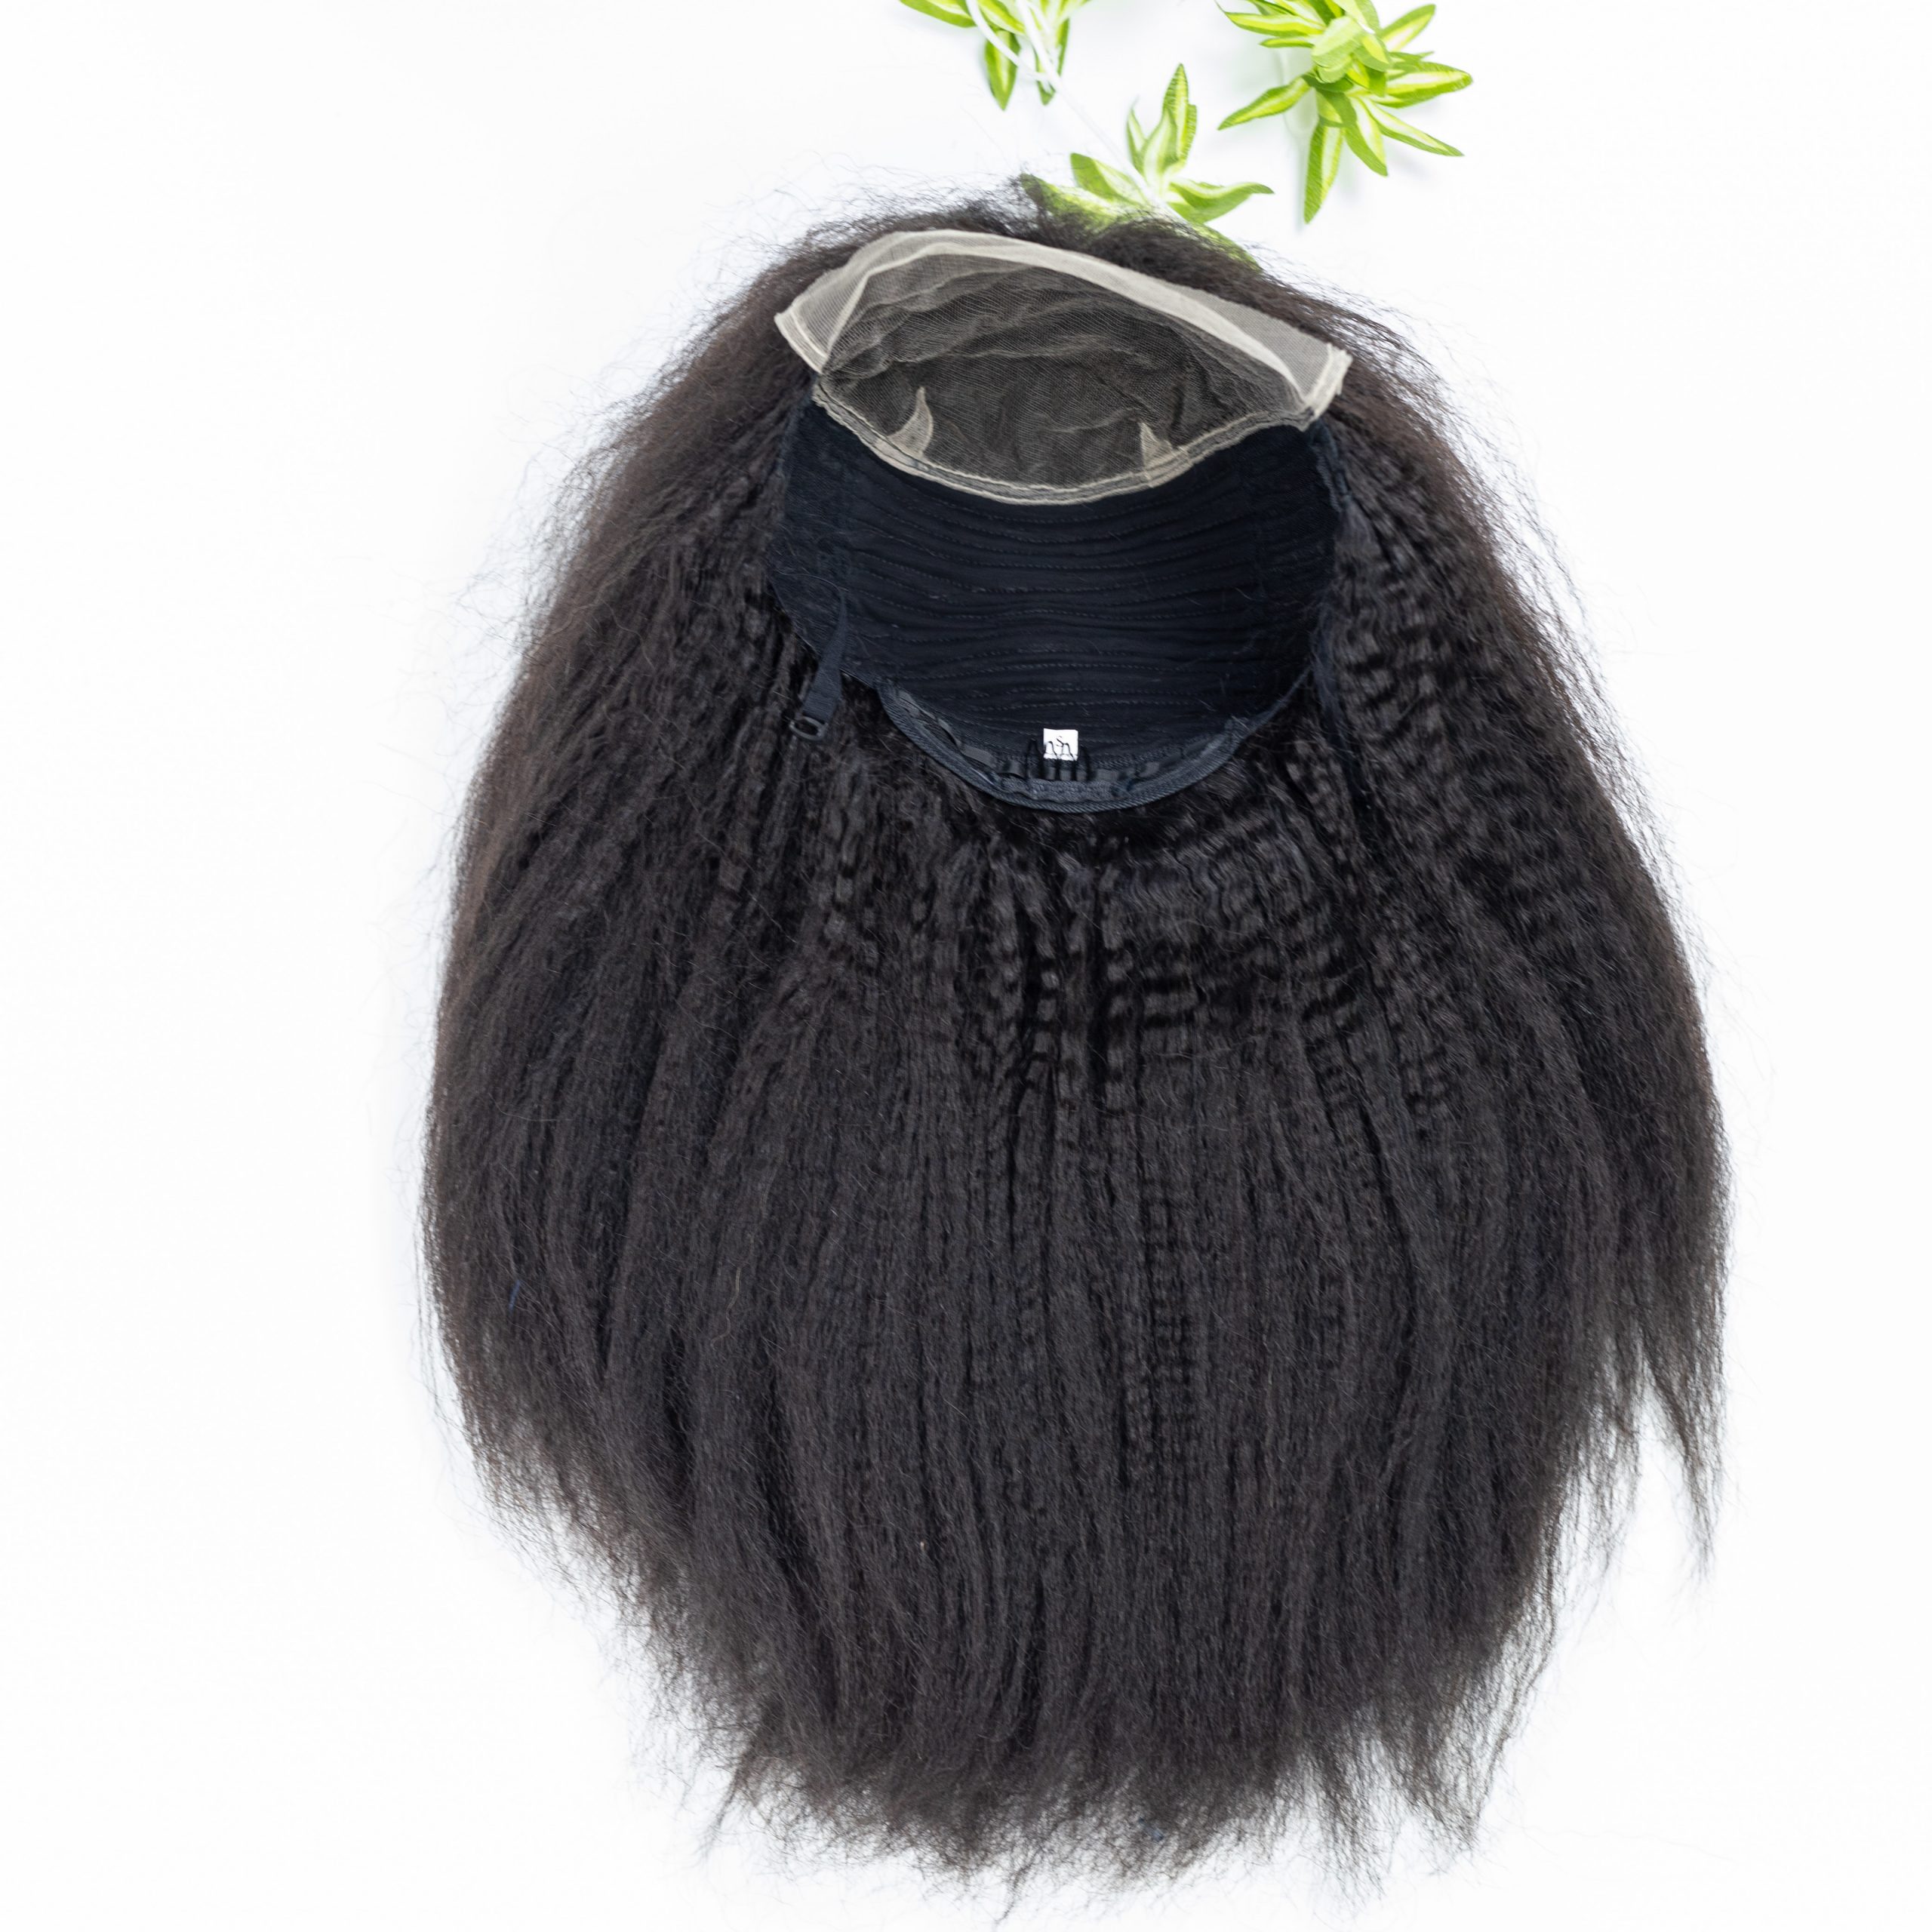
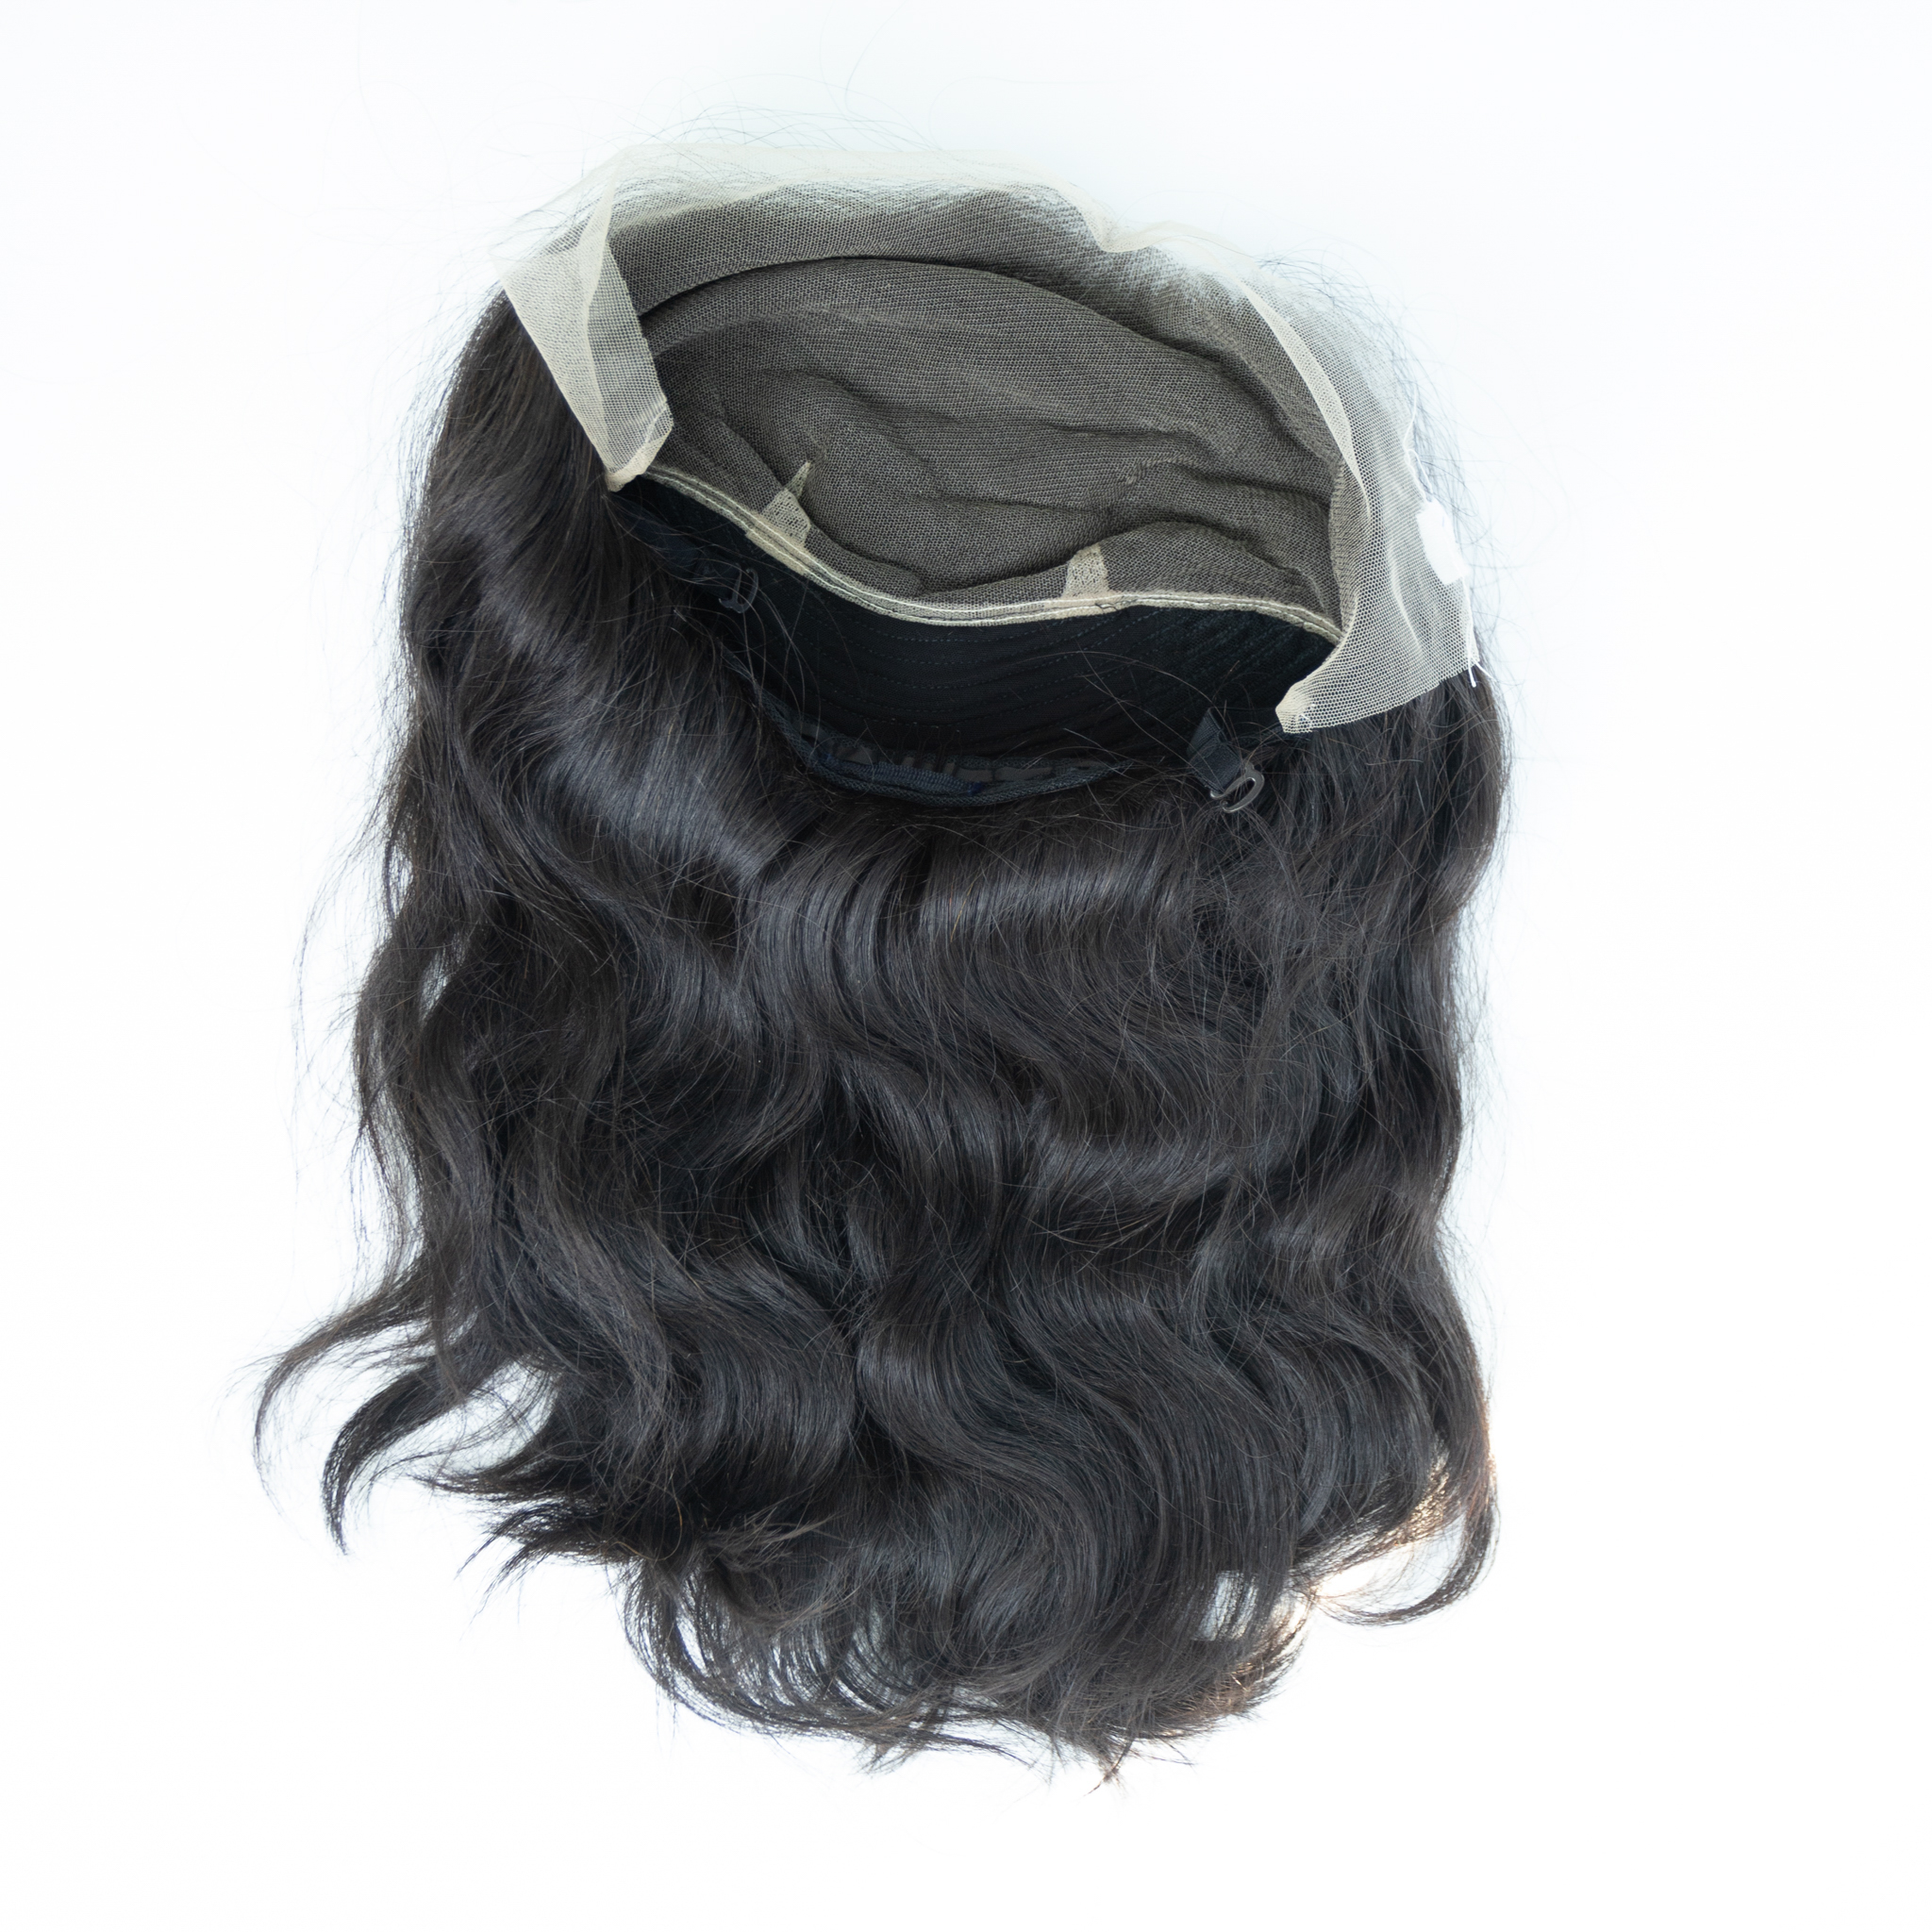
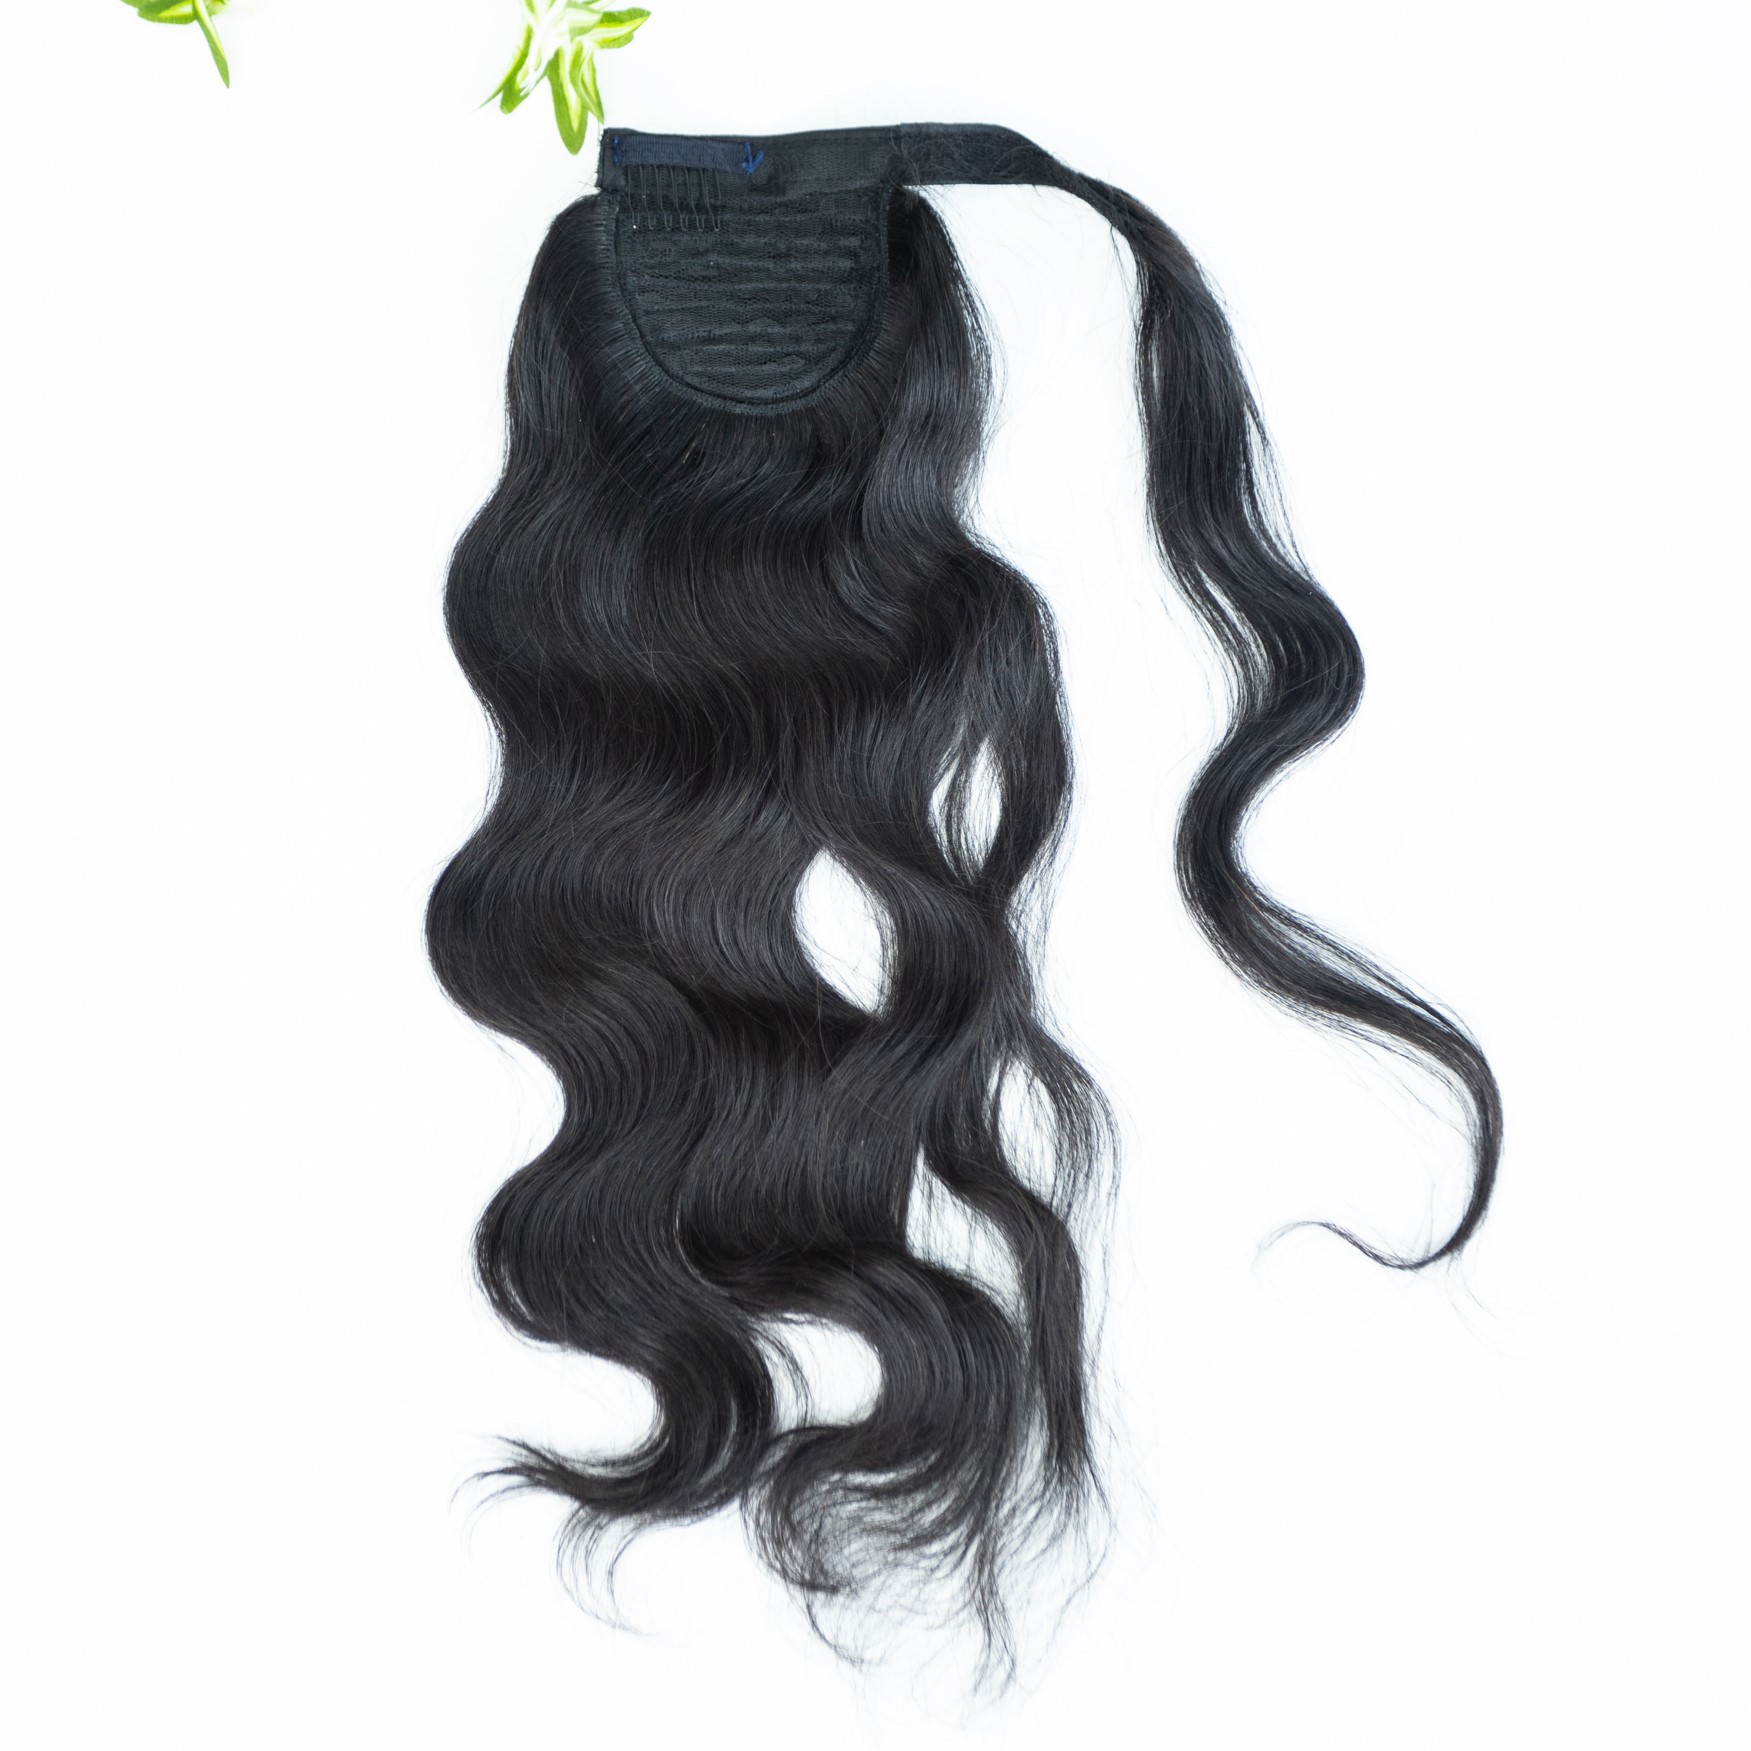
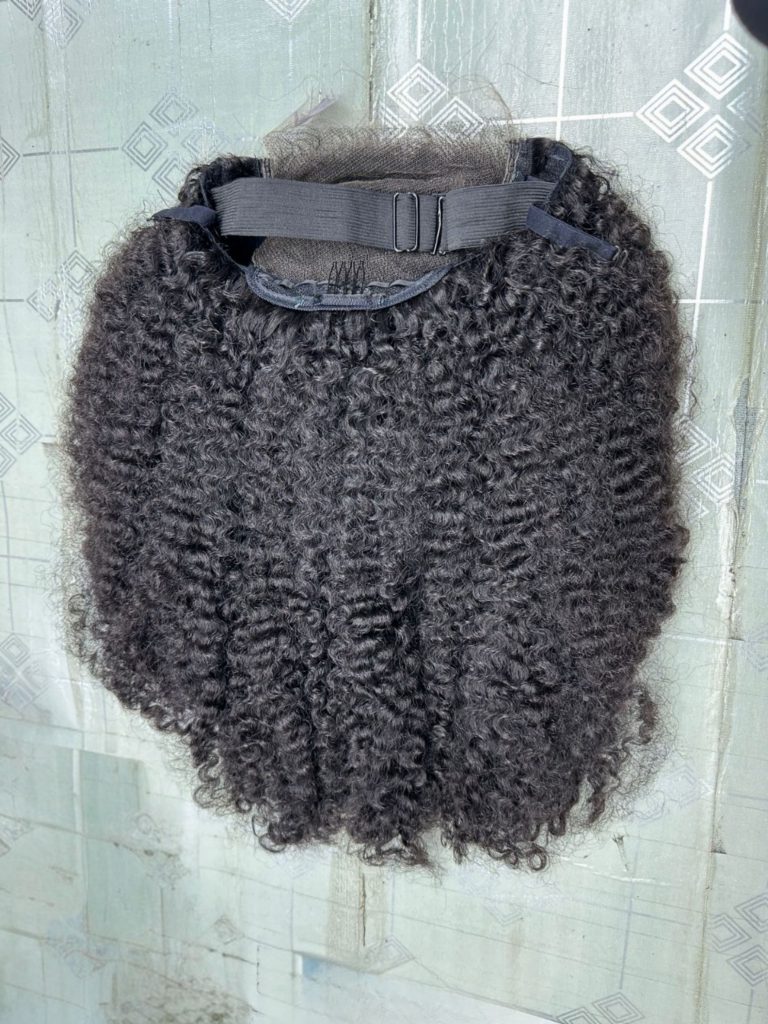
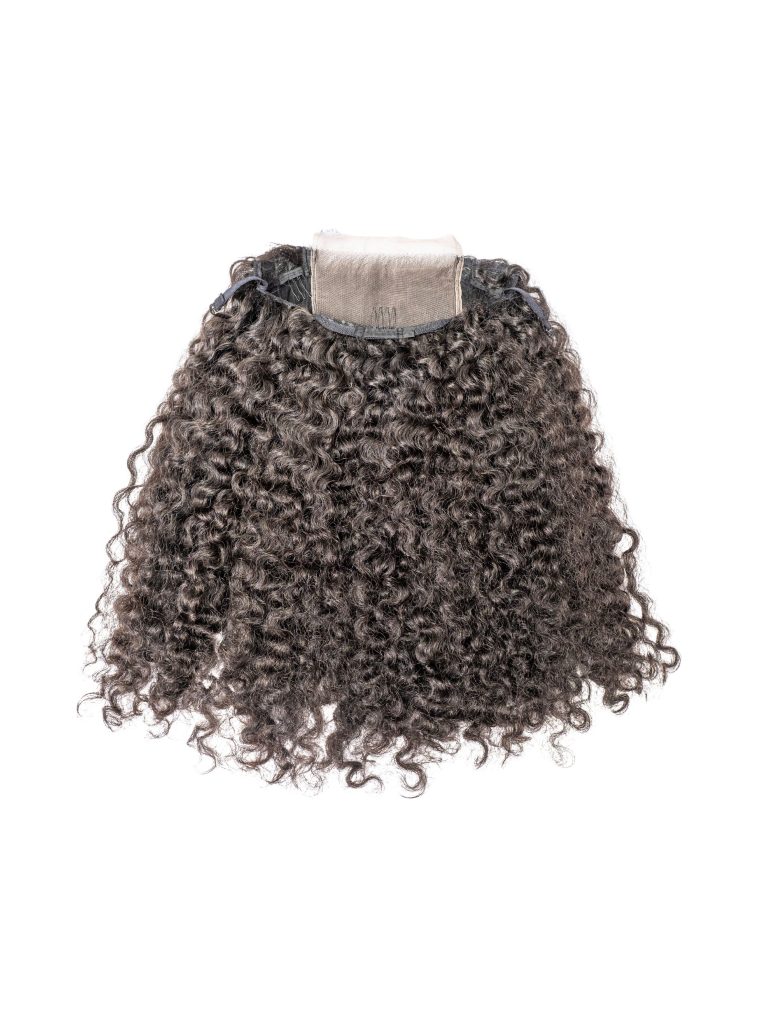
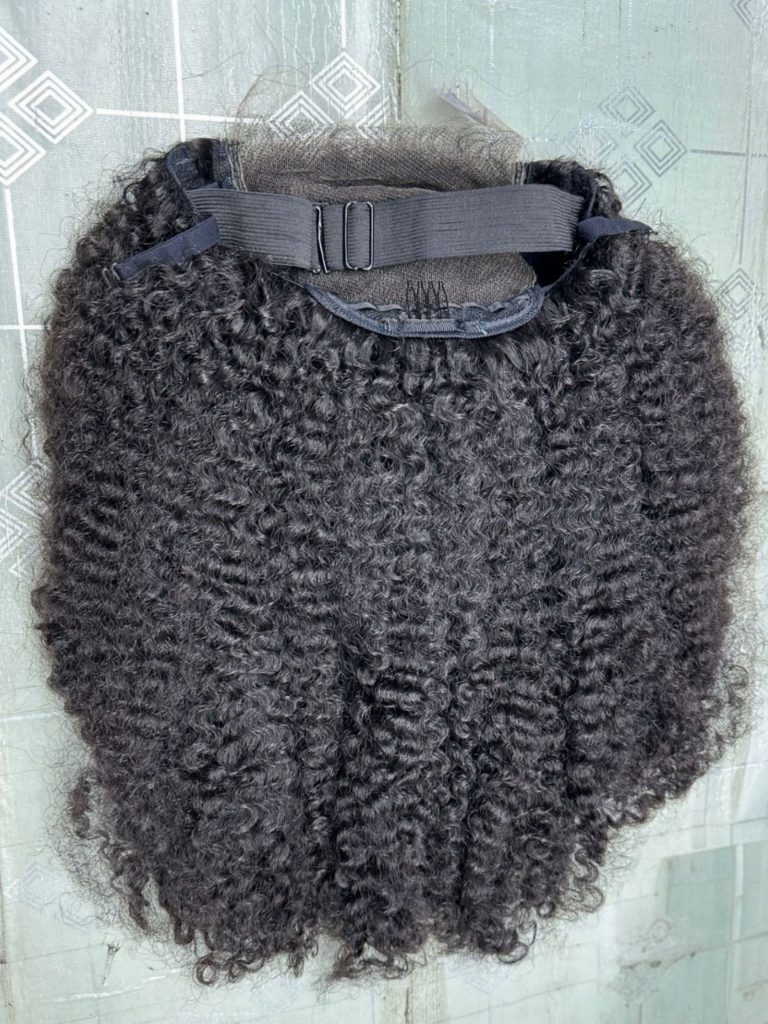
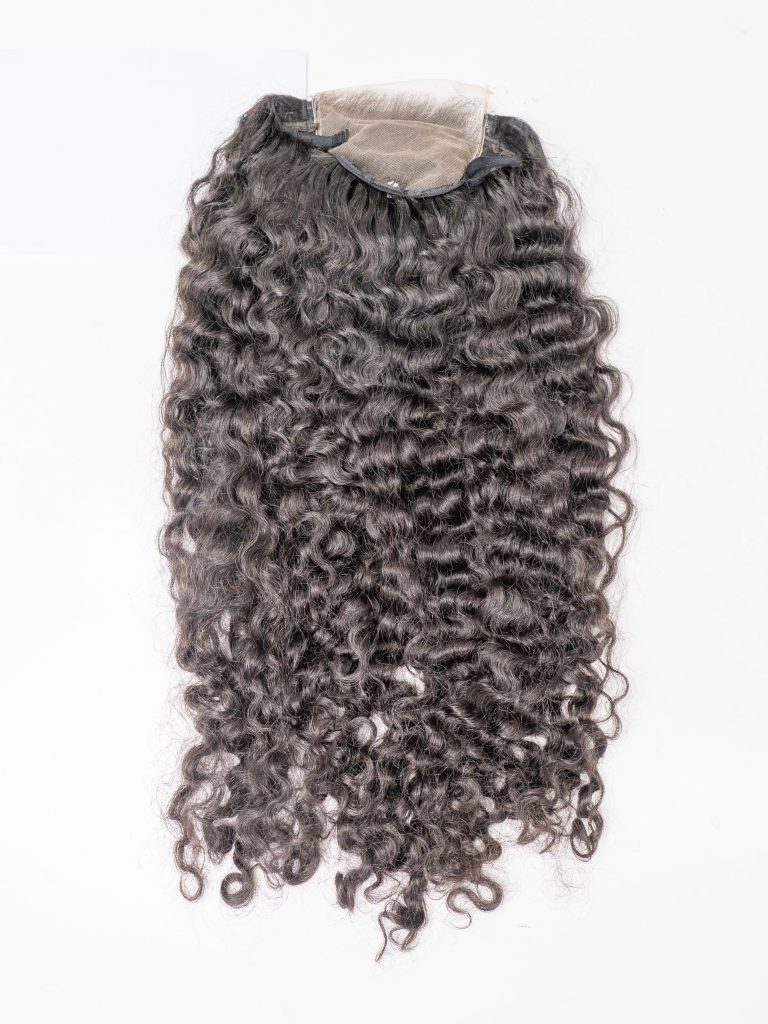
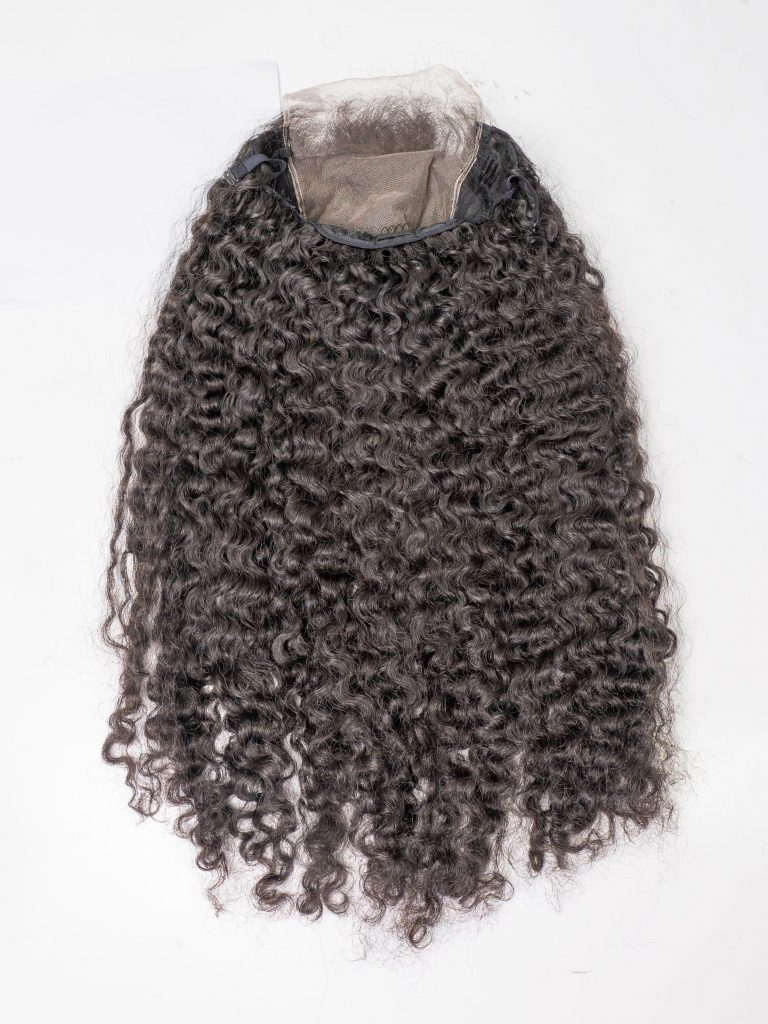
Ah, the beauty of curly hair extensions – they can instantly transform your look, adding volume, length, and that gorgeous, natural-looking curl. But let’s be real, maintaining those luscious locks can be a bit of a challenge, especially when it comes to washing them. Fear not, friends, because we are here to guide you through the process of keeping your curly hair extensions looking their absolute best.
Types Of Curly Hair Extension
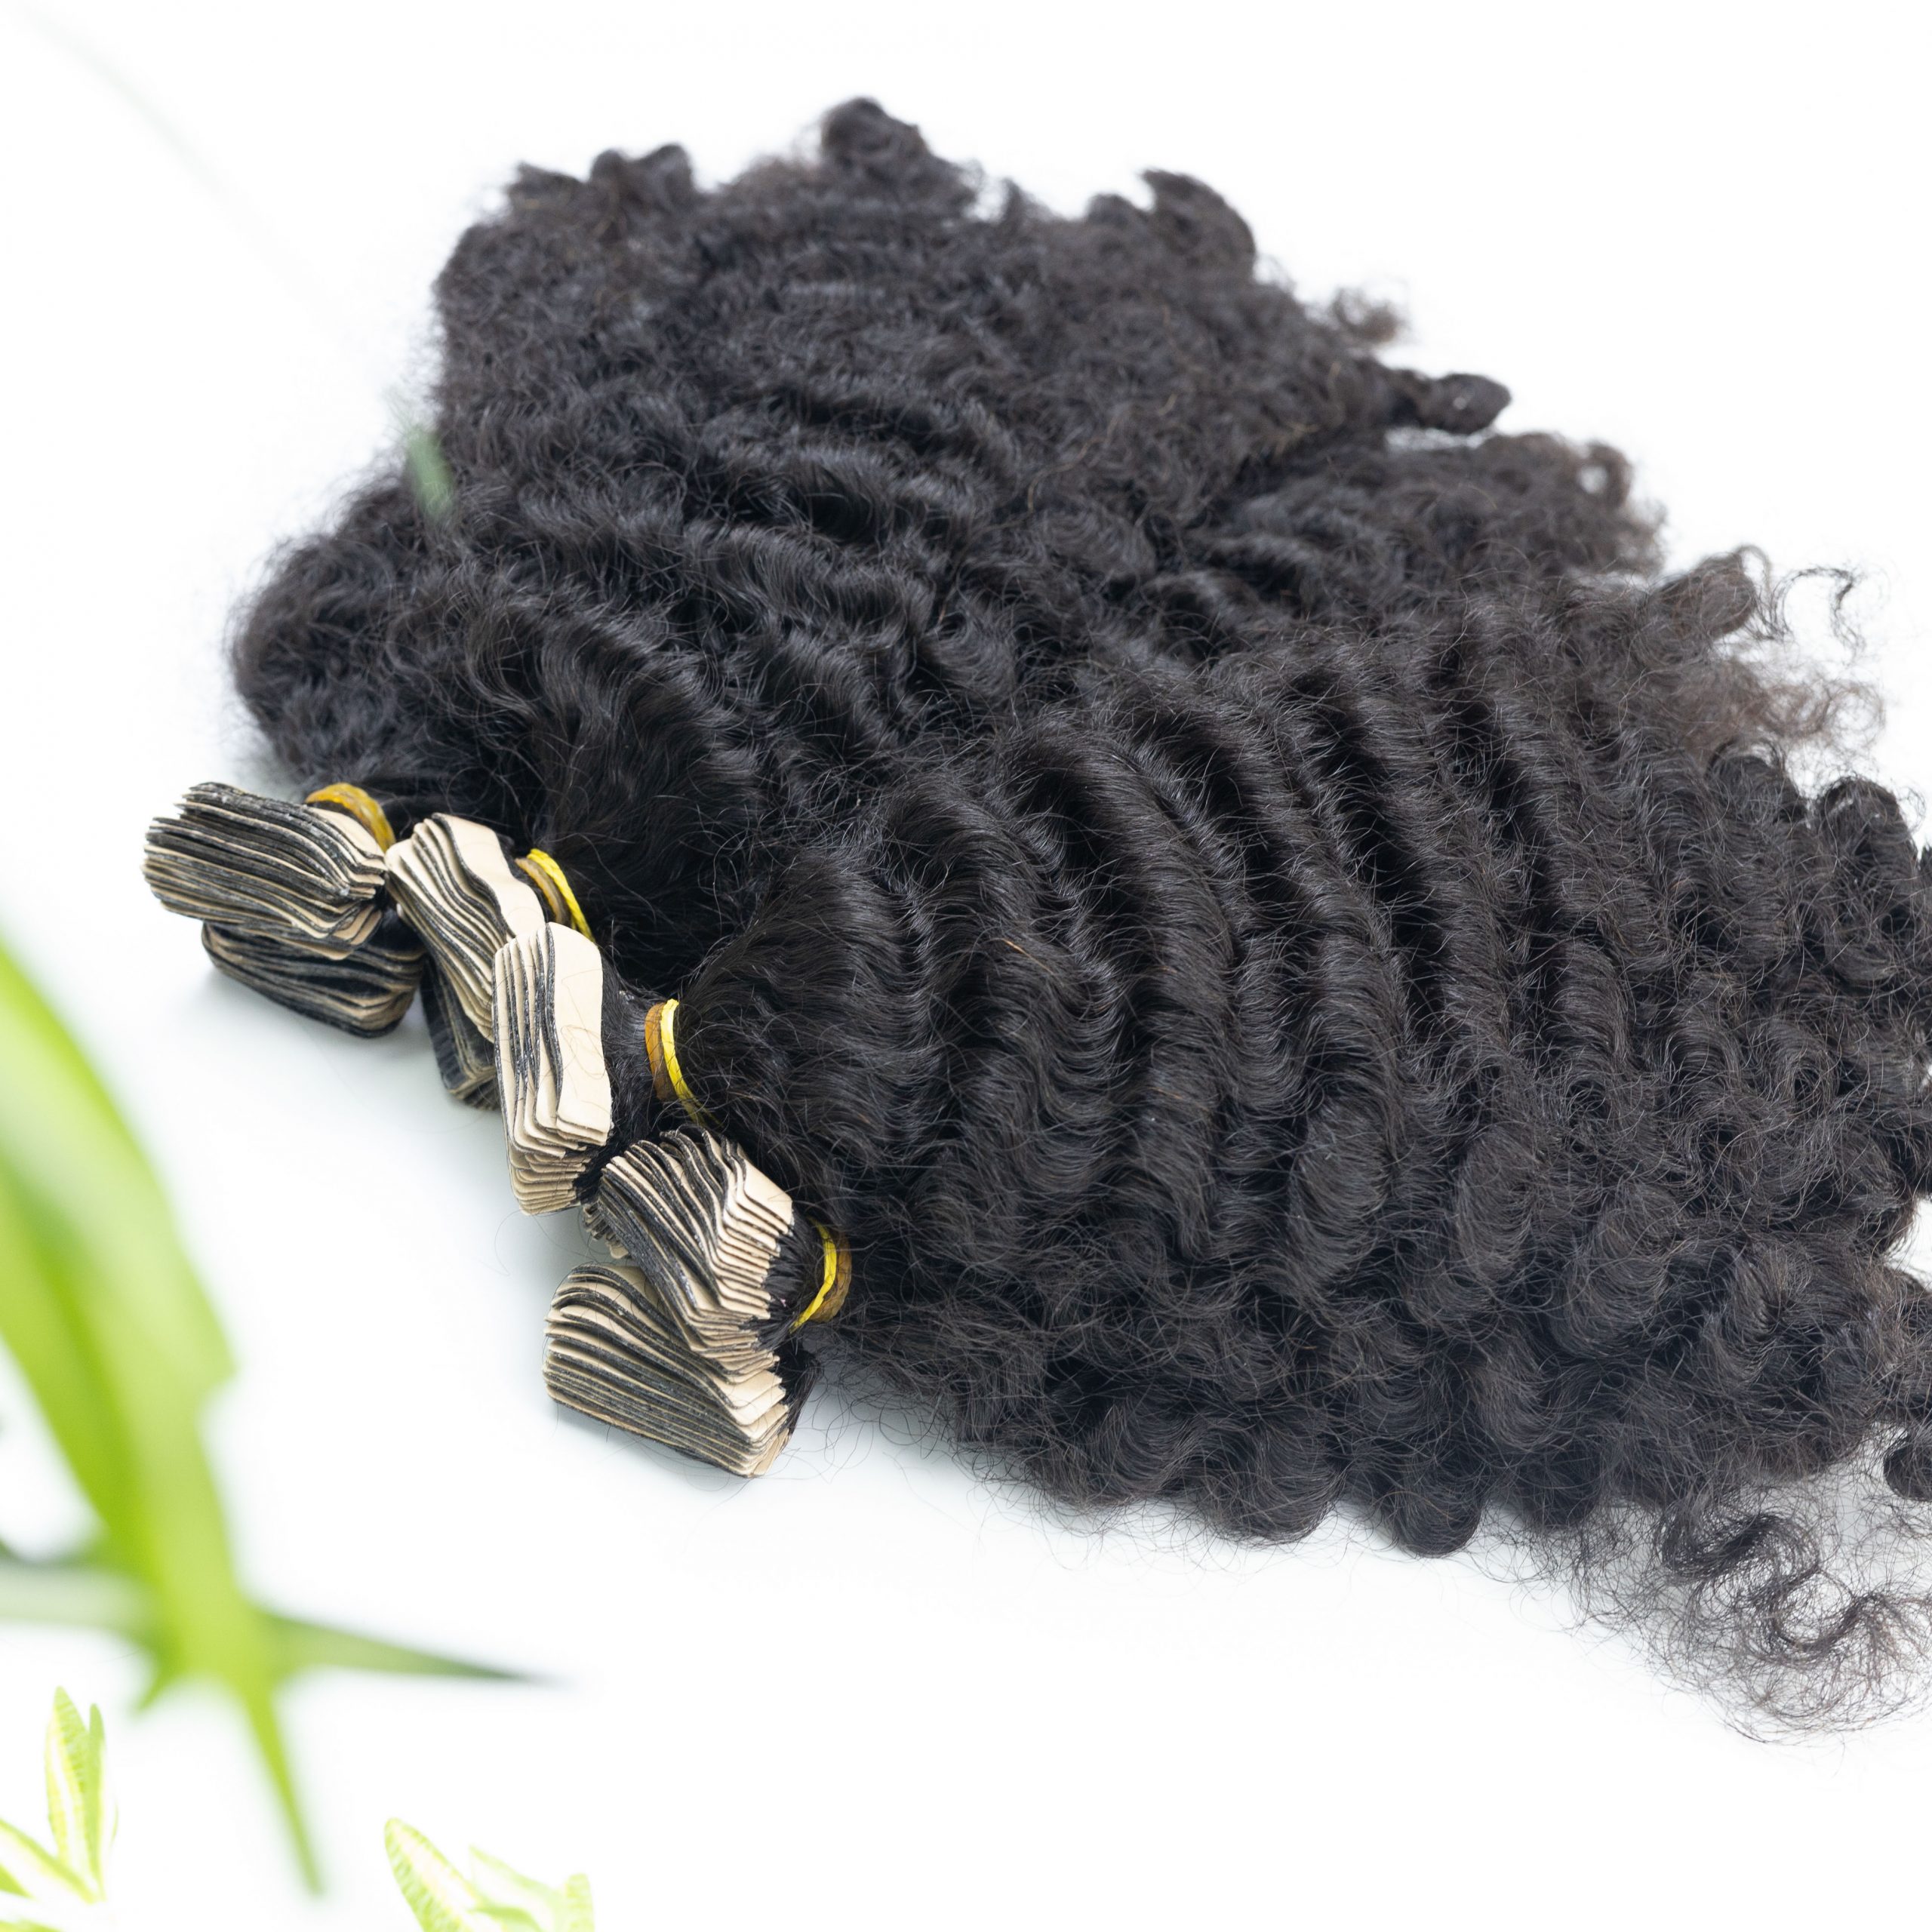
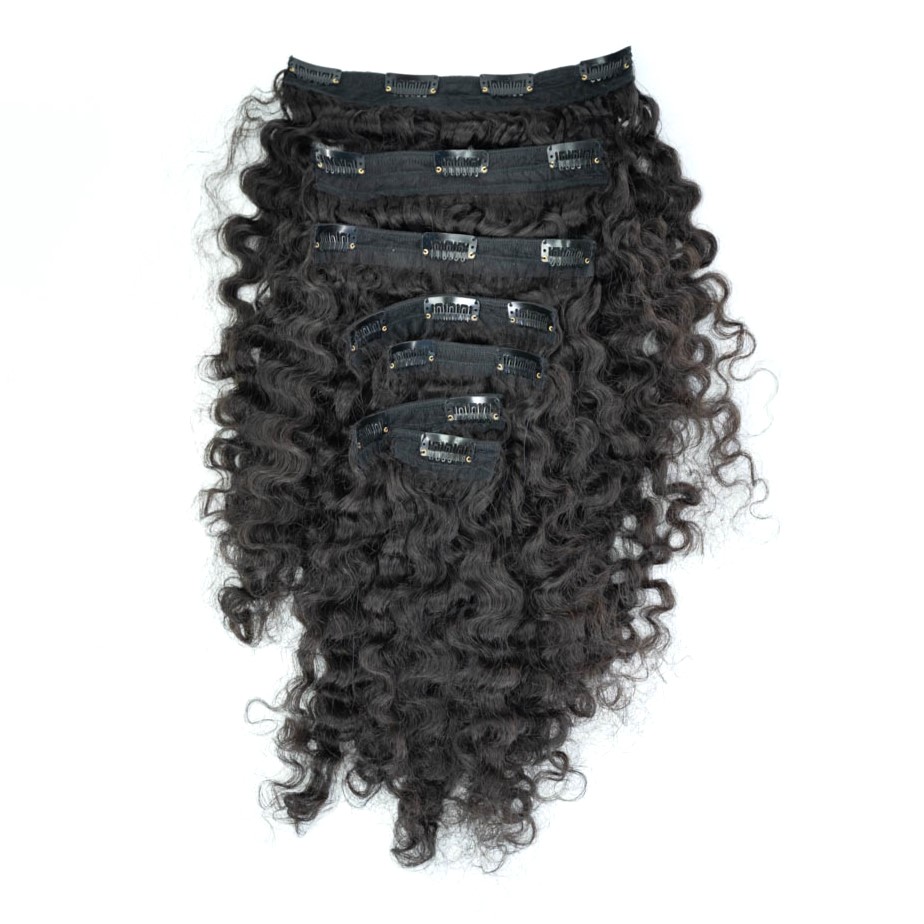
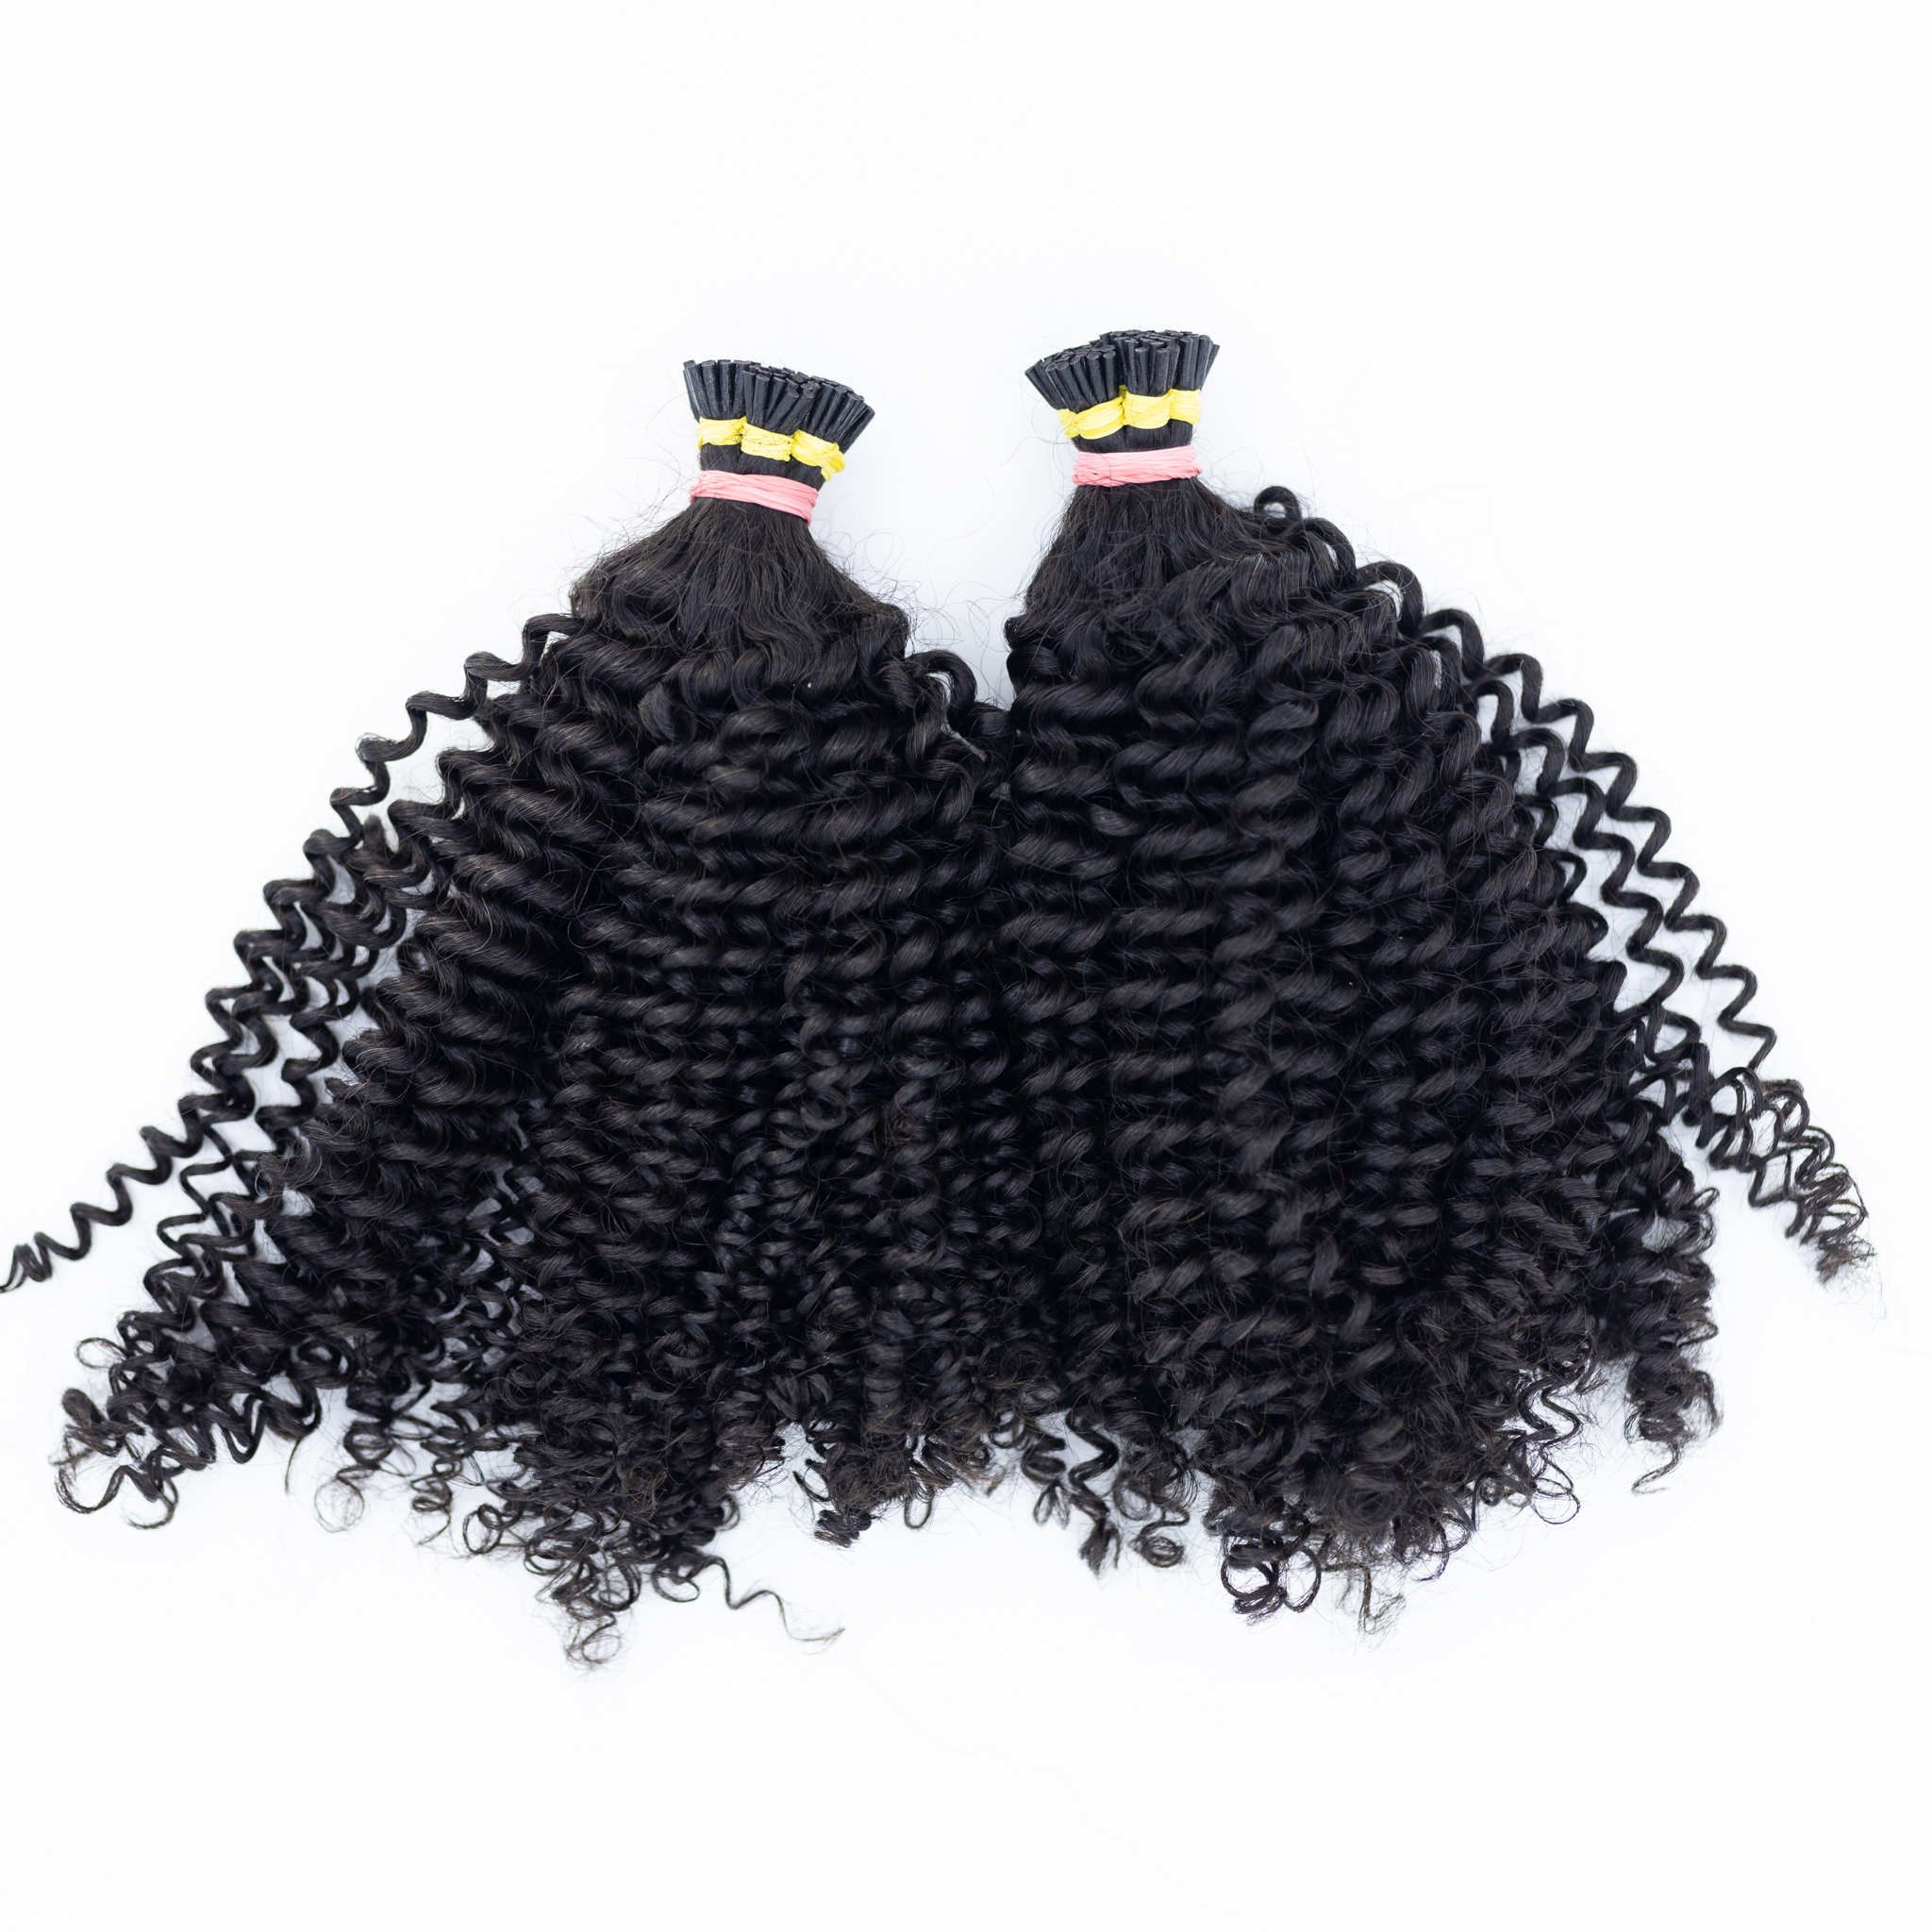
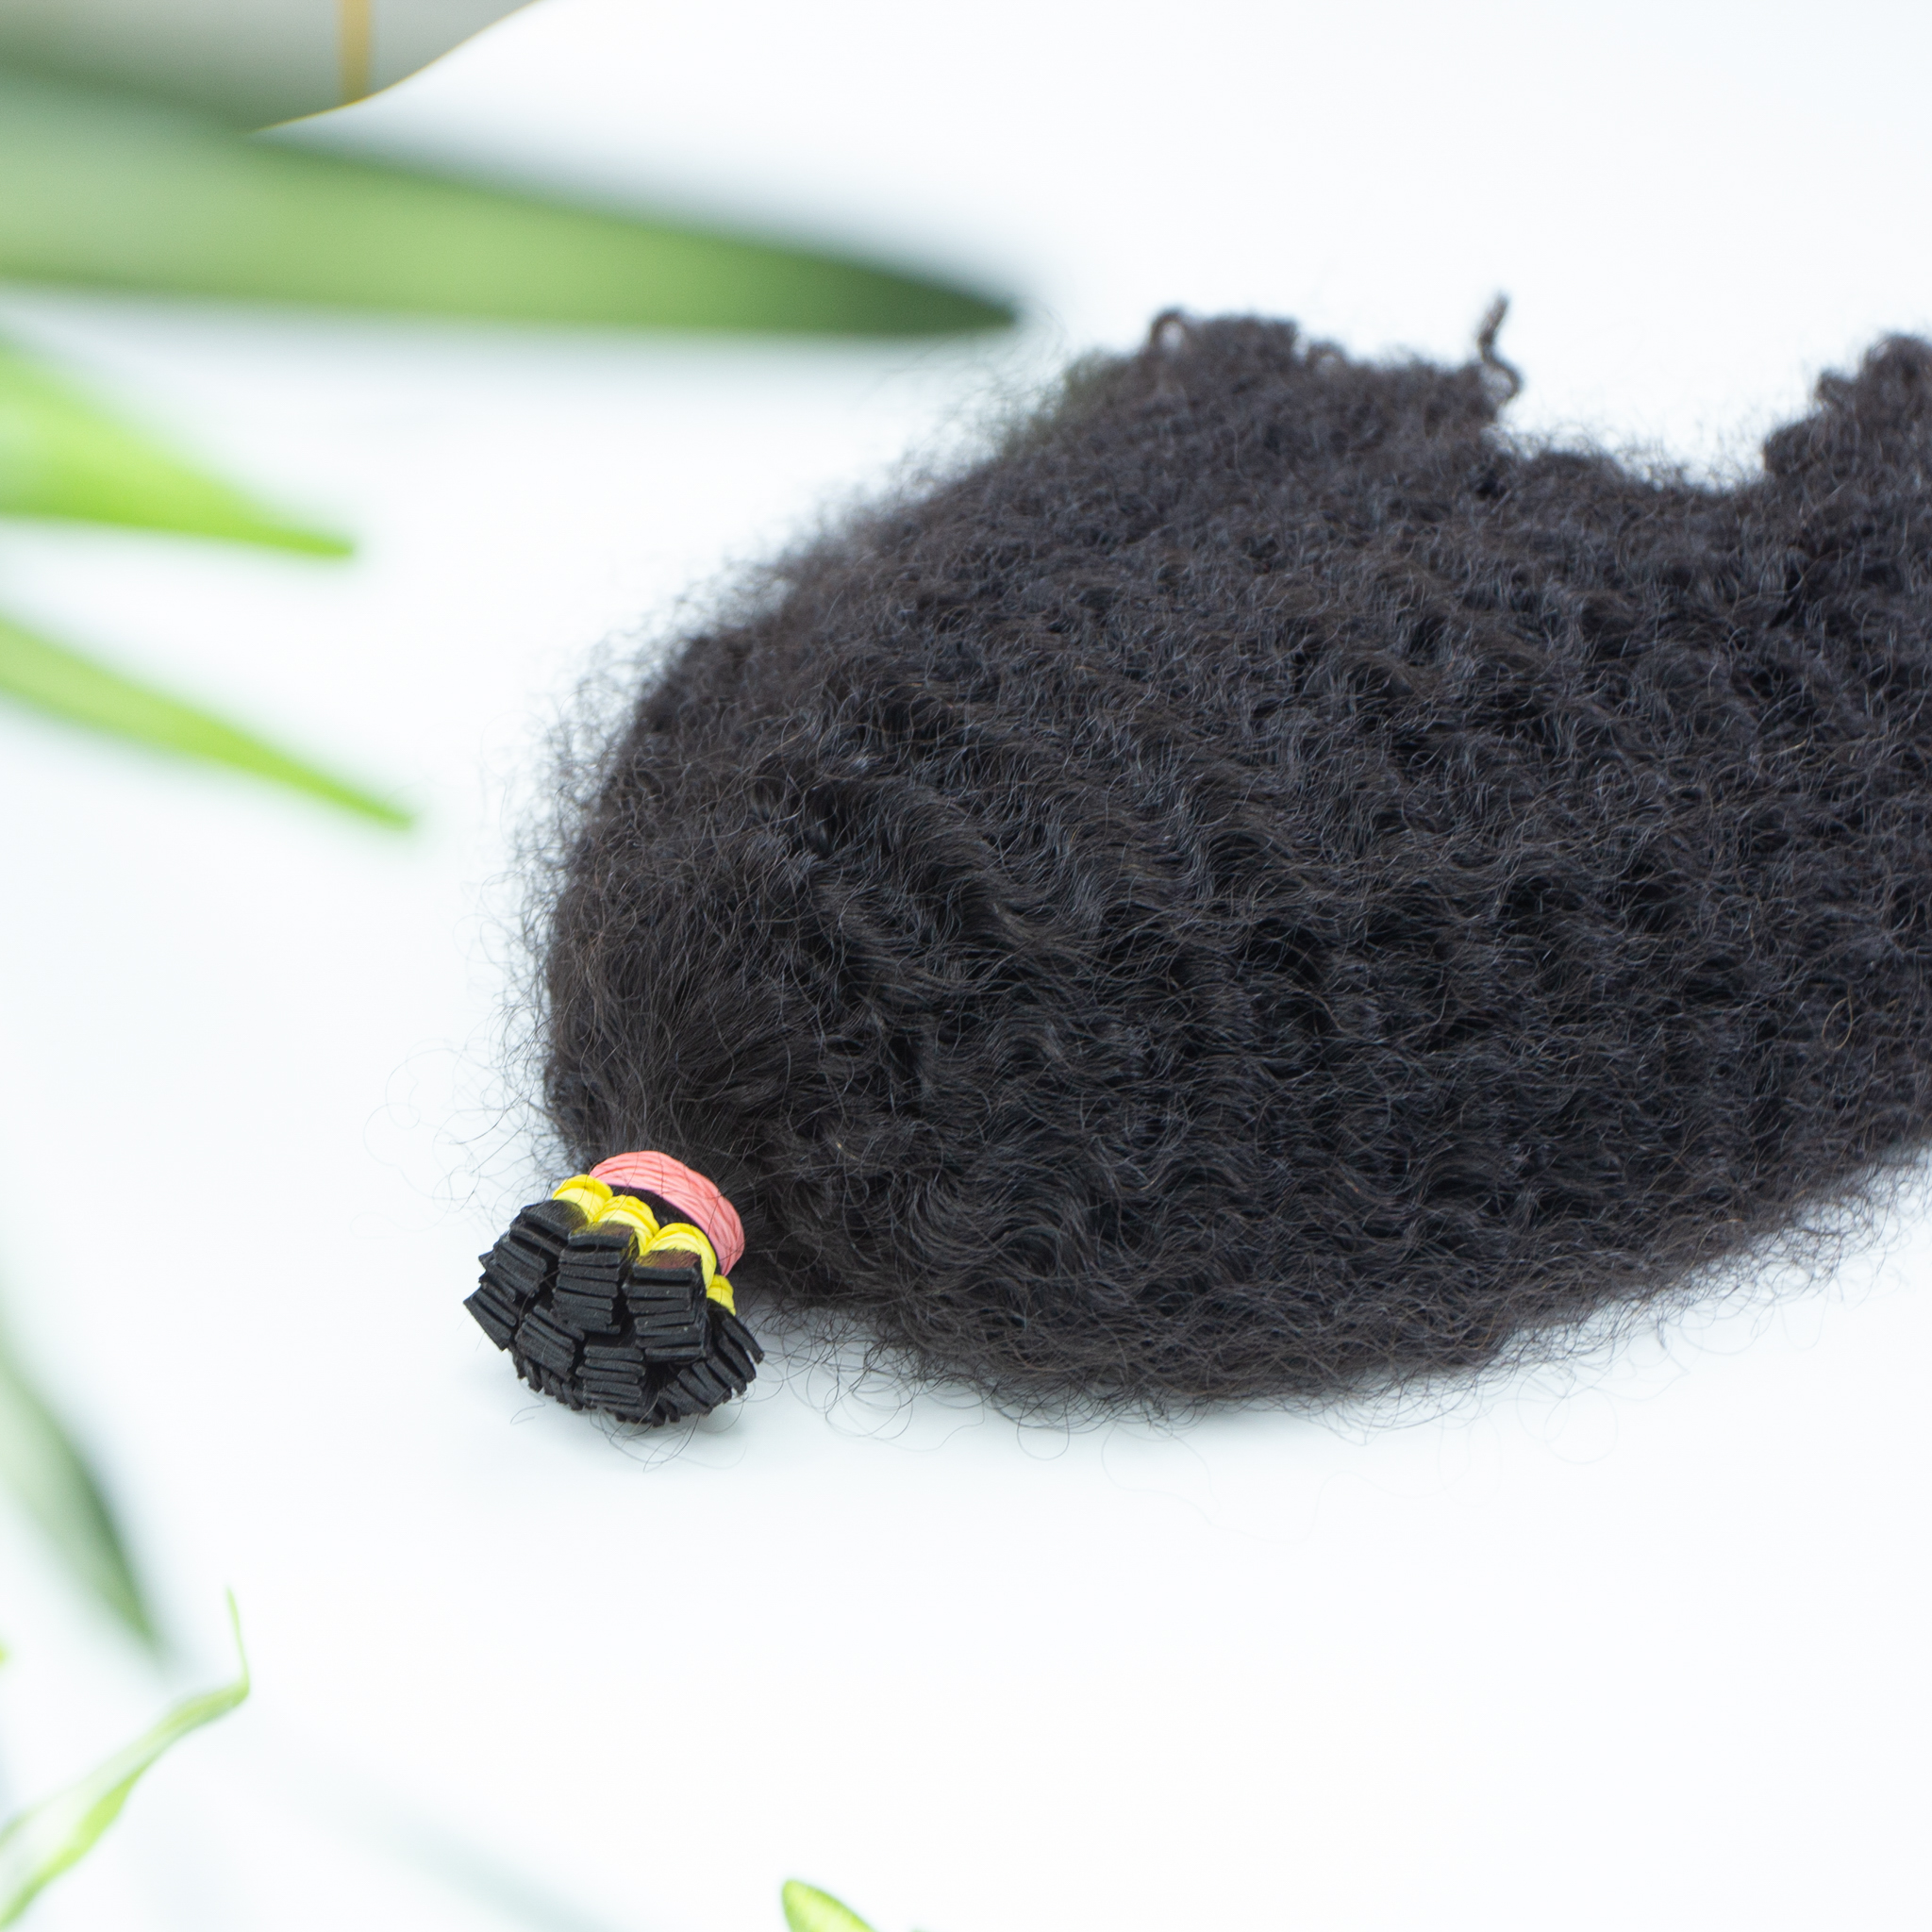
Before diving in, it’s important to understand the different types of curly hair extensions. You’ve got your clip-in extensions, which are a temporary and easy-to-use option for adding some extra oomph to your natural curls. Then there are the tape-in extensions, a more permanent solution where the extensions are bonded to your hair using a special adhesive. And let’s not forget the sew-in extensions, also known as weaves, which are sewn directly into your braided natural hair for a long-lasting, secure hold.
No matter which type of curly hair extensions you have, the basic principles of proper washing and care remain the same. So, let’s dive in, shall we?
Choose The Right Products To Wash Your Curly Hair Extension
Selecting the right haircare products is essential for maintaining the health and longevity of your curly hair extensions. Look for shampoos, conditioners, and styling products that are specifically formulated for curly or textured hair. Avoid harsh, sulfate-based products, as they can strip the extensions of their natural oils and lead to dryness, frizz, and tangling.
Instead, opt for sulfate-free, moisturizing formulas that are gentle on the hair. Look for ingredients like:
Moisturizing oils (e.g., argan, coconut, or jojoba oil)
Nourishing butters (e.g., shea, mango, or cocoa butter)
Hydrating humectants (e.g., glycerin or honey)
These ingredients will help keep your curly hair extensions soft, defined, and manageable.
Step-by-Step Guide on How to Wash Curly Hair Extensions
Step 1: Detangle the Extensions
Okay, let’s get started! Before we dive into washing your curly clip-in hair extensions, we need to make sure they’re completely detangled. Take your extensions and gently work out any knots or tangles using a wide-tooth comb or your fingers. Be patient and take your time, as this step is crucial in preventing further tangling and matting during the washing process.
| See more here: How To Properly Detangle Curly Hair – Sky Hair
Step 2: Rinse with Lukewarm Water
Now that your extensions are detangled, it’s time to rinse them with lukewarm water. Hold the extensions under a gentle stream of water, avoiding direct high-pressure water flow, which can disrupt the curl pattern. You want to rinse the extensions thoroughly, but gently, to remove any dirt or product buildup.
Step 3: Apply Shampoo
It’s time to cleanse your extensions! Apply a small amount of sulfate-free, moisturizing shampoo to the extensions, focusing on the roots and working your way down to the ends. Be gentle, as curly hair extensions can be delicate. Massage the shampoo into the hair, making sure to work it evenly throughout the extensions. Don’t scrub too hard, as this can cause tangling and breakage.
Step 4: Rinse Thoroughly
Now it’s time to rinse out the shampoo. Hold the extensions under a gentle stream of lukewarm water, making sure to rinse out all the shampoo residue. You may need to repeat this step a few times to remove all the products, so be patient!
| See more here: How To Properly Wash Hair Extensions For Beginners
Step 5: Condition and Detangle
It’s time to nourish your extensions! Apply a generous amount of a moisturizing, curl-enhancing conditioner to the extensions, focusing on the ends. Use your fingers or a wide-tooth comb to gently detangle the hair as the conditioner works its magic. Leave the conditioner on for a few minutes to allow it to penetrate the hair and provide maximum nourishment.
Step 6: Rinse and Air-Dry
Rinse the conditioner thoroughly with lukewarm water, making sure to remove all residue. Now, gently squeeze out excess water from the extensions without rubbing or wringing them out. You want to avoid towel-drying the extensions, as this can disrupt the curl pattern and cause frizz. Instead, allow the extensions to air-dry, either by laying them flat on a towel or hanging them upside down. Be patient, as air-drying can take some time, but it’s worth it to maintain the health and integrity of your extensions.
| See more here: How To Air Dry Hair Extensions
Step 7: Style and Protect
Your extensions are now clean and nourished! Use a small amount of a curl-enhancing styling product to help define and maintain the curls. You can use a curl activator, curl definer, or styling cream to enhance your natural texture and add moisture. Apply the product evenly throughout the extensions, scrunching them gently to help define the curls.
Finally, consider using a satin or silk scarf or bonnet to protect your extensions while you sleep. This will help reduce frizz and prevent breakage, keeping your extensions looking their best for an extended period.
Store Curly Hair Extension
Storing your curly hair extensions properly is just as important as washing them the right way. Let us share some tips to help you keep those gorgeous curls looking their best, even when they’re not in use:
Firstly, choose a cool, dry place to store your extensions. Avoid damp environments or direct sunlight, as these can lead to drying, frizzing, and even mold growth – not the look we’re going for! A breathable garment bag or a box with some air holes is a great option.
When it comes to actually storing the extensions, be gentle. Avoid tightly bundling or folding them, as this can cause creasing and tangling. Instead, try gently coiling the extensions and securing them with a soft scrunchie or ribbon. This will help maintain the curl pattern and prevent any unwanted kinks or bends.
For extra protection, consider investing in a specialized hair extension storage case. These cases are designed with compartments and dividers to keep each set of extensions separate and tangle-free. Plus, many of them are padded to help cushion the extensions and prevent any accidental damage.
And don’t forget about the importance of cleanliness! Before storing your extensions, make sure they’re thoroughly clean and completely dry. Any leftover product or moisture can lead to issues down the line, so it’s best to store them in pristine condition.
| See more here: How To Store Hair Extensions – Sky Hair
