Semi-permanent hair extensions are the perfect way to add a glamorous boost in length and thickness, lasting longer than temporary extensions.
Nano and micro link extensions give you months of longer, fuller hair before they need to be replaced or removed. However, the application and removal processes are delicate and intricate and need to be performed by a professional to avoid discomfort or damaging the natural hair. In this guide, our hair extension experts explain how professionals remove nano and micro ring extensions – including the unique techniques and tools that make the process pain-free.
What Are Nano Tip Hair Extensions?
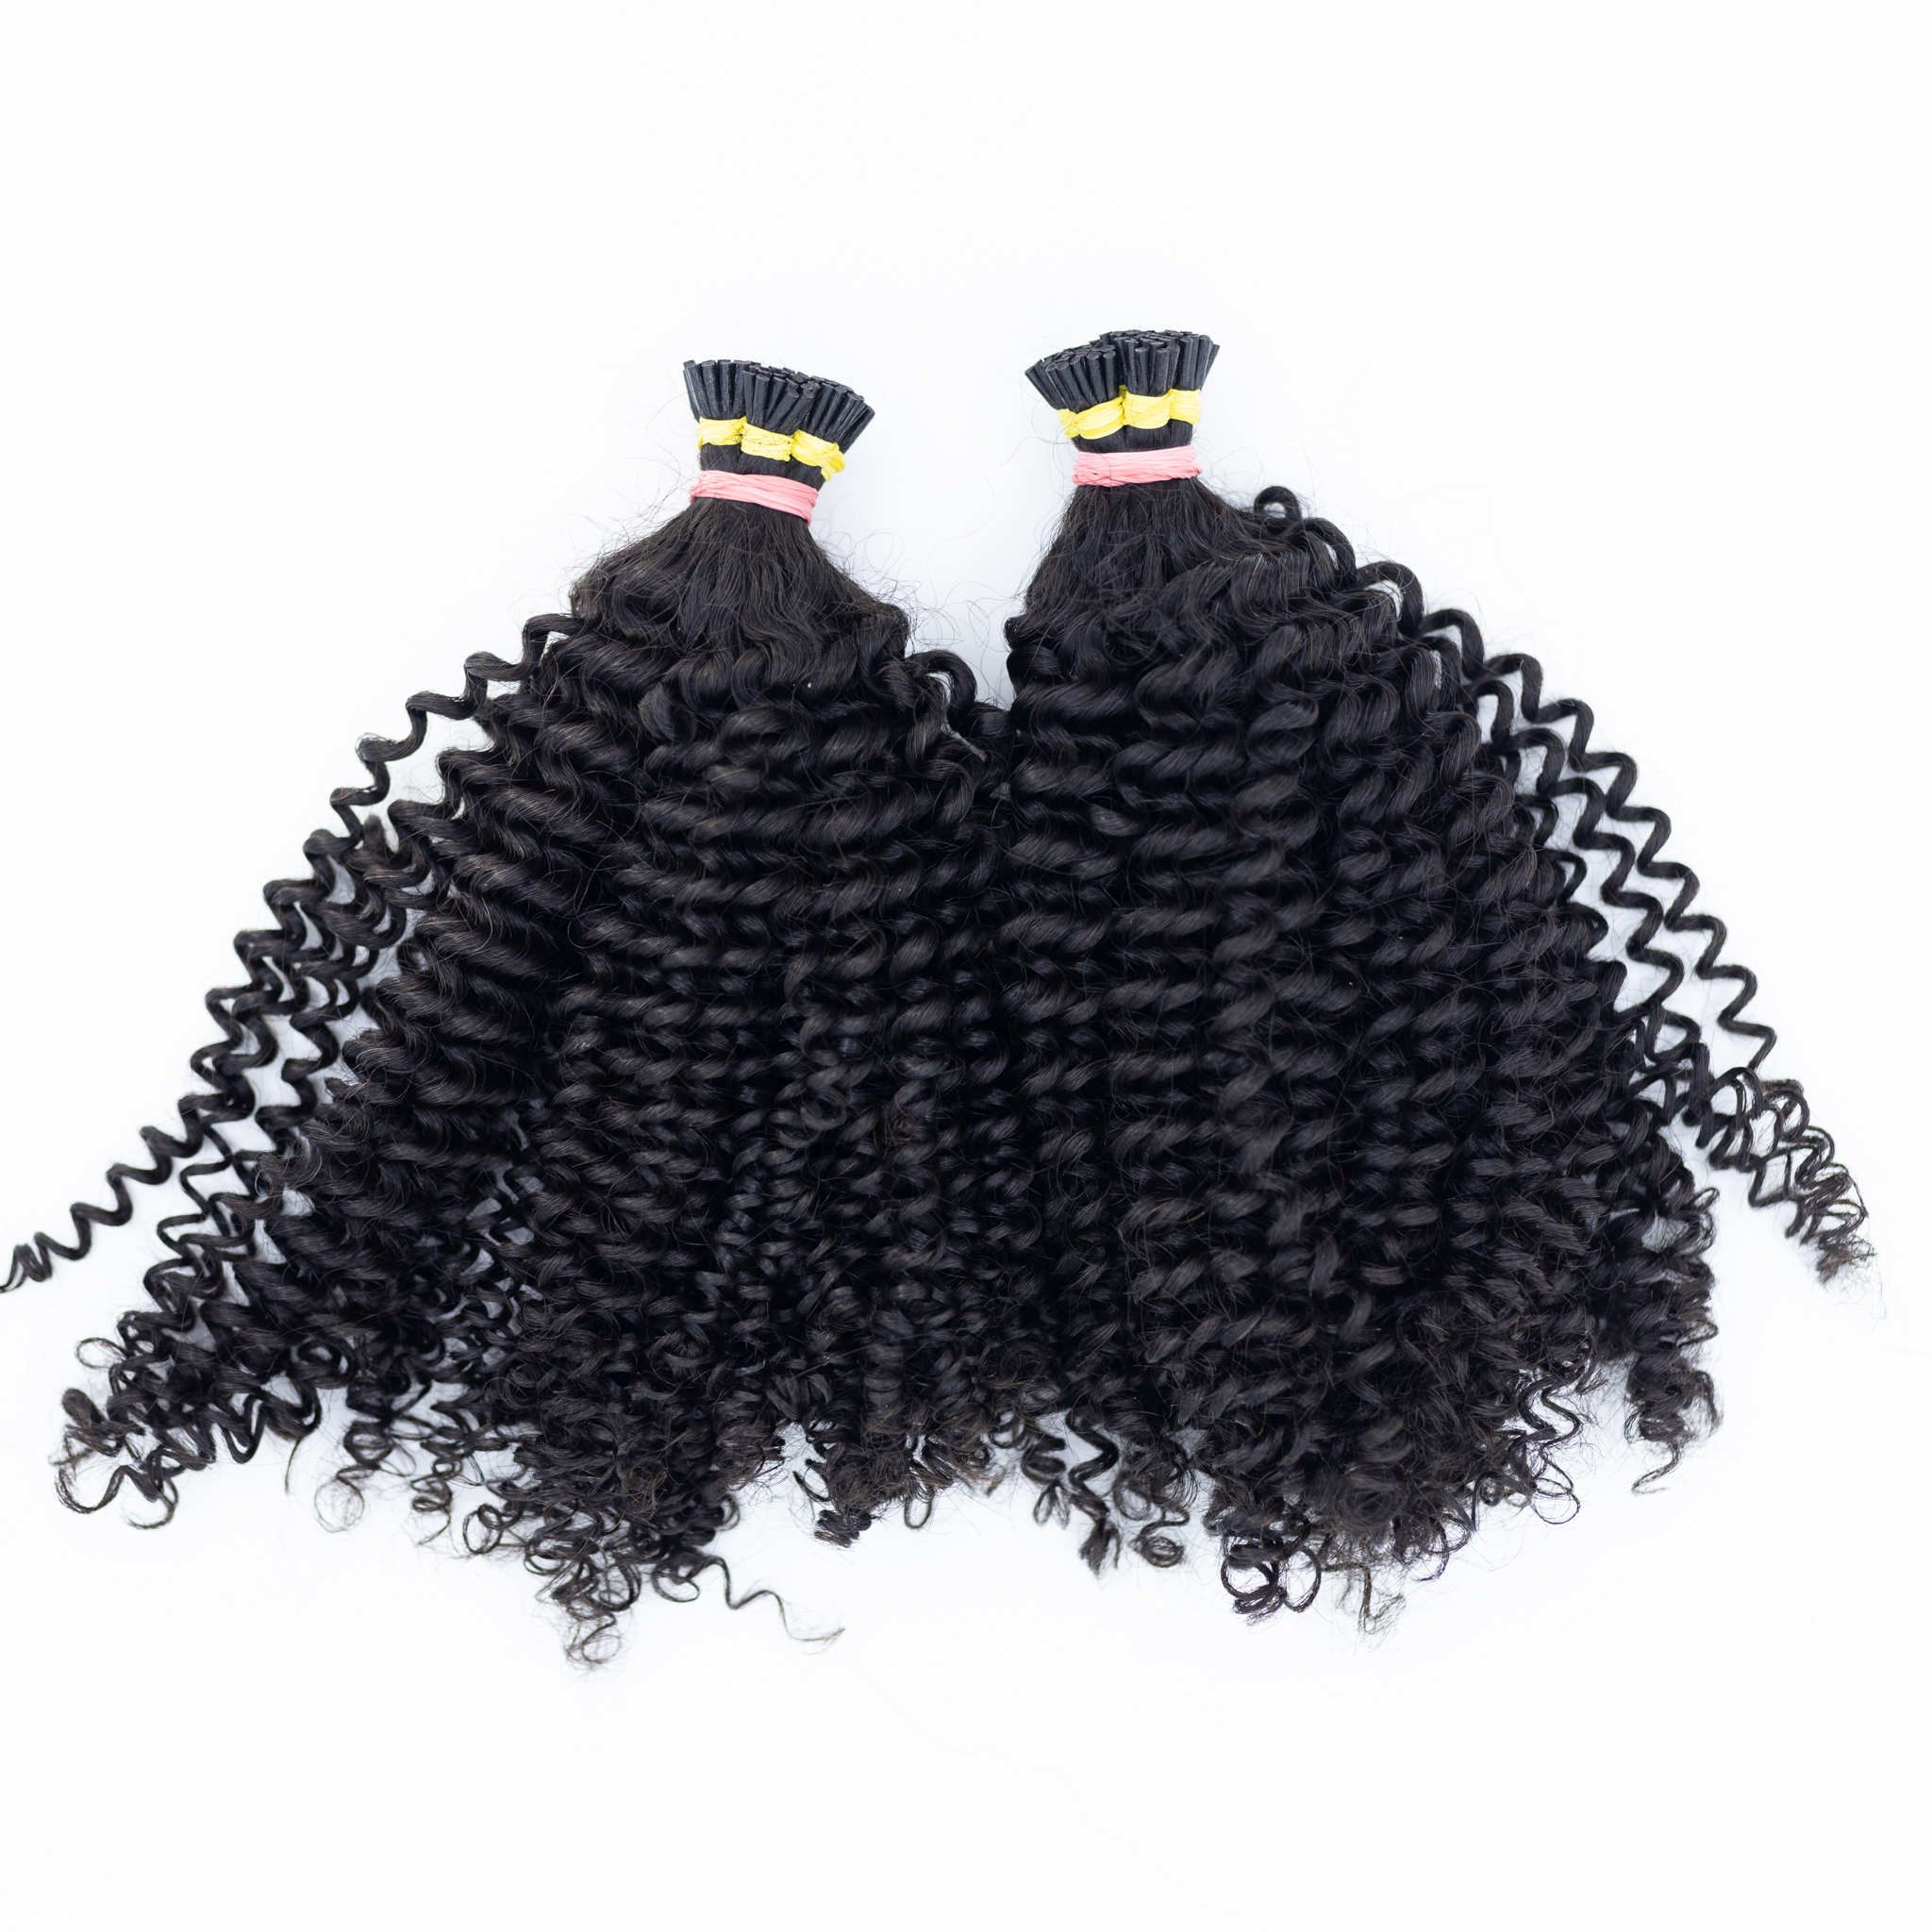
Nano-tip extensions are semi-permanent extensions that involve attaching small bundles of pre-bonded hair without using heat or glue. They’re one of the longest-lasting extensions, too, offering up to nine months of wear before they need to be taken out professionally.
They are attached to your natural hair using tiny metal rings called nanorings. These are attached to a small section of hair before a single strand of extensions is threaded through.
A professional hairstylist then uses special pliers to clamp the ring, attaching the extensions to the hair, so they don’t become loose or fall out. Attaching and removing nano tip extensions is a skilled process performed by professionals with specialist tools – so, you shouldn’t try to remove them yourself at home.
How To Remove Stick Tip Hair Extensions
Step 1: Expose your client’s hair extensions by sectioning and securing off your client’s natural hair on the top of their head. You should now be able to see the top row of hair extensions clearly.
Step 2: We would then recommend sectioning the hair extensions into 3 parts, taking the side section from the back of the ear forward on both sides and leaving the back free to work on first.
Step 3: As the back is the larger section, it is best to start here. Taking each extension one by one, slowly squeeze the micro ring/copper tubes in the opposite way to how they were closed so that the ring opens and releases the hair extension. If the hair extension has been in for 3-4 months, it may need a small tug to release itself, so be sure to support the client’s hair with one hand, giving the hair extension a gentle tug, and it will slide free.
Step 4: Next you will need to deconstruct the strand slowly. When looking at the strand with the ring removed, you will notice a “ball” sitting where the extension once was. This has been formed throughout the months your client has been wearing her hair extensions from hairs that have been naturally shed, shampoo residue that may have sat against the ring, and some keratin residue from the stick tip that may have started to break down. This is all perfectly normal and to be expected from hair extensions that have been in for more than a month or so.
Step 5: Holding the strand in one hand below the “ball”, you will need to slowly deconstruct the strand hair by hair using the tail end of your comb. Using your comb’s tail end, slowly slide hairs out of the “ball”, pulling from above. Taking only a few hairs at a time the hair should slide smoothly out, causing no damage or discomfort to your client. This is a far more effective way to remove the residue than to simply brush away at the hair, as this will pull and snag resulting in damaged hair and discomfort for the client.
Top tip: If you have a section that is slightly more stubborn, use either an oil-based product such as the Hairapeutix pre-shampoo treatment which is 100% natural oils, or a conditioning treatment such as your hair extension conditioner to apply to the stubborn piece of hair, and then try again. With the extra lubrication, the hair should slide out easily. Once you have completed the back section you can move around to the sides, until you have completely removed all of the extensions. Removal times will vary from client to client, however for an individual who has cared for the hair extensions correctly this process will usually take around 1 hour.
Nano Tip Hair Extension Removal?
Nano-tip hair extensions are very easy to remove, with a pair of nano-ring opener pliers, all you need to do is squeeze the bead open and the hair extension slides out. We suggest removal and application should only be done professionally and by a trained extension specialist.
