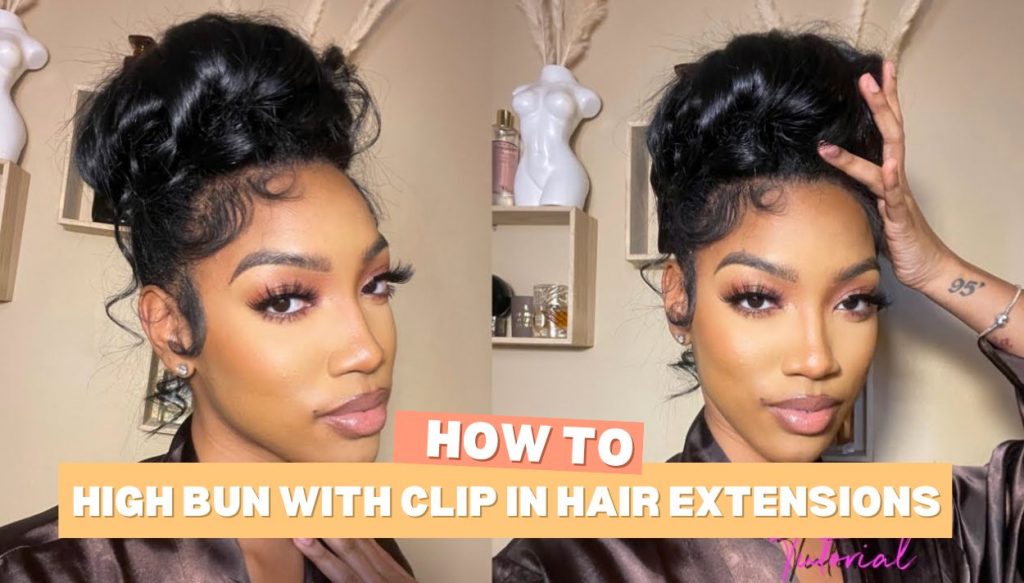
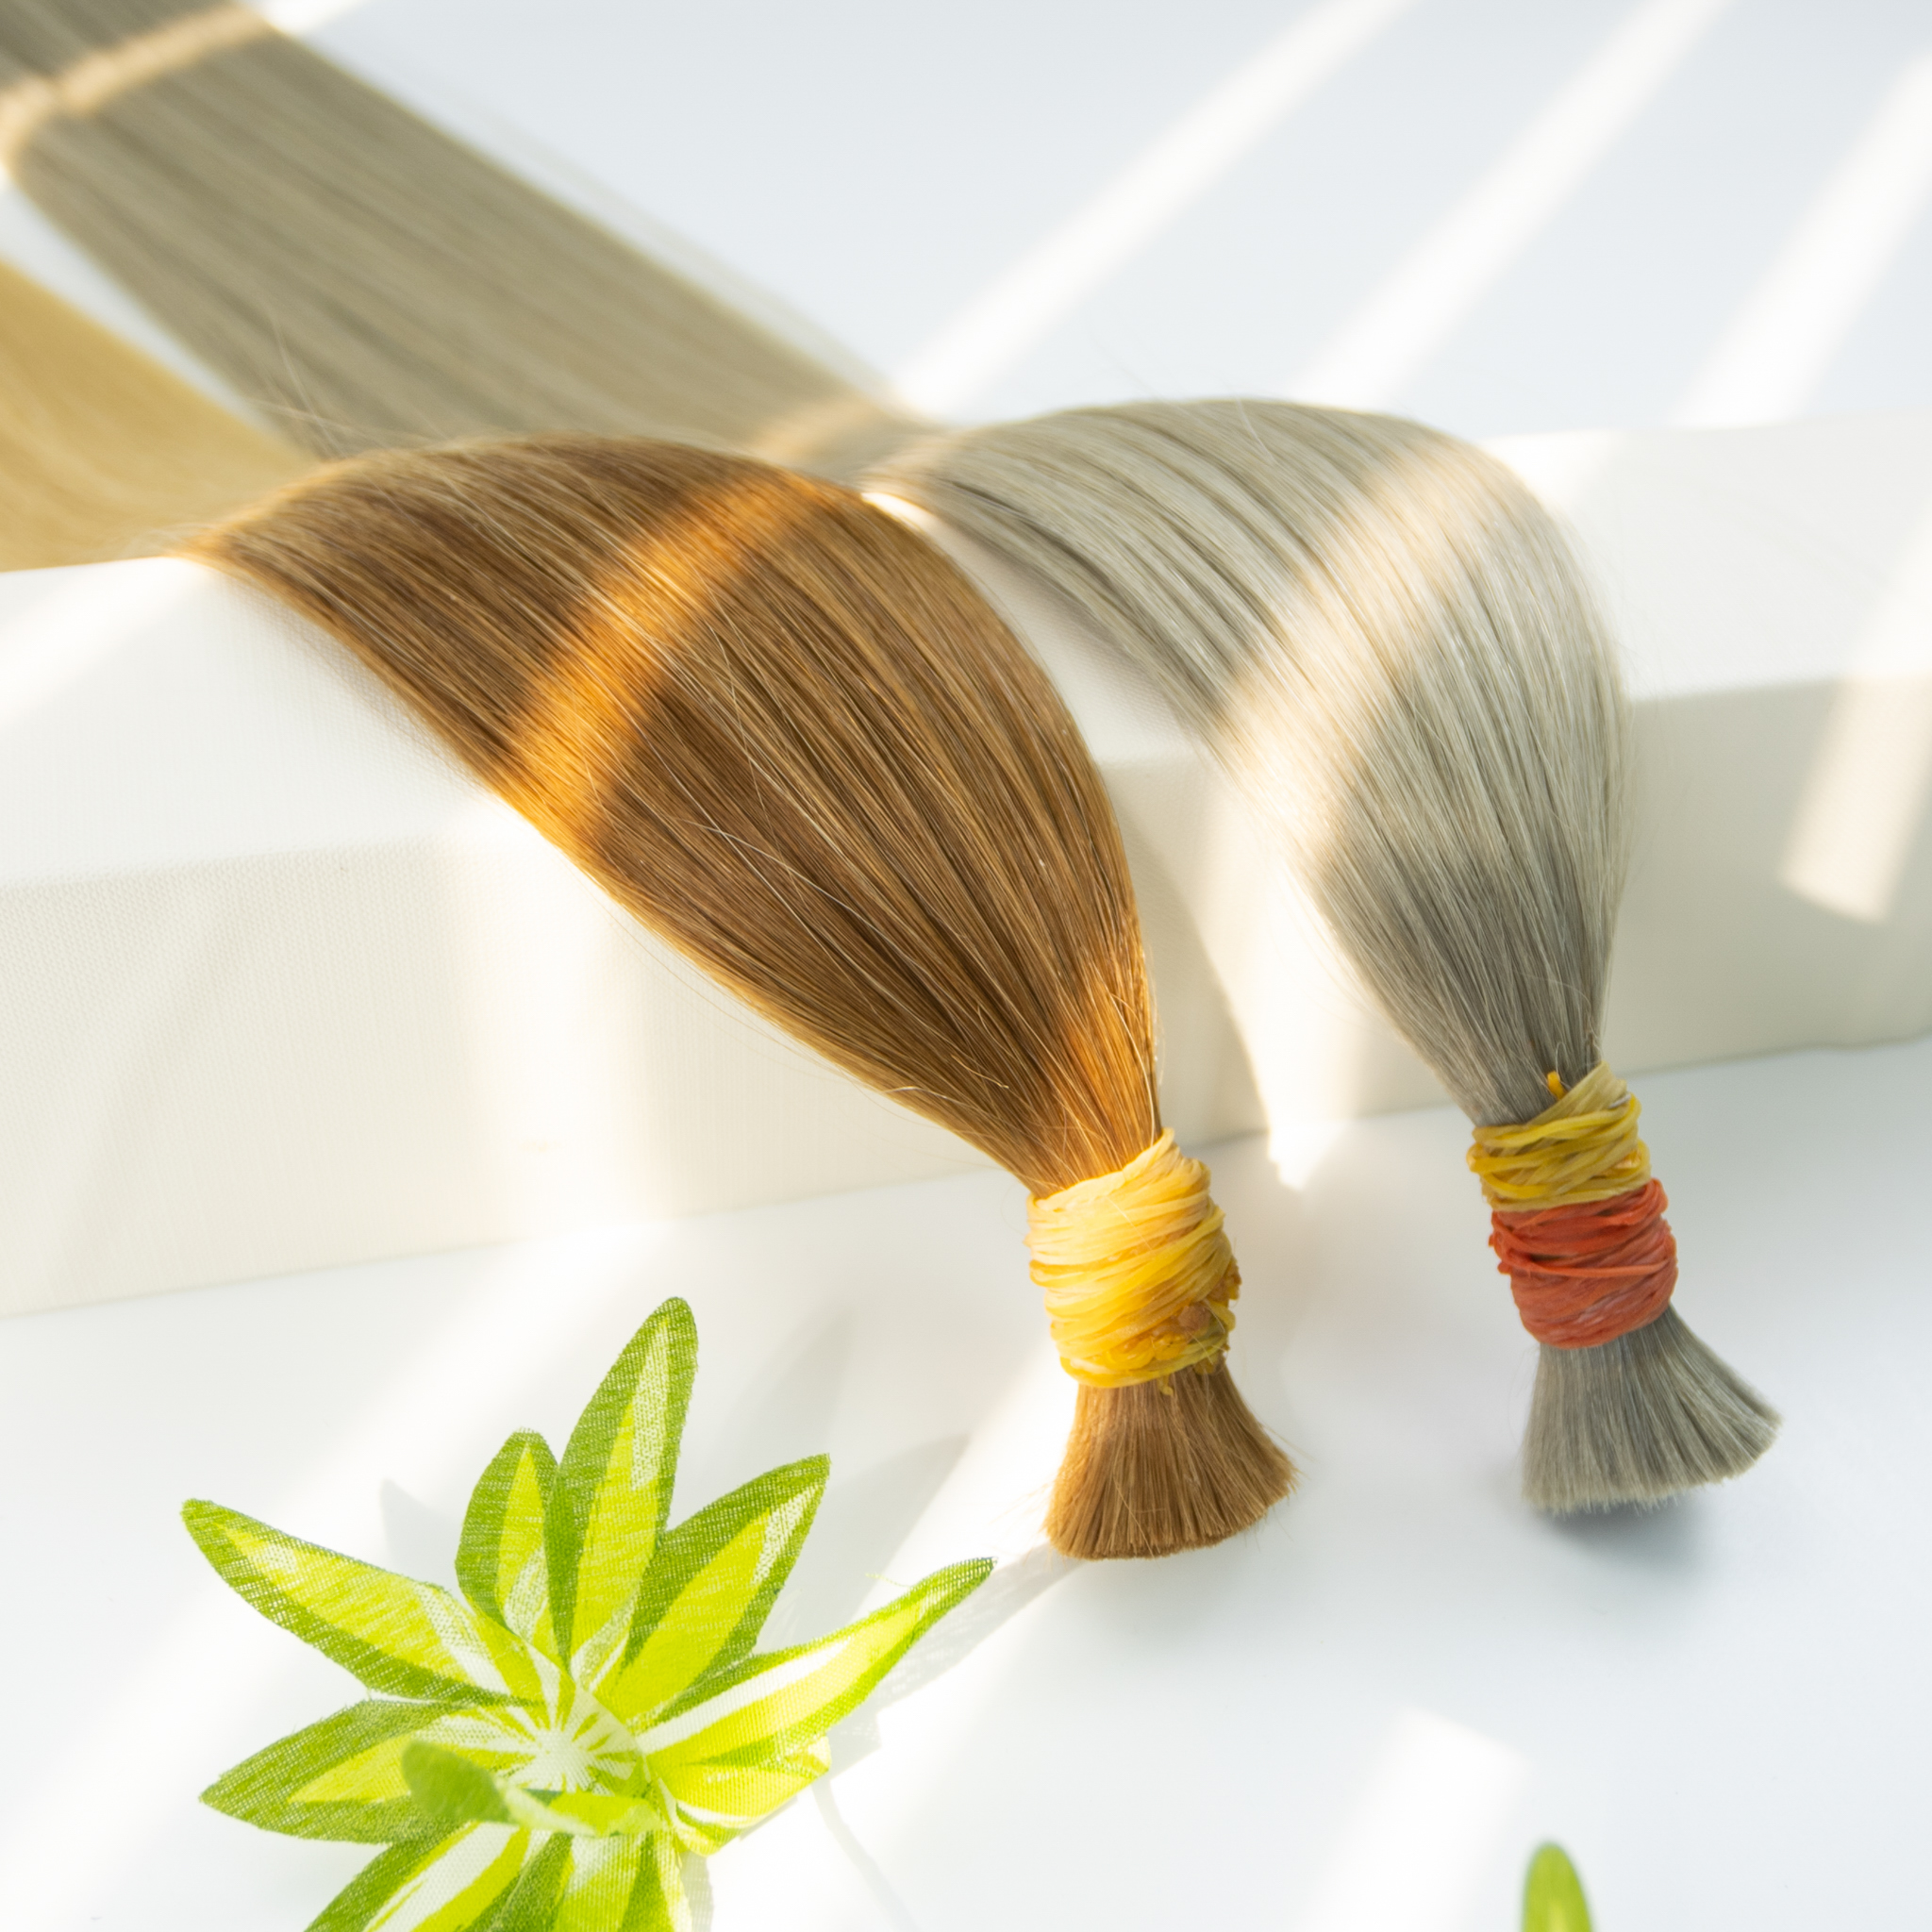
For those who adore the polished elegance of a high bun and also appreciate the added volume and length that clip-in hair extensions provide, combining these two styling elements can sometimes seem challenging. This article addresses that very challenge, offering practical techniques for seamlessly integrating clip-in extensions into a stylish high bun. If you find yourself torn between the desire for a chic updo and the benefits of wearing your extensions, you’ve come to the right place. We understand the appeal of both and are here to guide you through the process.
Many find the high bun, in particular, to be a quintessentially chic and sophisticated hairstyle. Its versatility allows it to transition effortlessly from casual daytime looks to more formal evening attire. Whether you prefer a relaxed, slightly messy top knot or a sleek, impeccably styled bun, the high bun offers a timeless appeal. However, incorporating clip-in extensions into this style can present a unique set of challenges. The goal is to achieve a natural-looking and secure bun that doesn’t reveal the clips or appear bulky. This article provides two distinct methods to help you overcome these challenges and achieve a flawless high bun with your clip-in extensions.
We recognize the common struggle of trying to create an updo while also managing the placement and blending of clip-in extensions. The fear of visible clips or an unnatural-looking bun can often deter people from even attempting this style. This guide aims to alleviate those concerns by offering simple yet effective tips and tricks. By following these techniques, you’ll be able to confidently create a high bun that seamlessly incorporates your extensions, resulting in a beautiful, voluminous, and secure updo that looks effortlessly chic.
How to High Bun with Clip In Hair Extensions – Technique #1
This section details two distinct methods for achieving a flawless high bun while seamlessly incorporating clip-in hair extensions. Each technique offers a unique approach, catering to different preferences and desired end results.
Technique #1: The Inverted Clip-In Method for a Messy High Bun
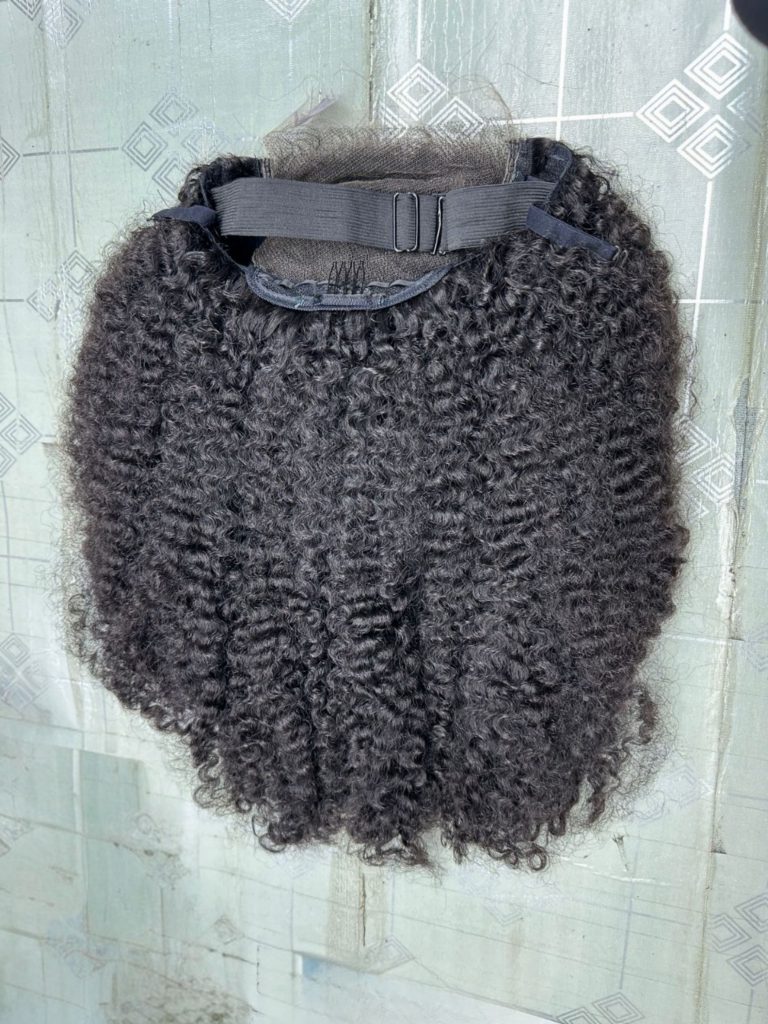
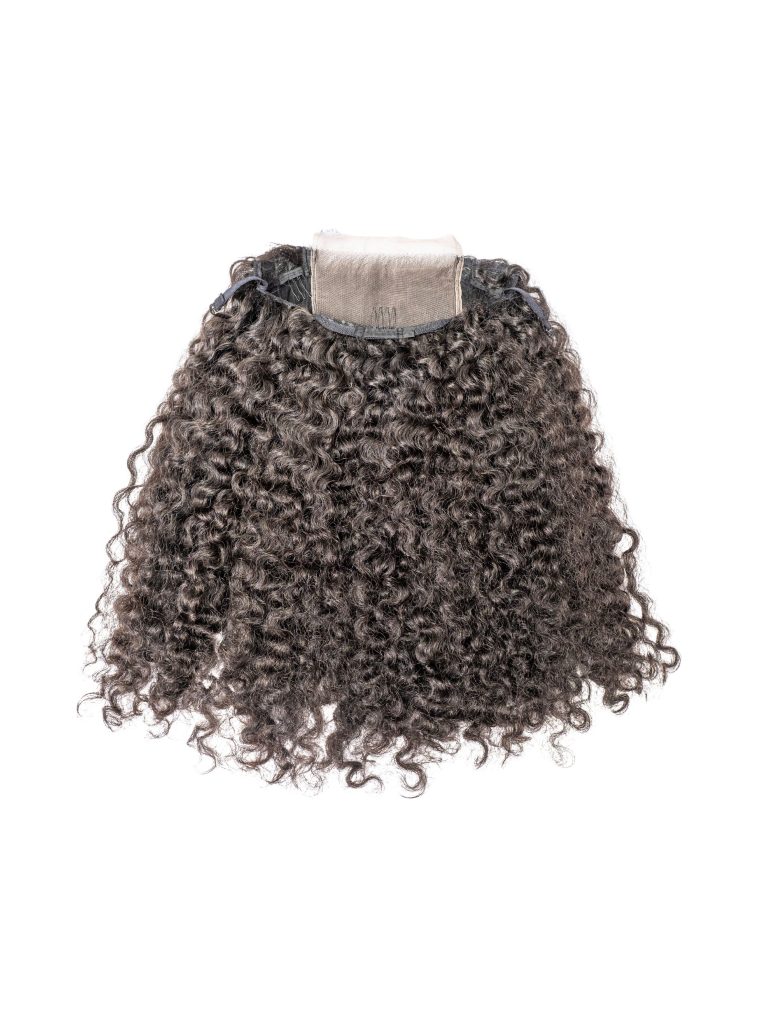
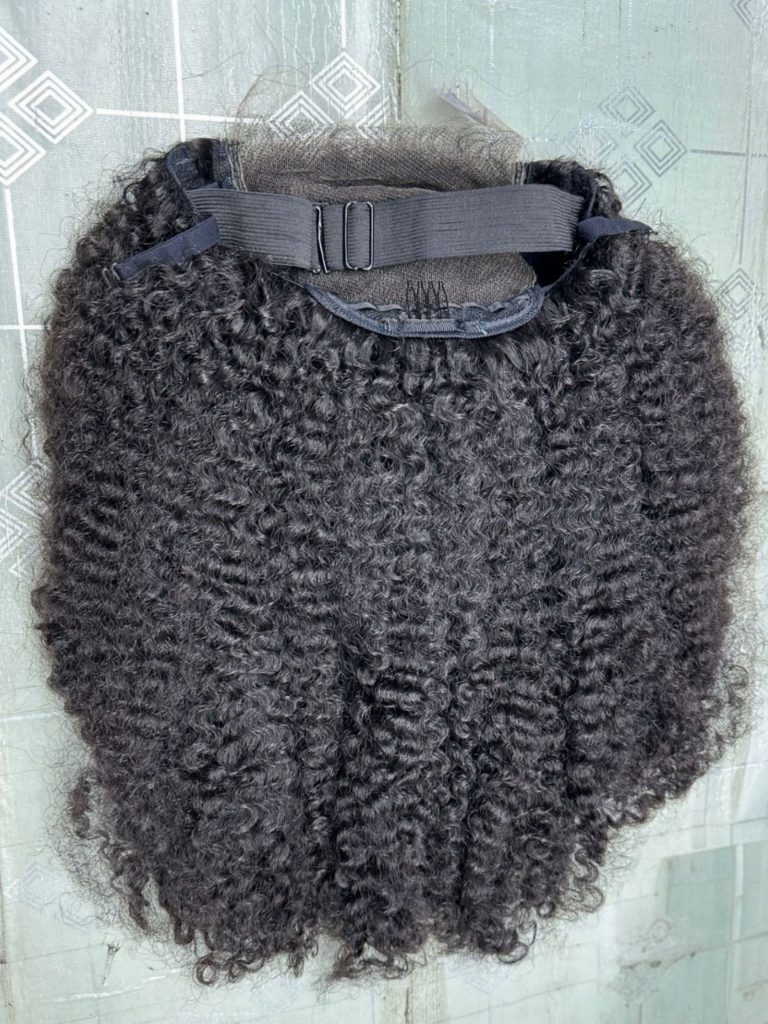
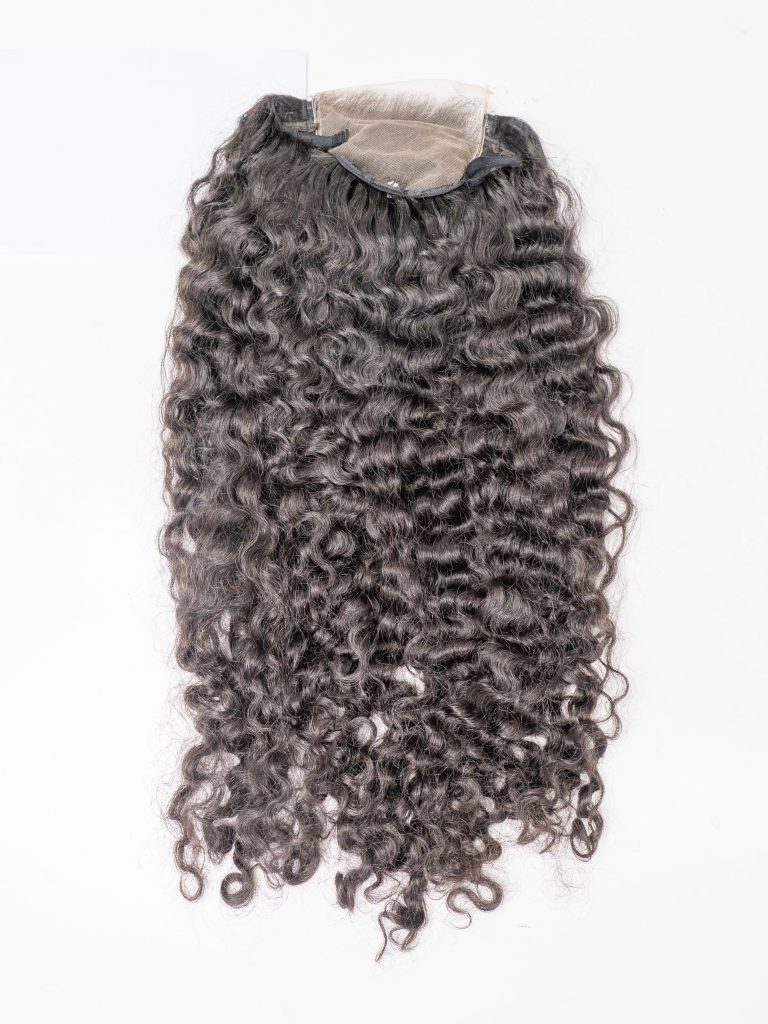
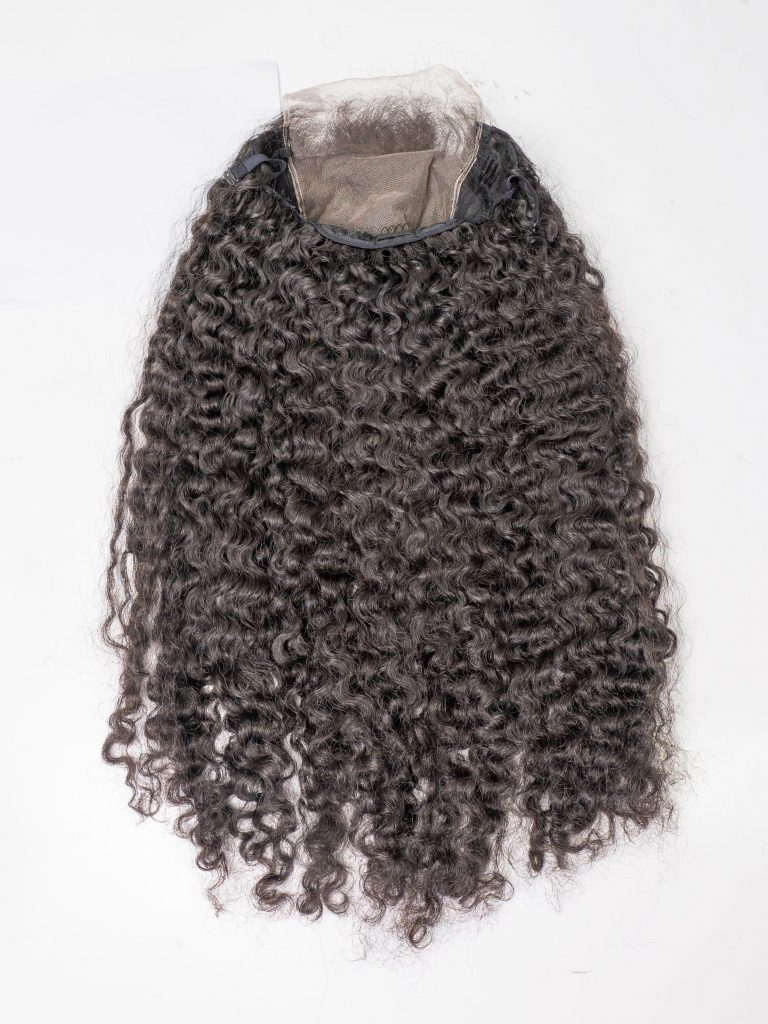
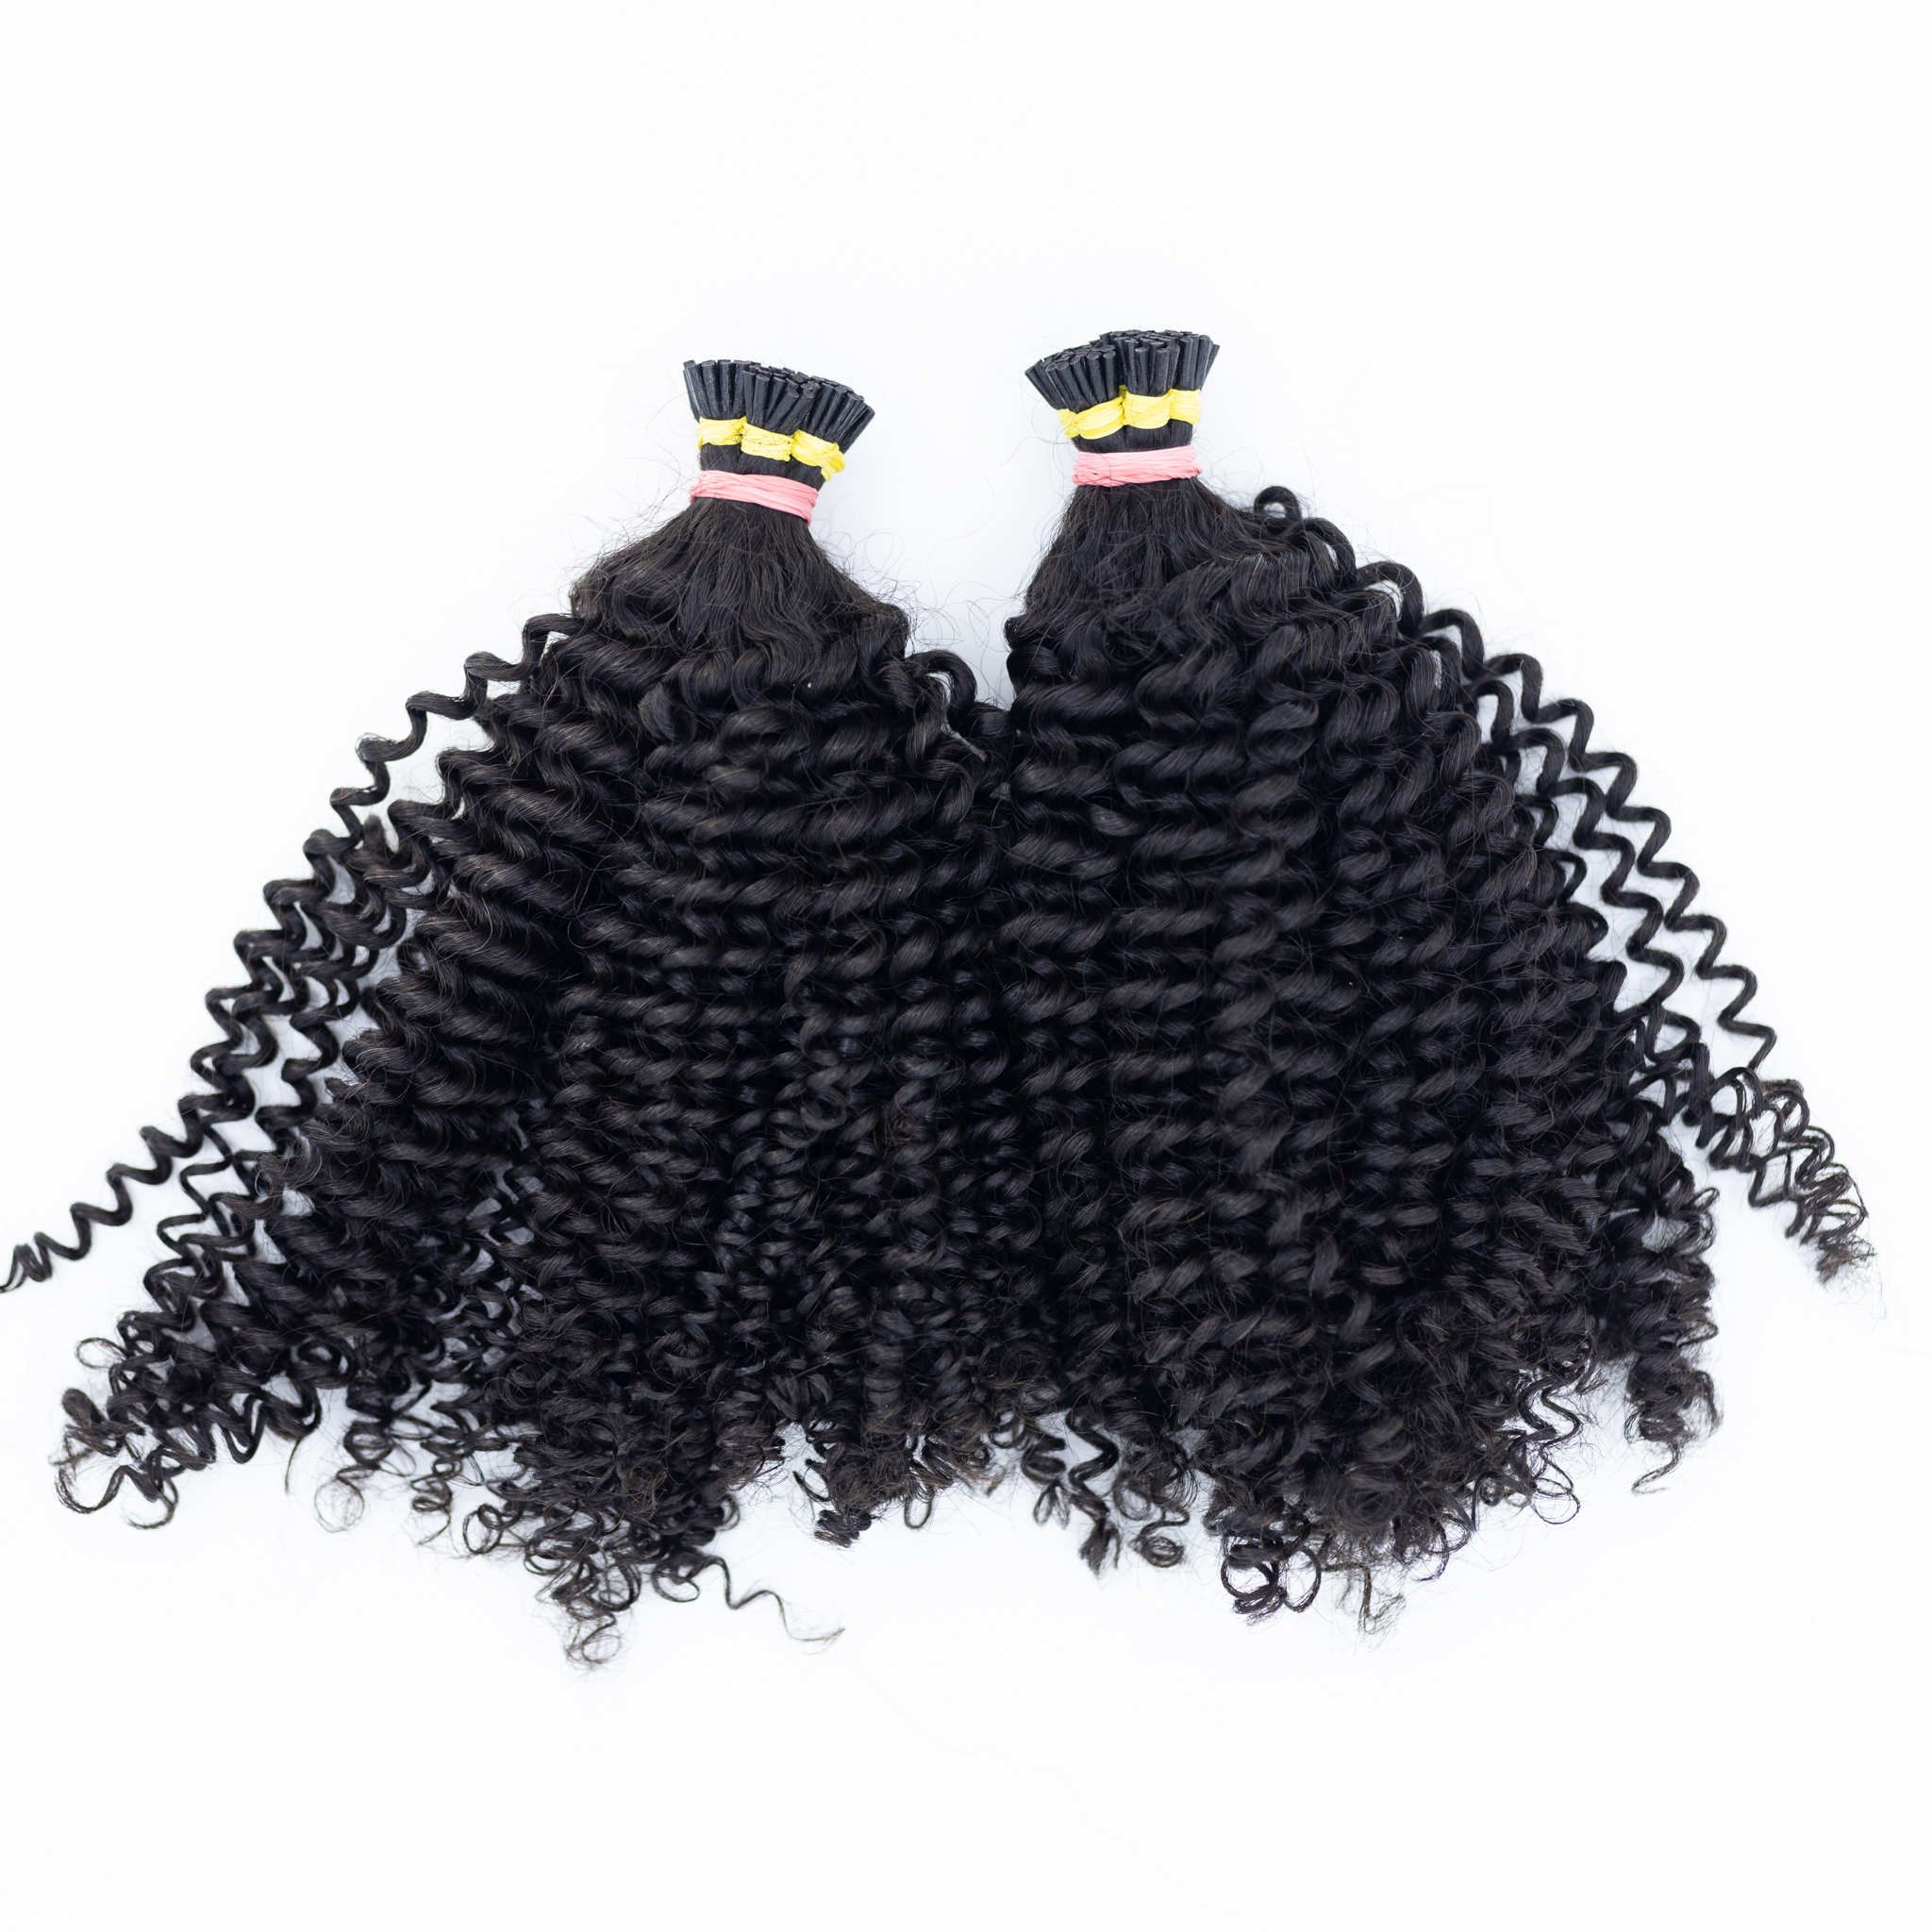
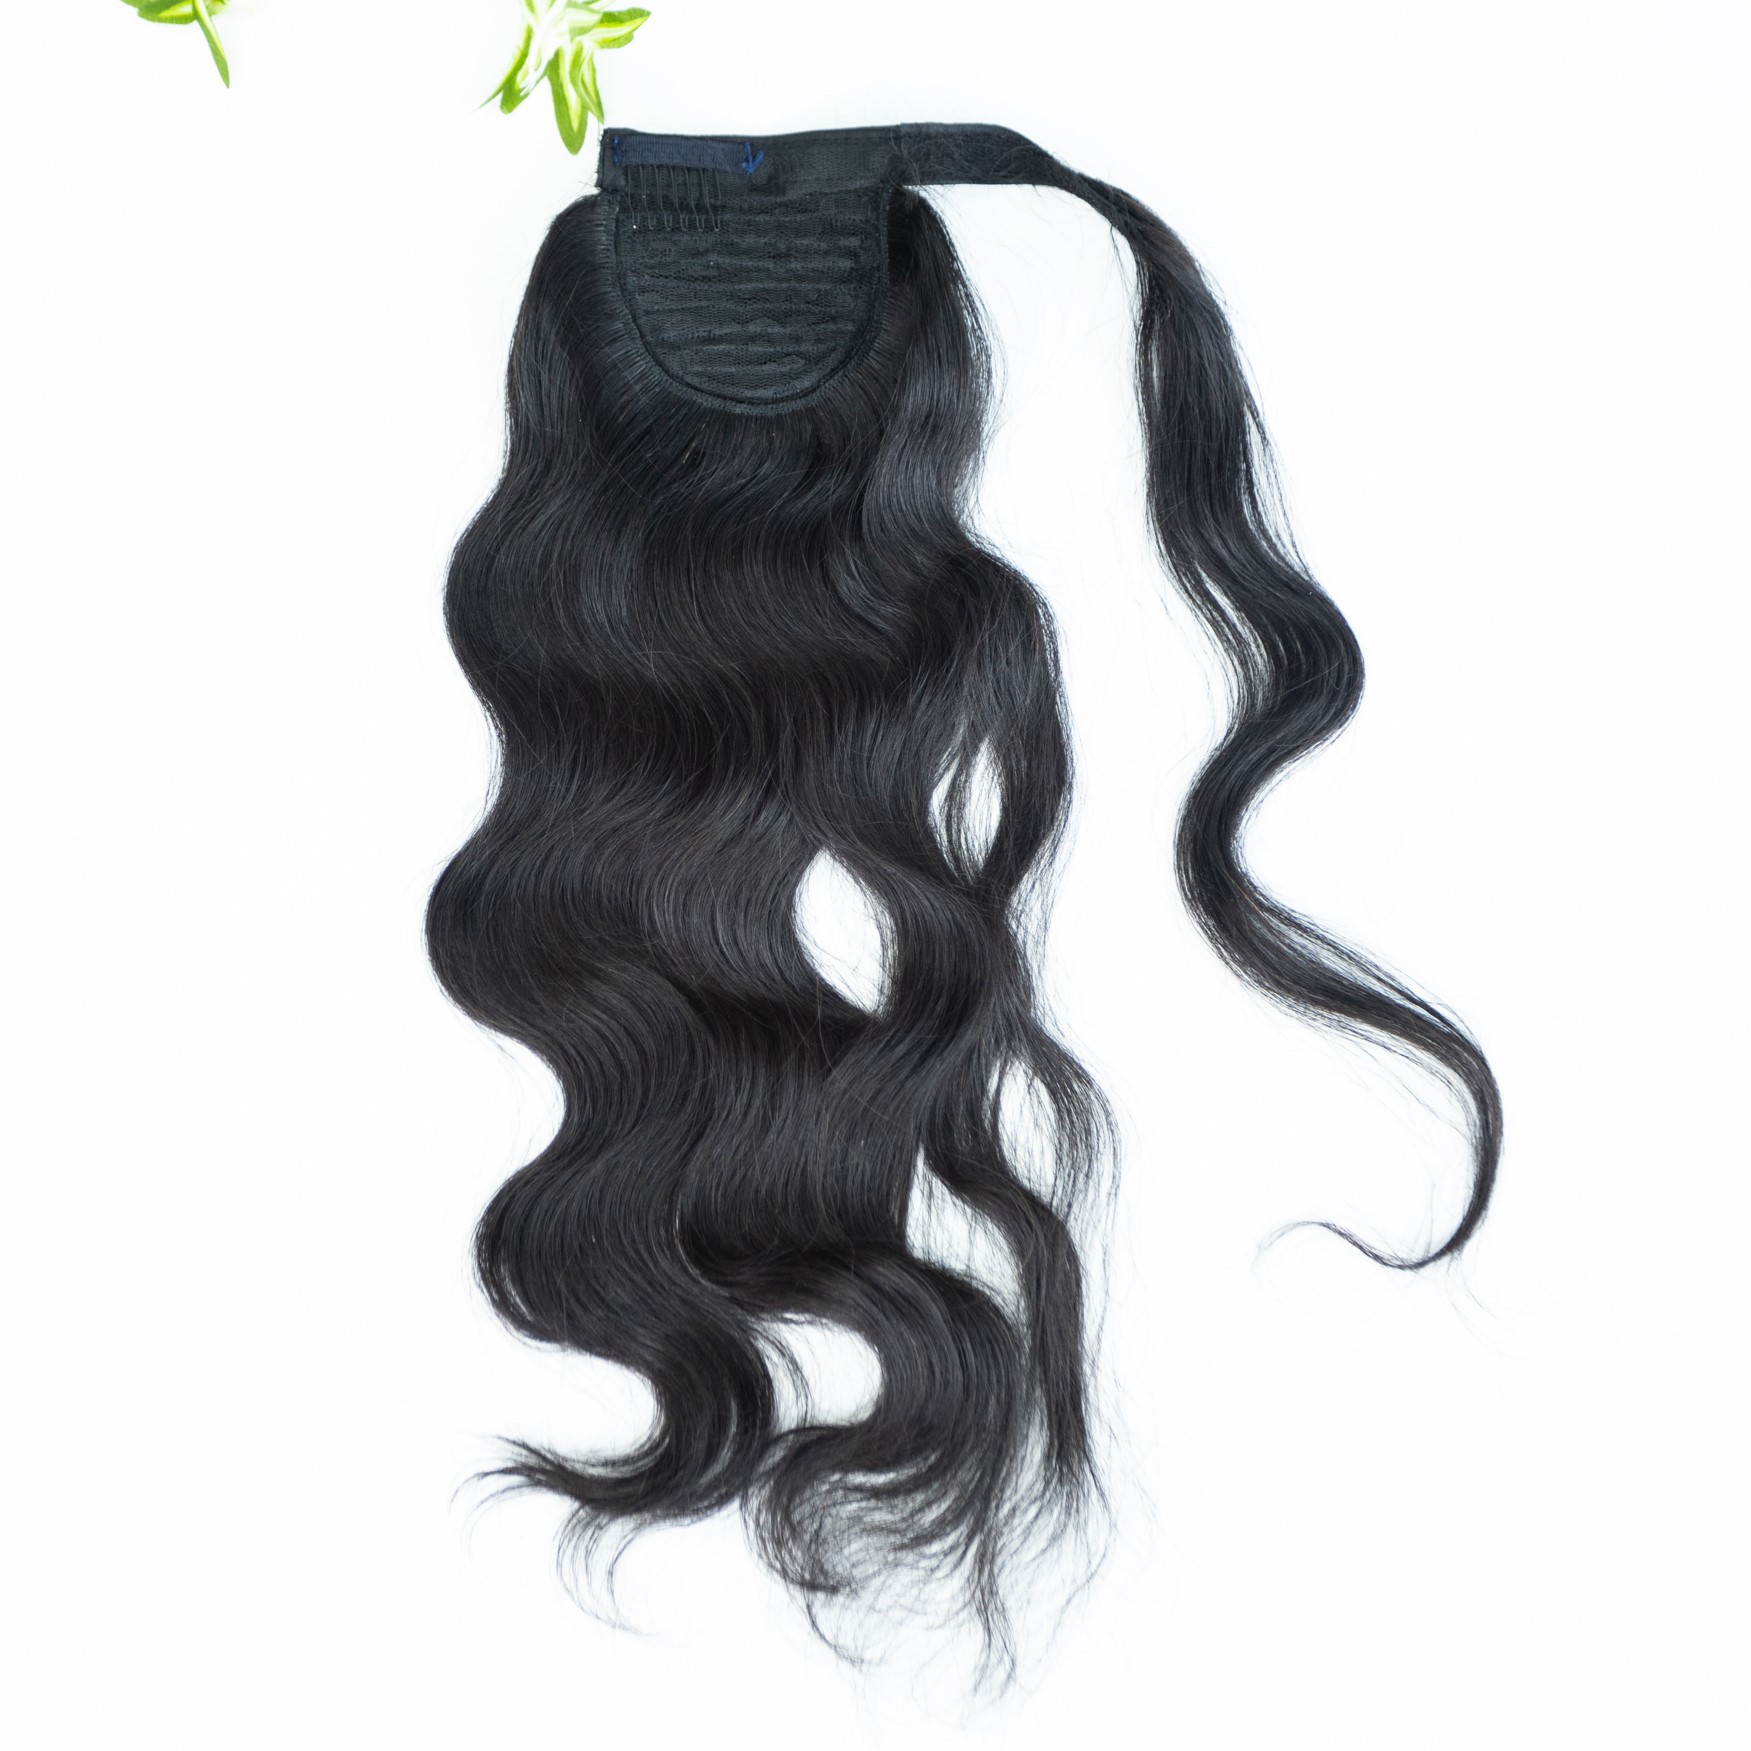
This first technique is remarkably versatile and can be adapted for various updo styles, not just the high bun. It addresses a common concern when using extensions for updos: how to effectively conceal the wefts and clips. The key lies in strategic placement, often involving clipping the extensions in an unconventional way. This method reveals the secret behind achieving styles like boxer braids with extensions, where the wefts are cleverly hidden within the braid itself. The trick is to clip your extensions either upside down or vertically, a simple yet effective way to ensure they remain undetectable within any updo, including a messy high bun.
To create a messy high bun using this inverted clip-in method, begin by sectioning your hair as you normally would when applying your clip-in extensions. However, instead of clipping the first piece at the nape of your neck, clip it high up on your head, precisely where you envision the base of your bun to sit. This initial placement is crucial for creating a natural-looking foundation for the bun.
For a secure and seamless high bun, it’s essential to clip all the extension pieces close together and in the correct position relative to each other. This ensures that all wefts are effectively hidden and that the extensions blend seamlessly with your natural hair, remaining completely undetectable. Once all the extension pieces are clipped in, gently brush through your hair to remove any tangles and ensure a smooth surface. Then, gather all of your hair, including the extensions, into a high ponytail.
This ponytail will serve as the base for your messy bun. Take the ponytail, twist it loosely, and then wrap it around the base of the ponytail to create the desired bun shape. Secure the bun in place with bobby pins, strategically placing them to ensure a firm hold. This method results in a voluminous, textured, and effortlessly chic messy high bun.
Technique #2: The Bun Doughnut Method for a Sleek Top Knot
The second technique focuses on achieving a sleek and polished top knot bun using a bun doughnut, a circular, sponge-like tool that adds volume and shape. This method is particularly effective for creating a smooth and sophisticated look.
To create a sleek top knot using the bun doughnut method, start by selecting a 3 or 5-clip weft from your set of clip-in extensions. Take the chosen weft and hook the clips approximately halfway down the side of your bun doughnut. Then, gather the hair from the weft and pull it through the center of the doughnut. To make this process easier, you can twist the hair together before threading it through the opening.
Once all the hair from the weft is pulled through the center of the doughnut, carefully spread the hair around the doughnut until it is completely covered. This creates a smooth and even base for the bun. Secure the ends of the hair in place with bobby pins, ensuring that everything stays neatly tucked and in position. If you notice any sparse areas or gaps in the coverage, repeat the process with another weft until the doughnut is fully concealed and the bun looks perfectly balanced. After preparing your extension bun, gather your natural hair into a high ponytail, positioning it where you want the final bun to sit. Then, carefully feed the prepared extension bun over the base of your natural hair ponytail.
Just as you did with the extensions, spread your natural hair evenly over the bun doughnut, ensuring it covers the doughnut completely and blends seamlessly with the extension hair. Secure your natural hair in place with bobby pins, creating a cohesive and polished final look. This technique provides a quick and easy way to achieve a professional-looking, sleek top knot with added volume and fullness from your clip-in extensions.