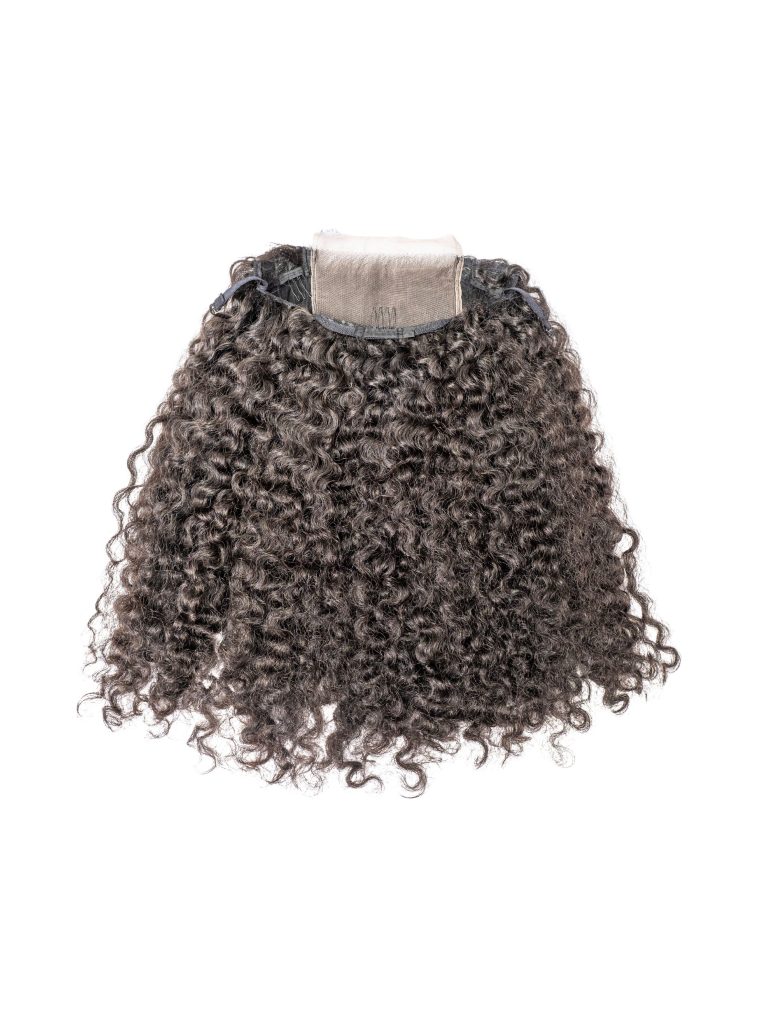
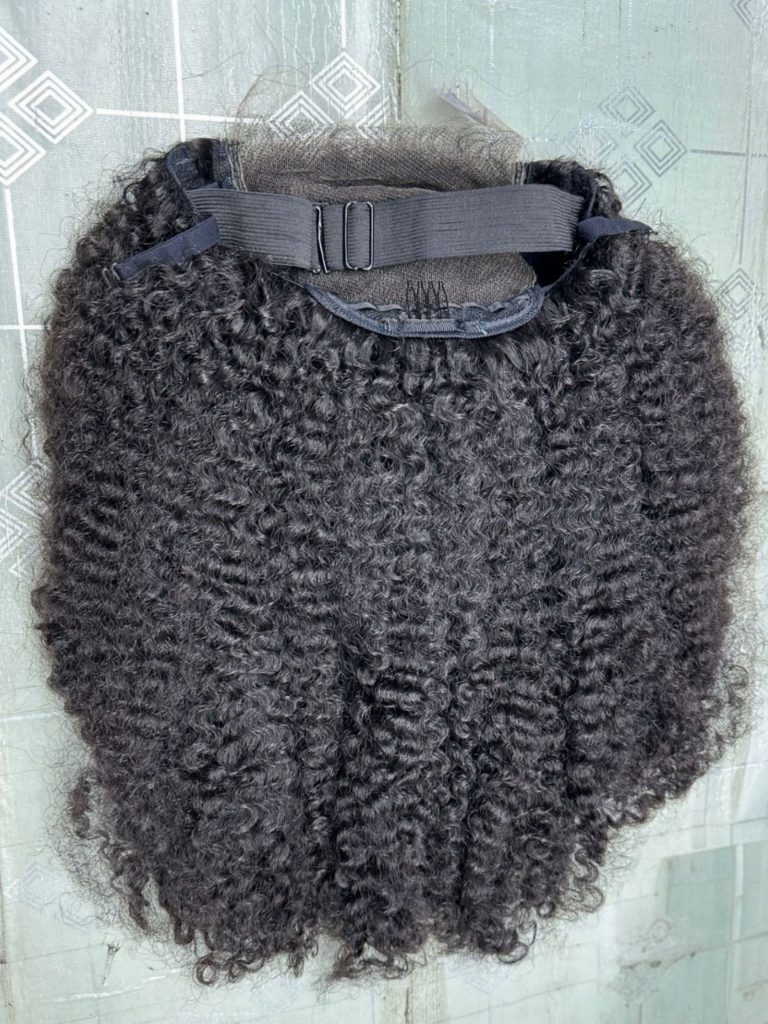
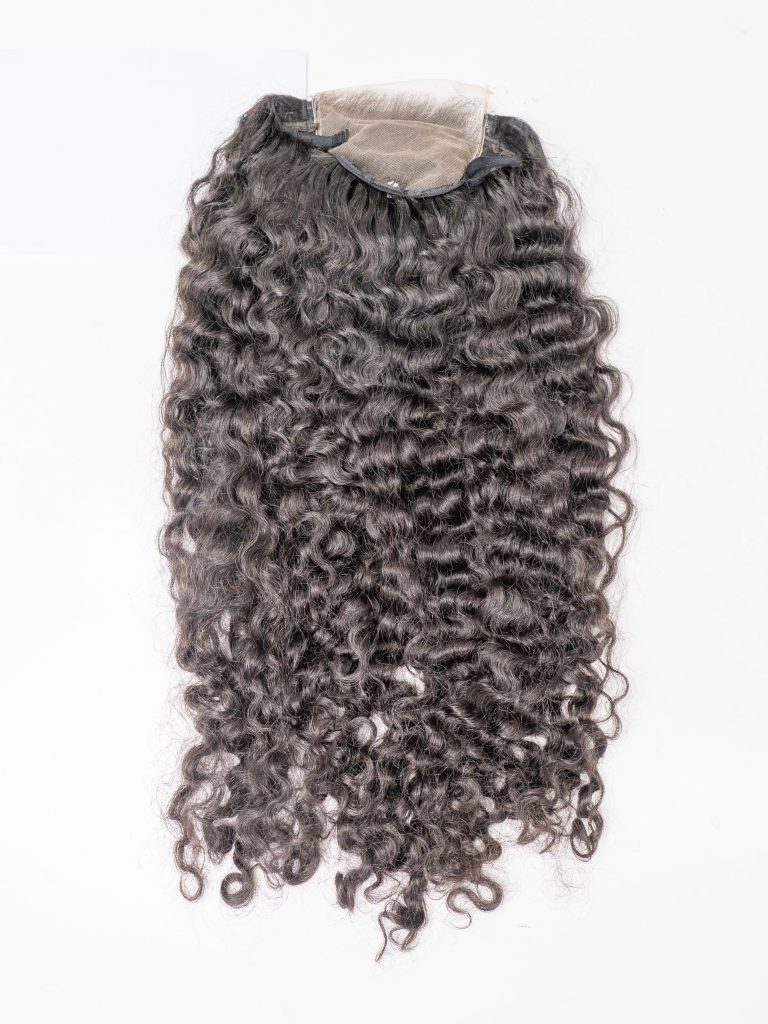
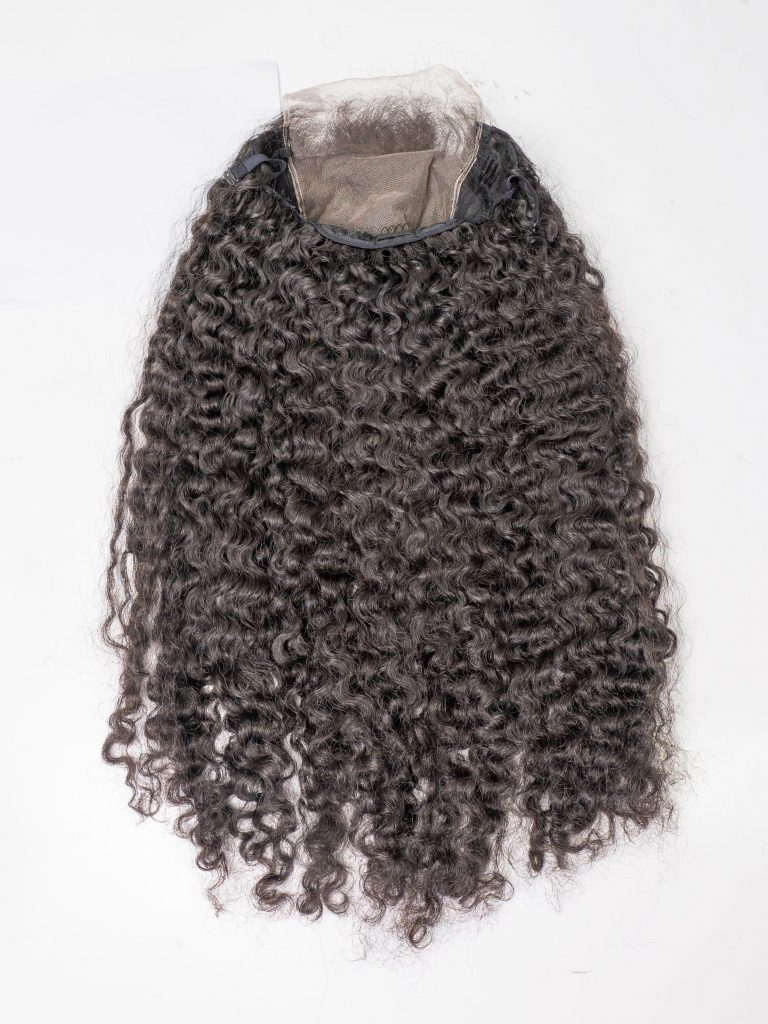
Clip-in hair extensions are a breeze to use, but not everyone knows how to make them look seamless and natural. To help your extensions blend flawlessly, it’s essential to understand the product and master the techniques for hiding them. Well-hidden tracks will let you achieve the natural hairstyle you’ve always desired.
Today, Sky Hair guides you on how to hide clip-in hair extensions and avoid five common mistakes. Whether you’re new to hair extensions or a seasoned pro, these errors can undermine your look. By recognizing and avoiding these pitfalls, you can enjoy your new style confidently.
How to Hide Clip-in Hair Extensions
Now, let’s move on to the main point of this blog: how to hide clip-in hair extensions step-by-step.
Step 1: Choose The Right Clip In Hair Extensions
The key to concealing clip-in hair extensions is finding the right color match. Ensure your extensions closely match your natural hair color. Most reputable hair extension manufacturers offer a wide range of hues, making it easier to find your perfect match.
Quality is also crucial. High-quality extensions have thinner wefts and more discrete clips, making them easier to hide. They also look more natural and are less likely to tangle.
Step 2: Determine Your Strategy
Decide on the style you want to achieve with clip-in hair extensions and plan where to place them. Do you want to add length and volume or simply highlight your hair with some bright colors? Depending on your desired hairstyle, there are various strategies to achieve your goal. Generally, you will place the clips as shown in the diagram below:
Step 3: Section Your Hair
Using a hairbrush or comb, create four horizontal sections in your hair, starting just above the nape of your neck. Clip the upper sections out of the way.
Step 4: Apply Clip-In Extensions
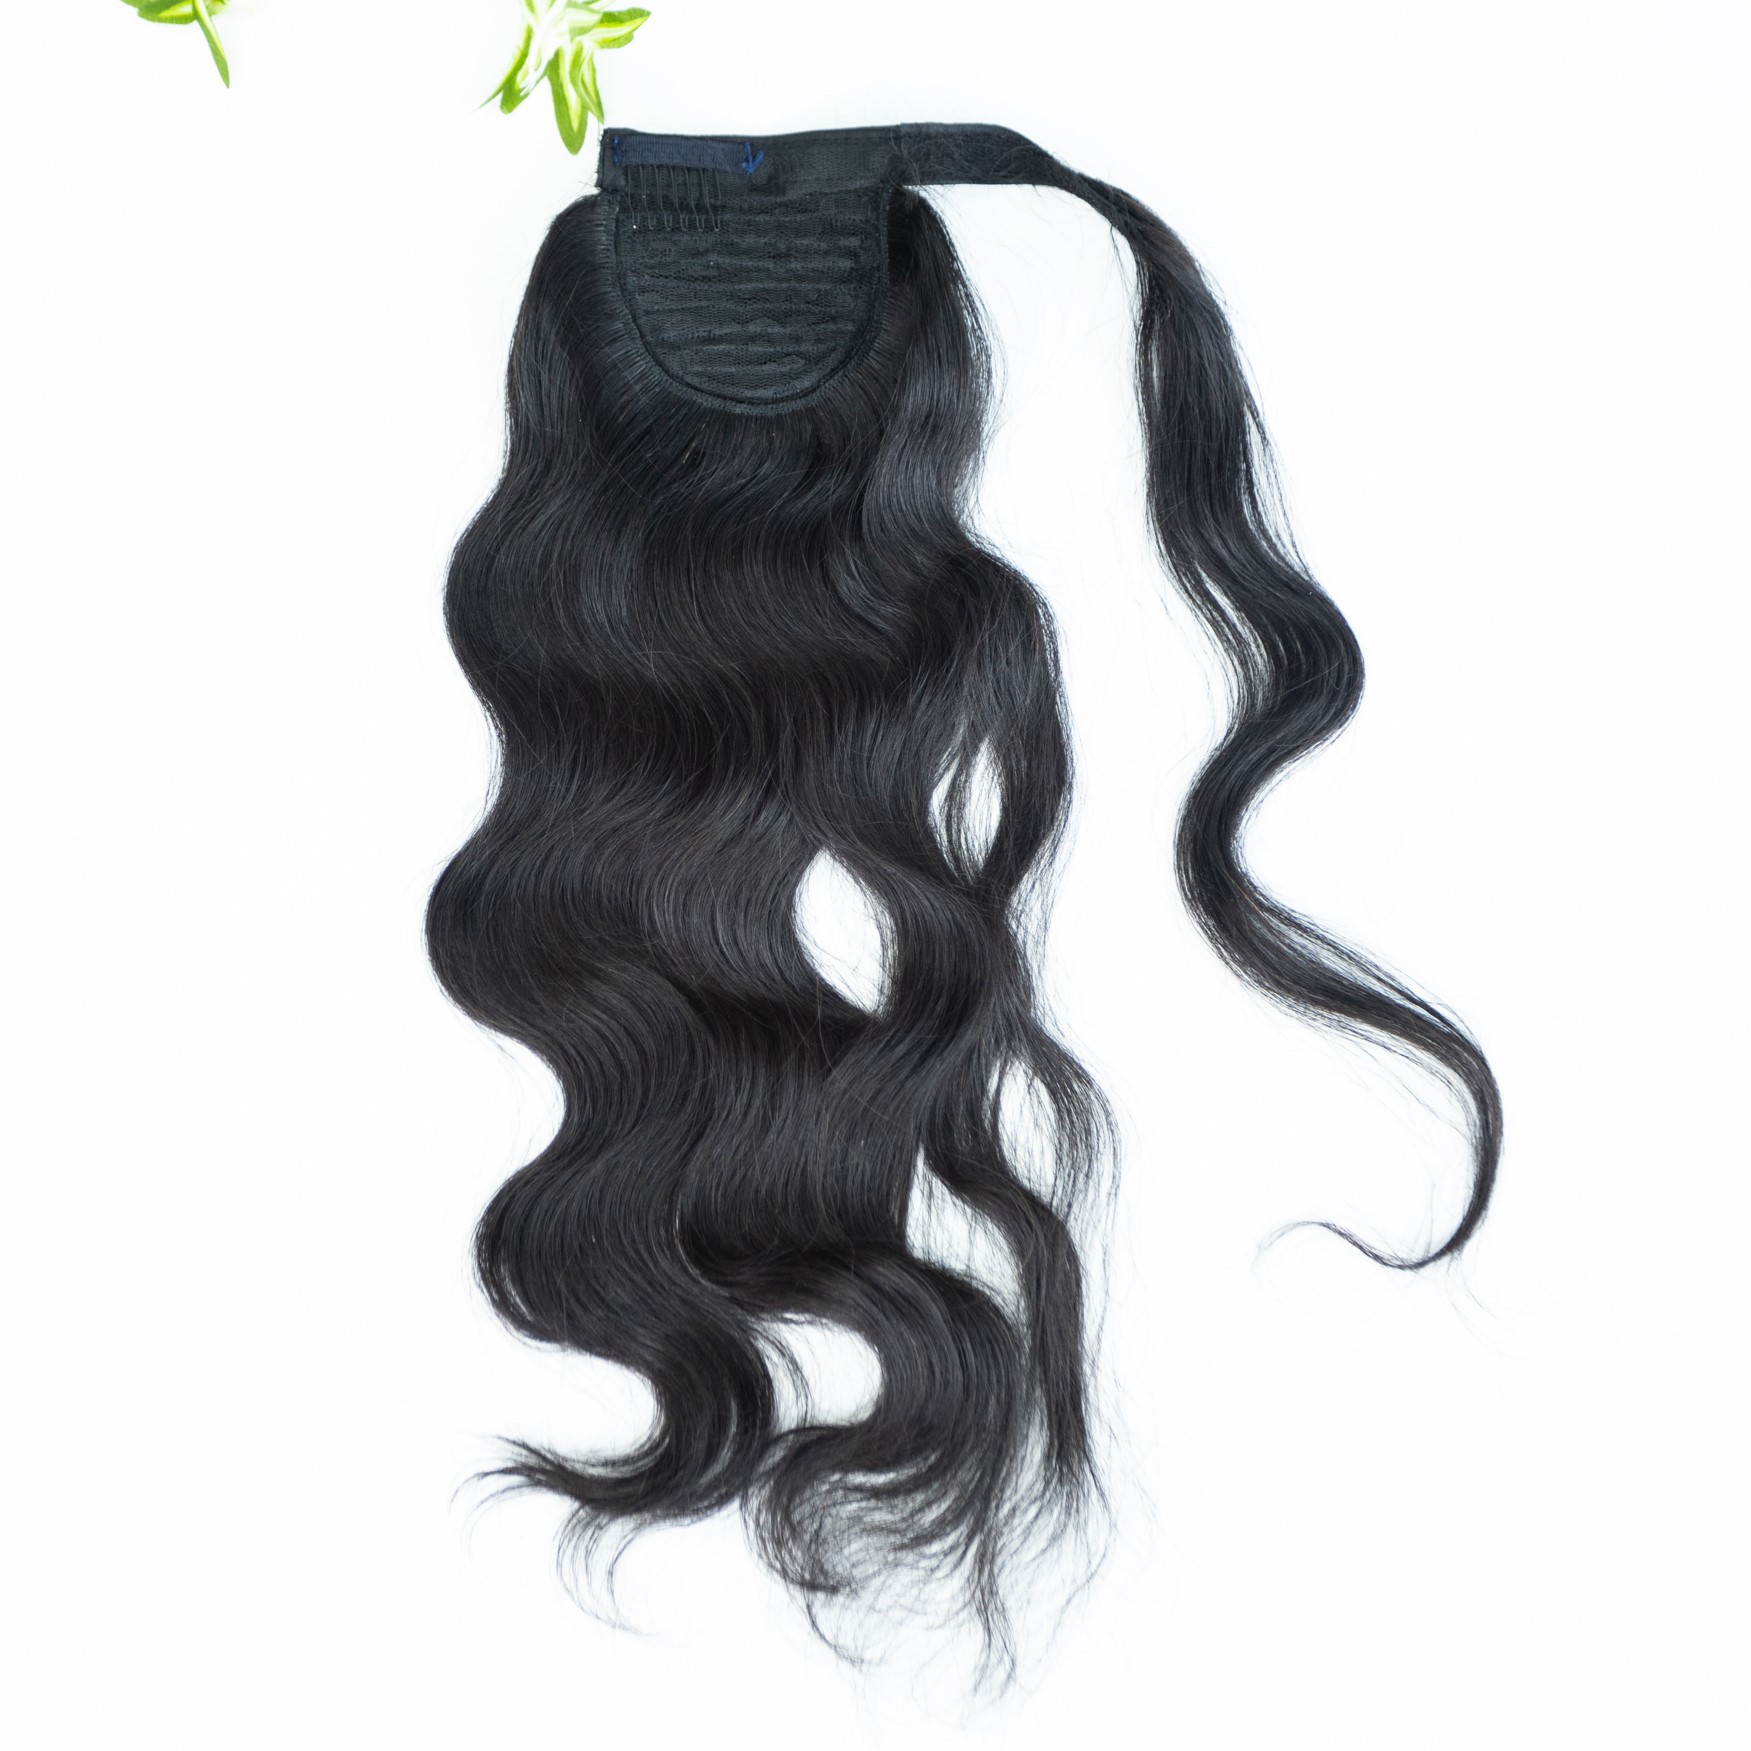
Start attaching the extensions at the lowest section. Hold the weft with one hand and open the clips with the other by pressing down in the center of each clip. Make sure the clips are ready to grip your hair.
Align the weft along the part, positioning it close to the scalp, and snap the clips shut by pressing down firmly on both sides. Cover the clips with the natural hair from the upper sections to camouflage them.
Continue this process, working your way up until all the desired wefts are attached.
Step 5: Blend And Style Hair Extensions
This step reveals the transformation of your hairstyle. Layering your natural hair over the clip-ins effectively hides them. Once all the wefts are in place, comb or brush through your hair to blend the extensions with your natural hair, creating a seamless look.
Style your hair as desired. Whether you curl, straighten, or add waves, your natural hair can help conceal the extensions. You can also trim the extensions if they are too long for you.
That’s the end of the process for hiding clip-in extensions!
Mistakes When Hiding Clip-in Hair Extensions
There are common mistakes you might make during the clipping process. Let’s explore them:
1. Using Too Many or Too Few Tracks
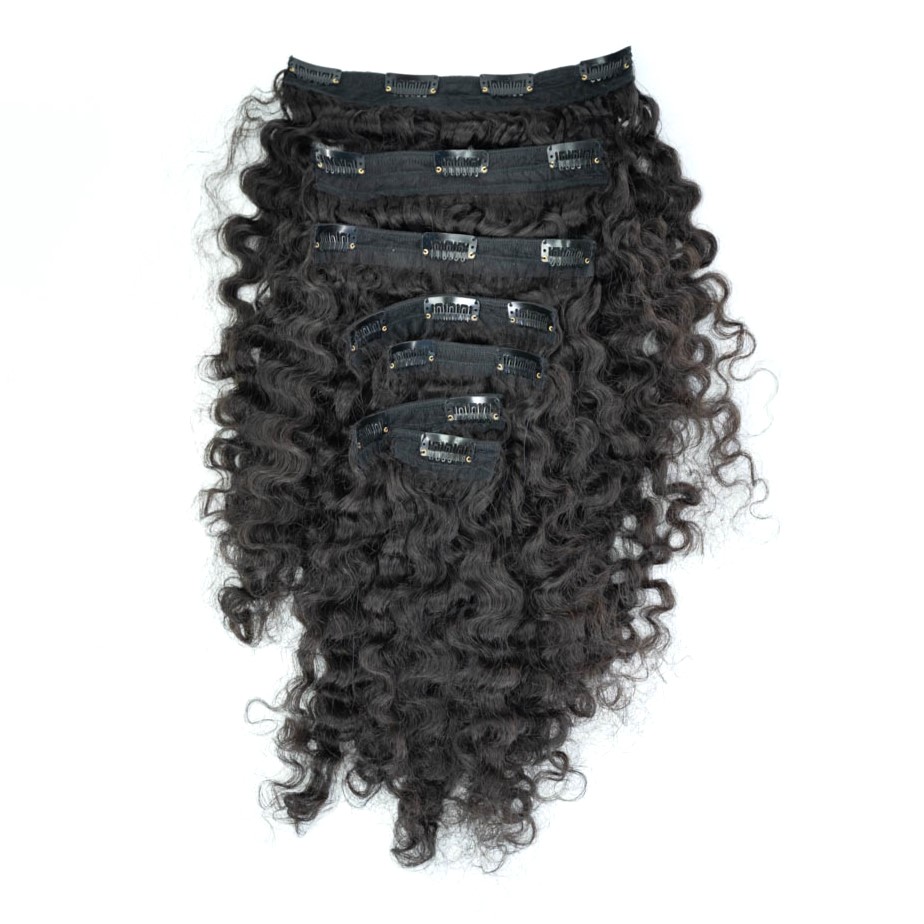
Most hair manufacturers sell clip-in hair extensions in sets, typically seven pieces per set. This means there is a recommended number of tracks for a full head. Installing too many or too few tracks can make your extensions obvious. While there’s no stigma around wearing hair extensions, the goal is a natural look. Keep the number of wefts reasonable to avoid detection.
2. Positioning Clips Too High
The placement of your hair extensions determines whether the clips are visible. Ensure even distribution to keep them hidden. Avoid placing most clips at the top of your head, as this creates an imbalance and can make the top look unnaturally voluminous. Instead, clip them lower so your natural hair covers them. Follow the placement guidelines mentioned earlier.
3. Getting Too Adventurous with Your Technique
It’s tempting to try new styles with your extensions, but this can backfire. Stick with proven routines that have worked for you in the past. Clip-in hair extensions don’t always allow for the best hair mobility. By following a precise, step-by-step approach, you can hide all tracks and avoid mistakes. If it’s not broken, don’t fix it!
4. Failing to Provide a Good Foundation for Clips
For secure clips, make sure they have something substantial to grip onto. Tease and backcomb the roots so the clips can attach firmly. Without this foundation, the extensions might slip out. Backcombing is crucial to prevent clips from falling out in social settings.
5. Wearing Extensions on a Greasy Scalp
A greasy scalp overproduces sebum, making it unsuitable for clip-in wefts. Oil and grease can cause the extensions to slip and become visible. If you have an oily scalp, prioritize sebum control methods before applying your extensions to ensure they stay in place and look natural.
Conclusion
In this blog post, we’ve shown you how to hide your clip-in hair extensions properly and outlined five common mistakes to avoid. Our goal is to give you the confidence to apply these extensions yourself and achieve a flawless finish. If you have any questions or want to add length, volume, or thickness to your hair with clip-ins, please contact us.
