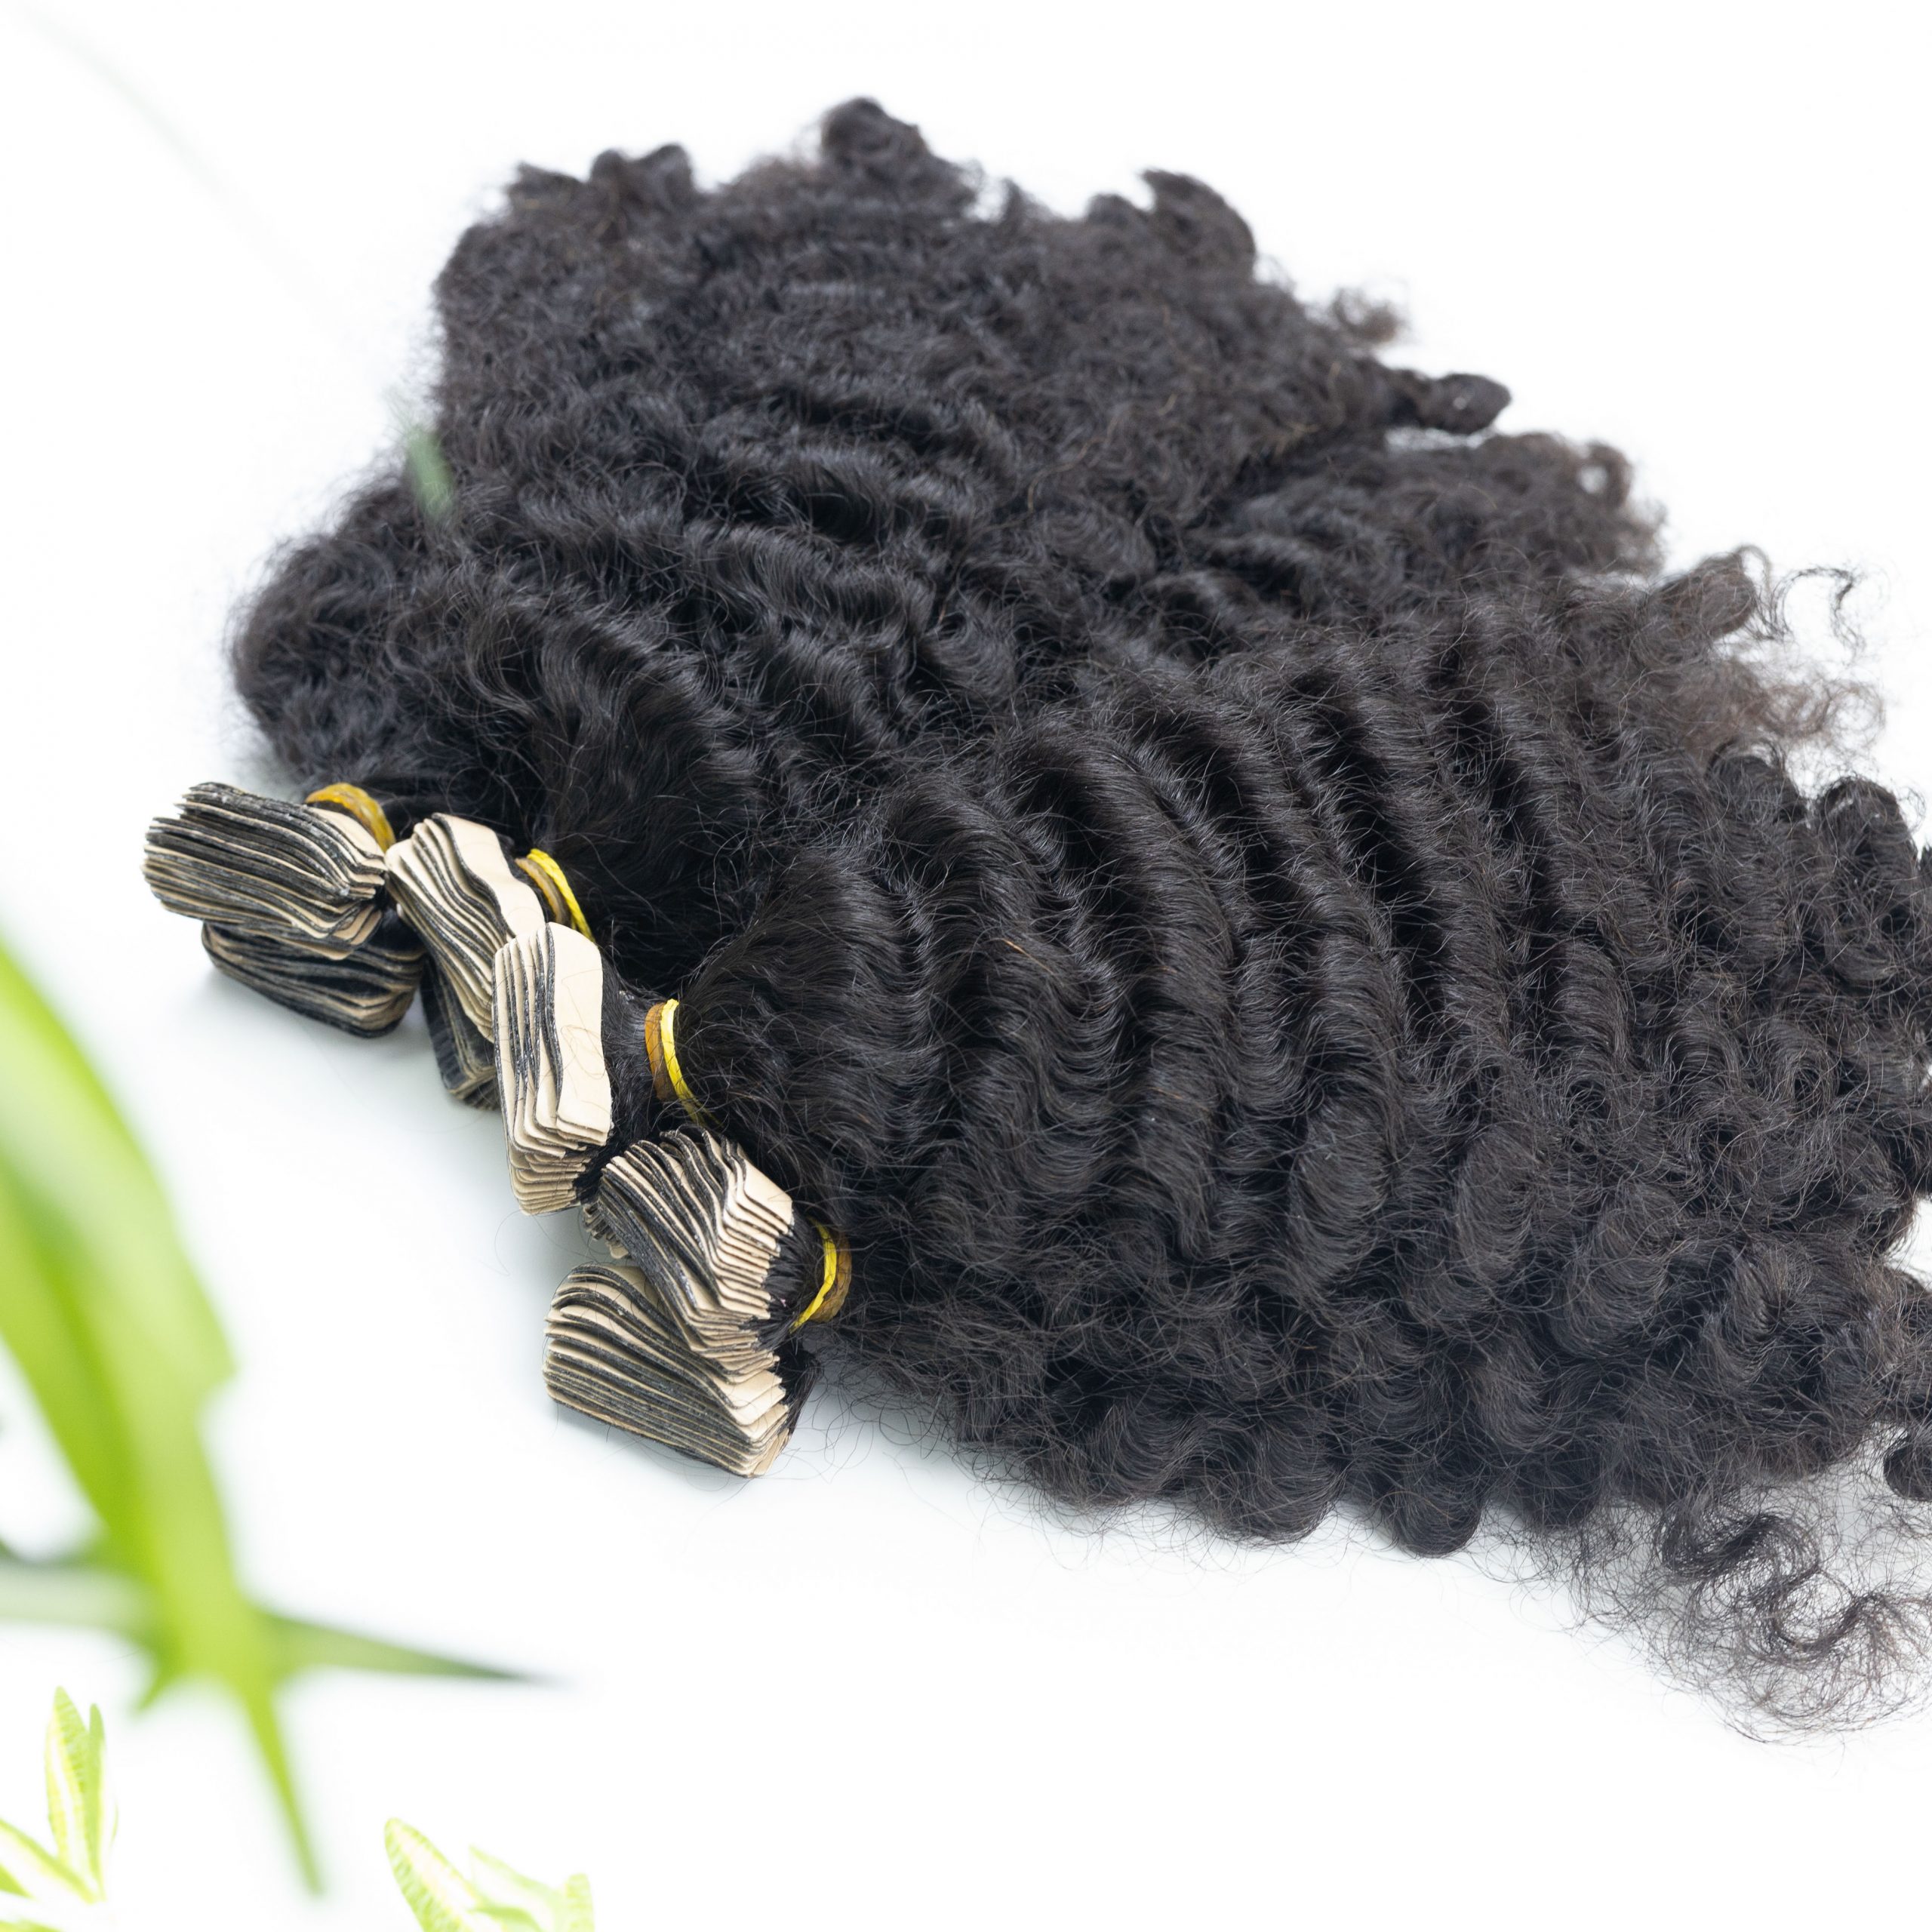
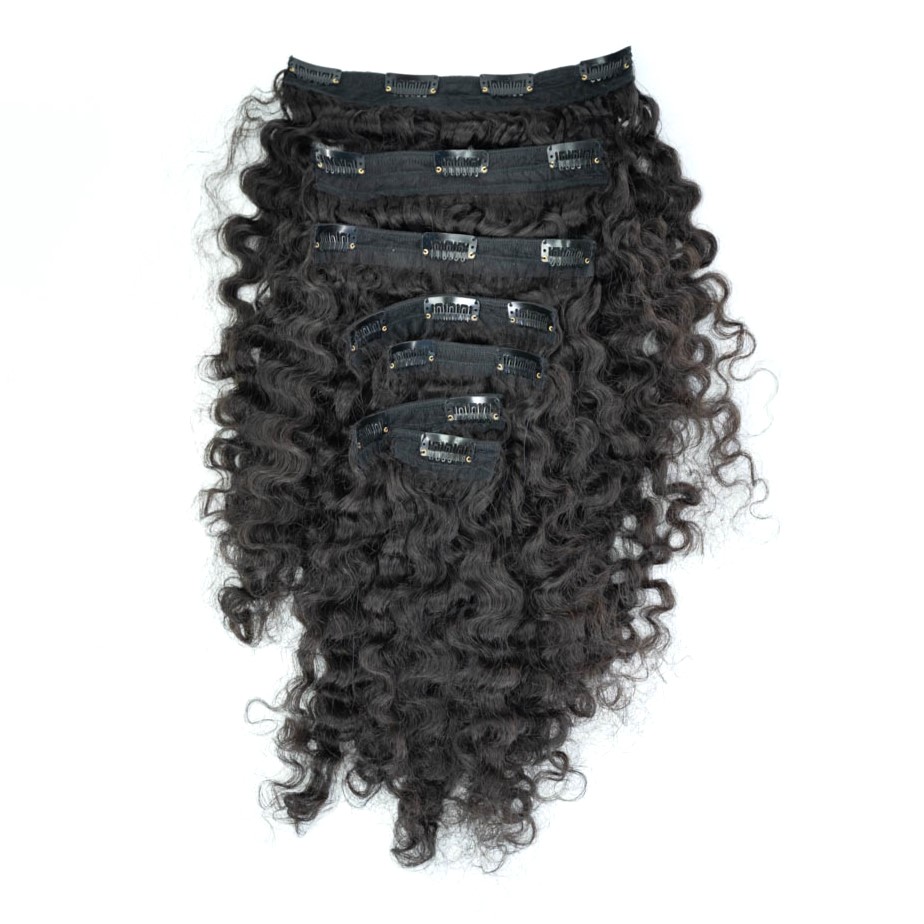
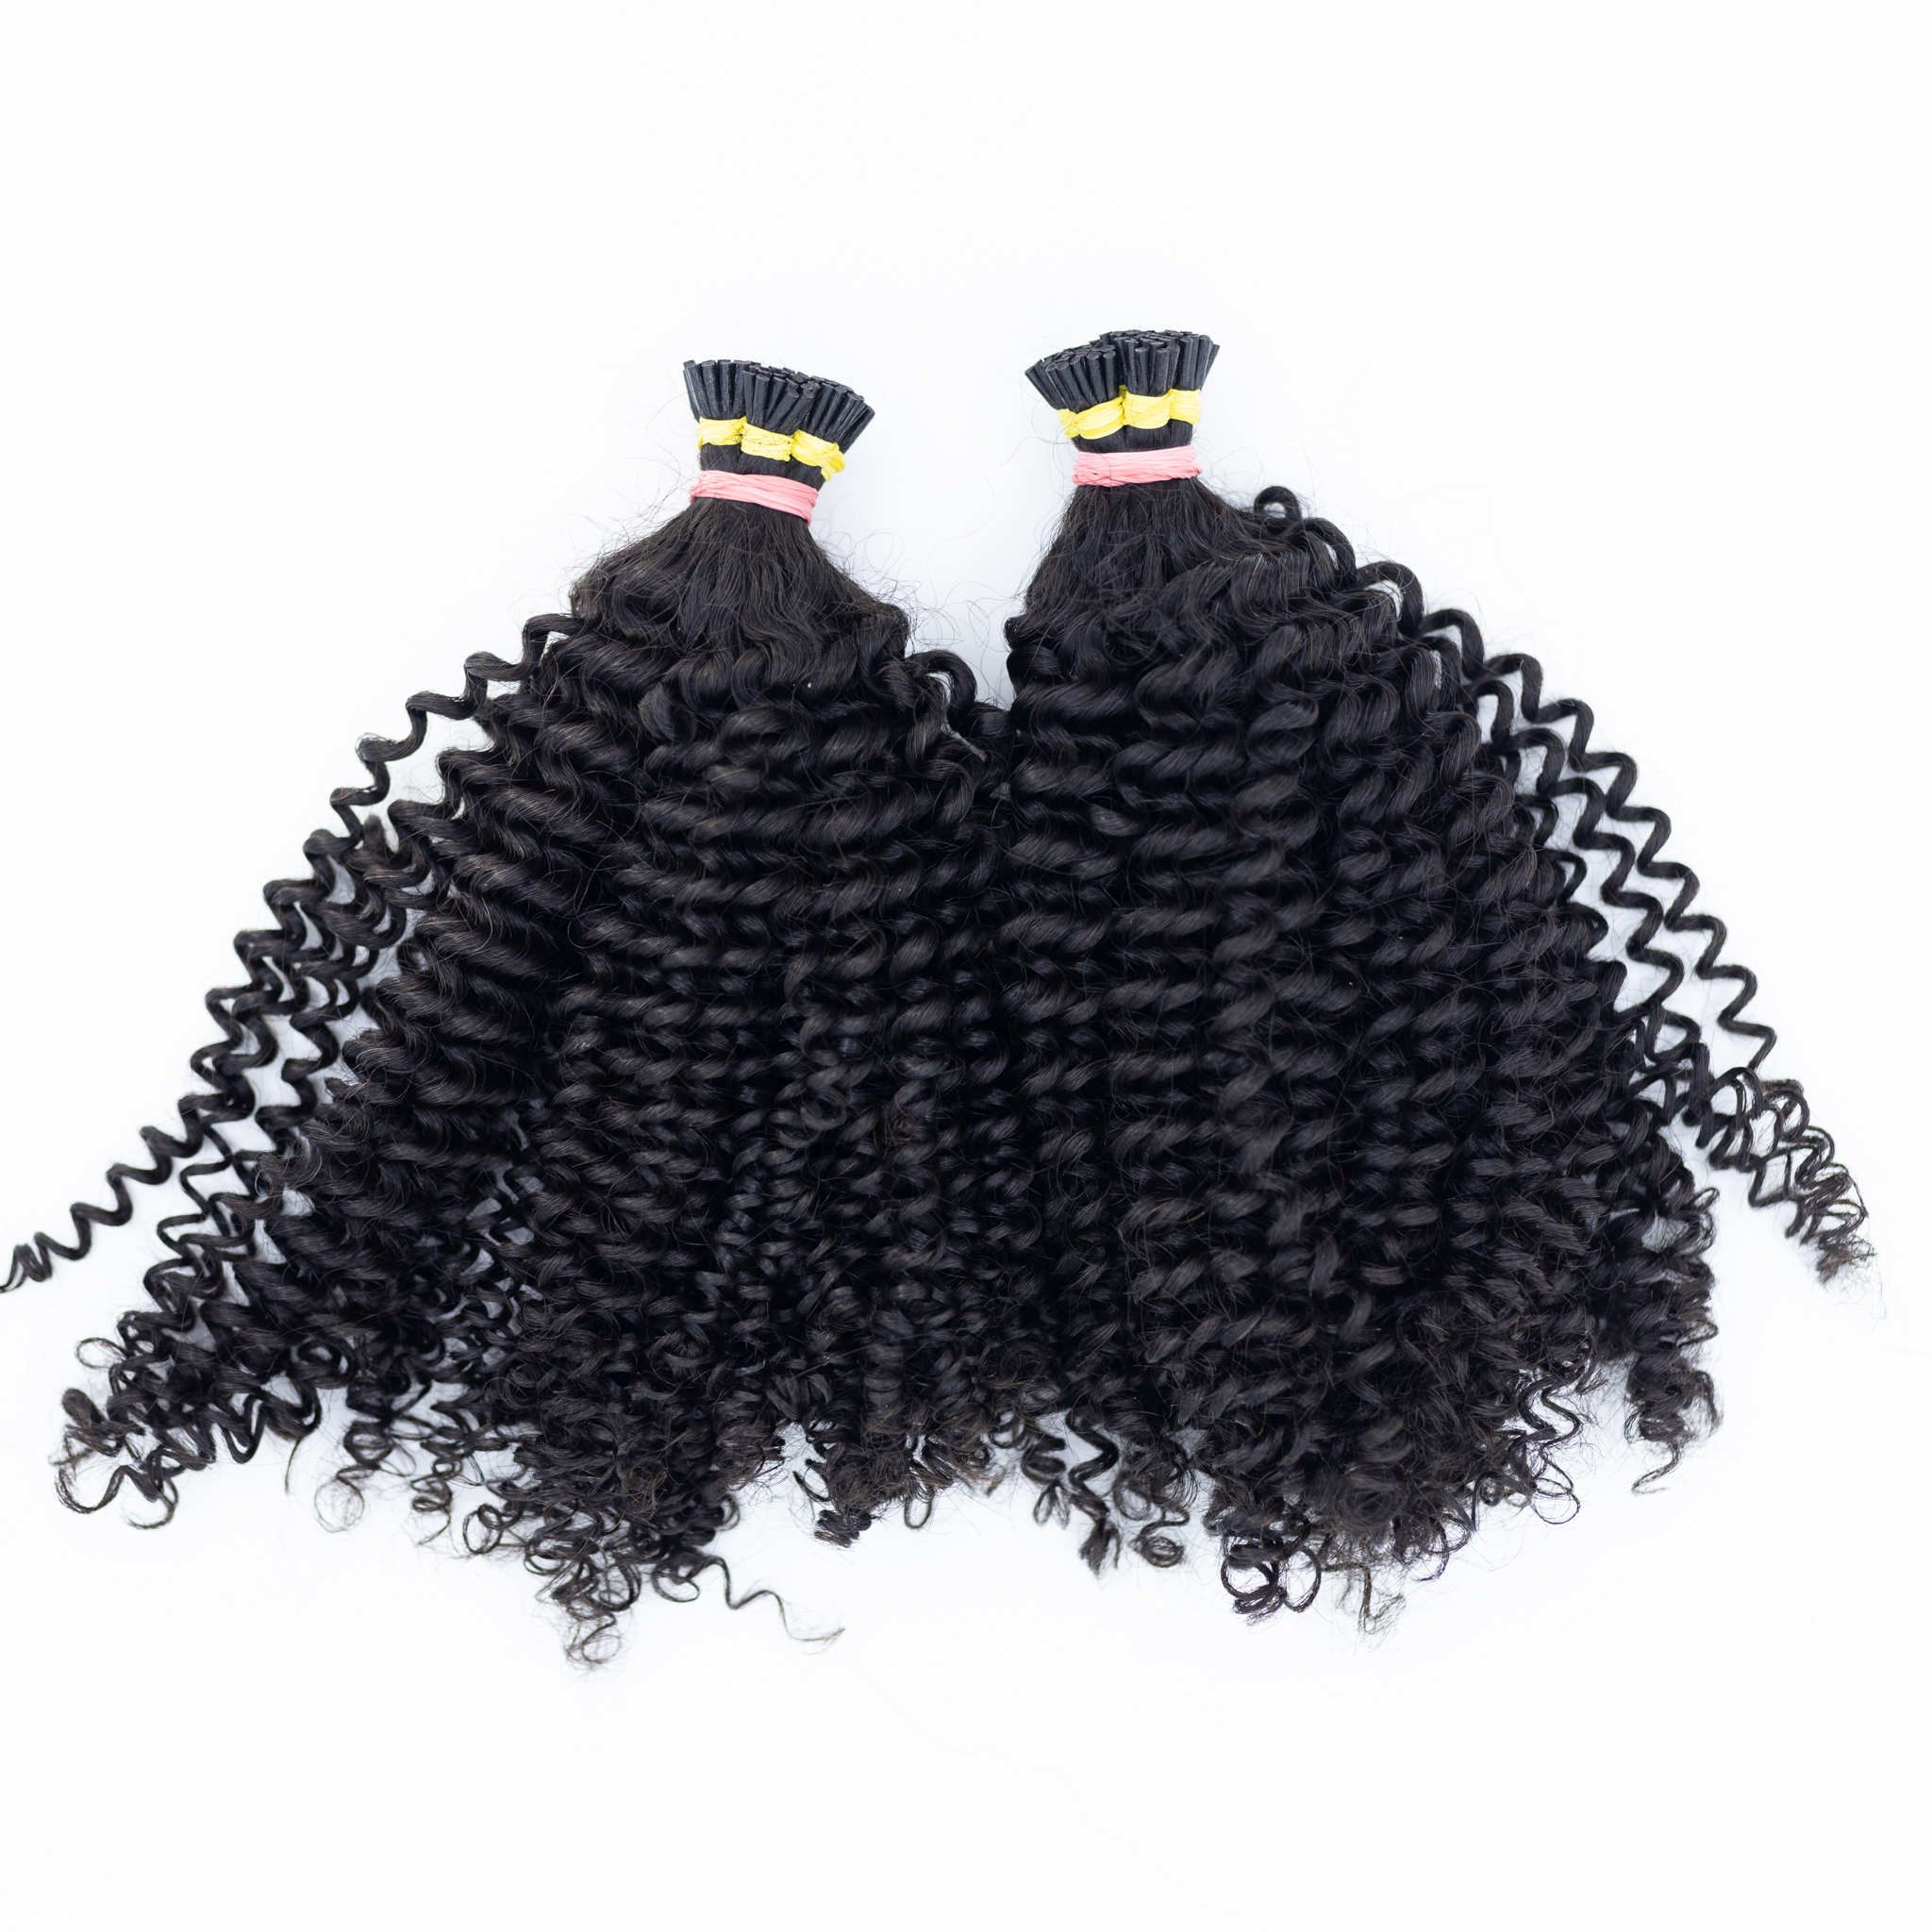
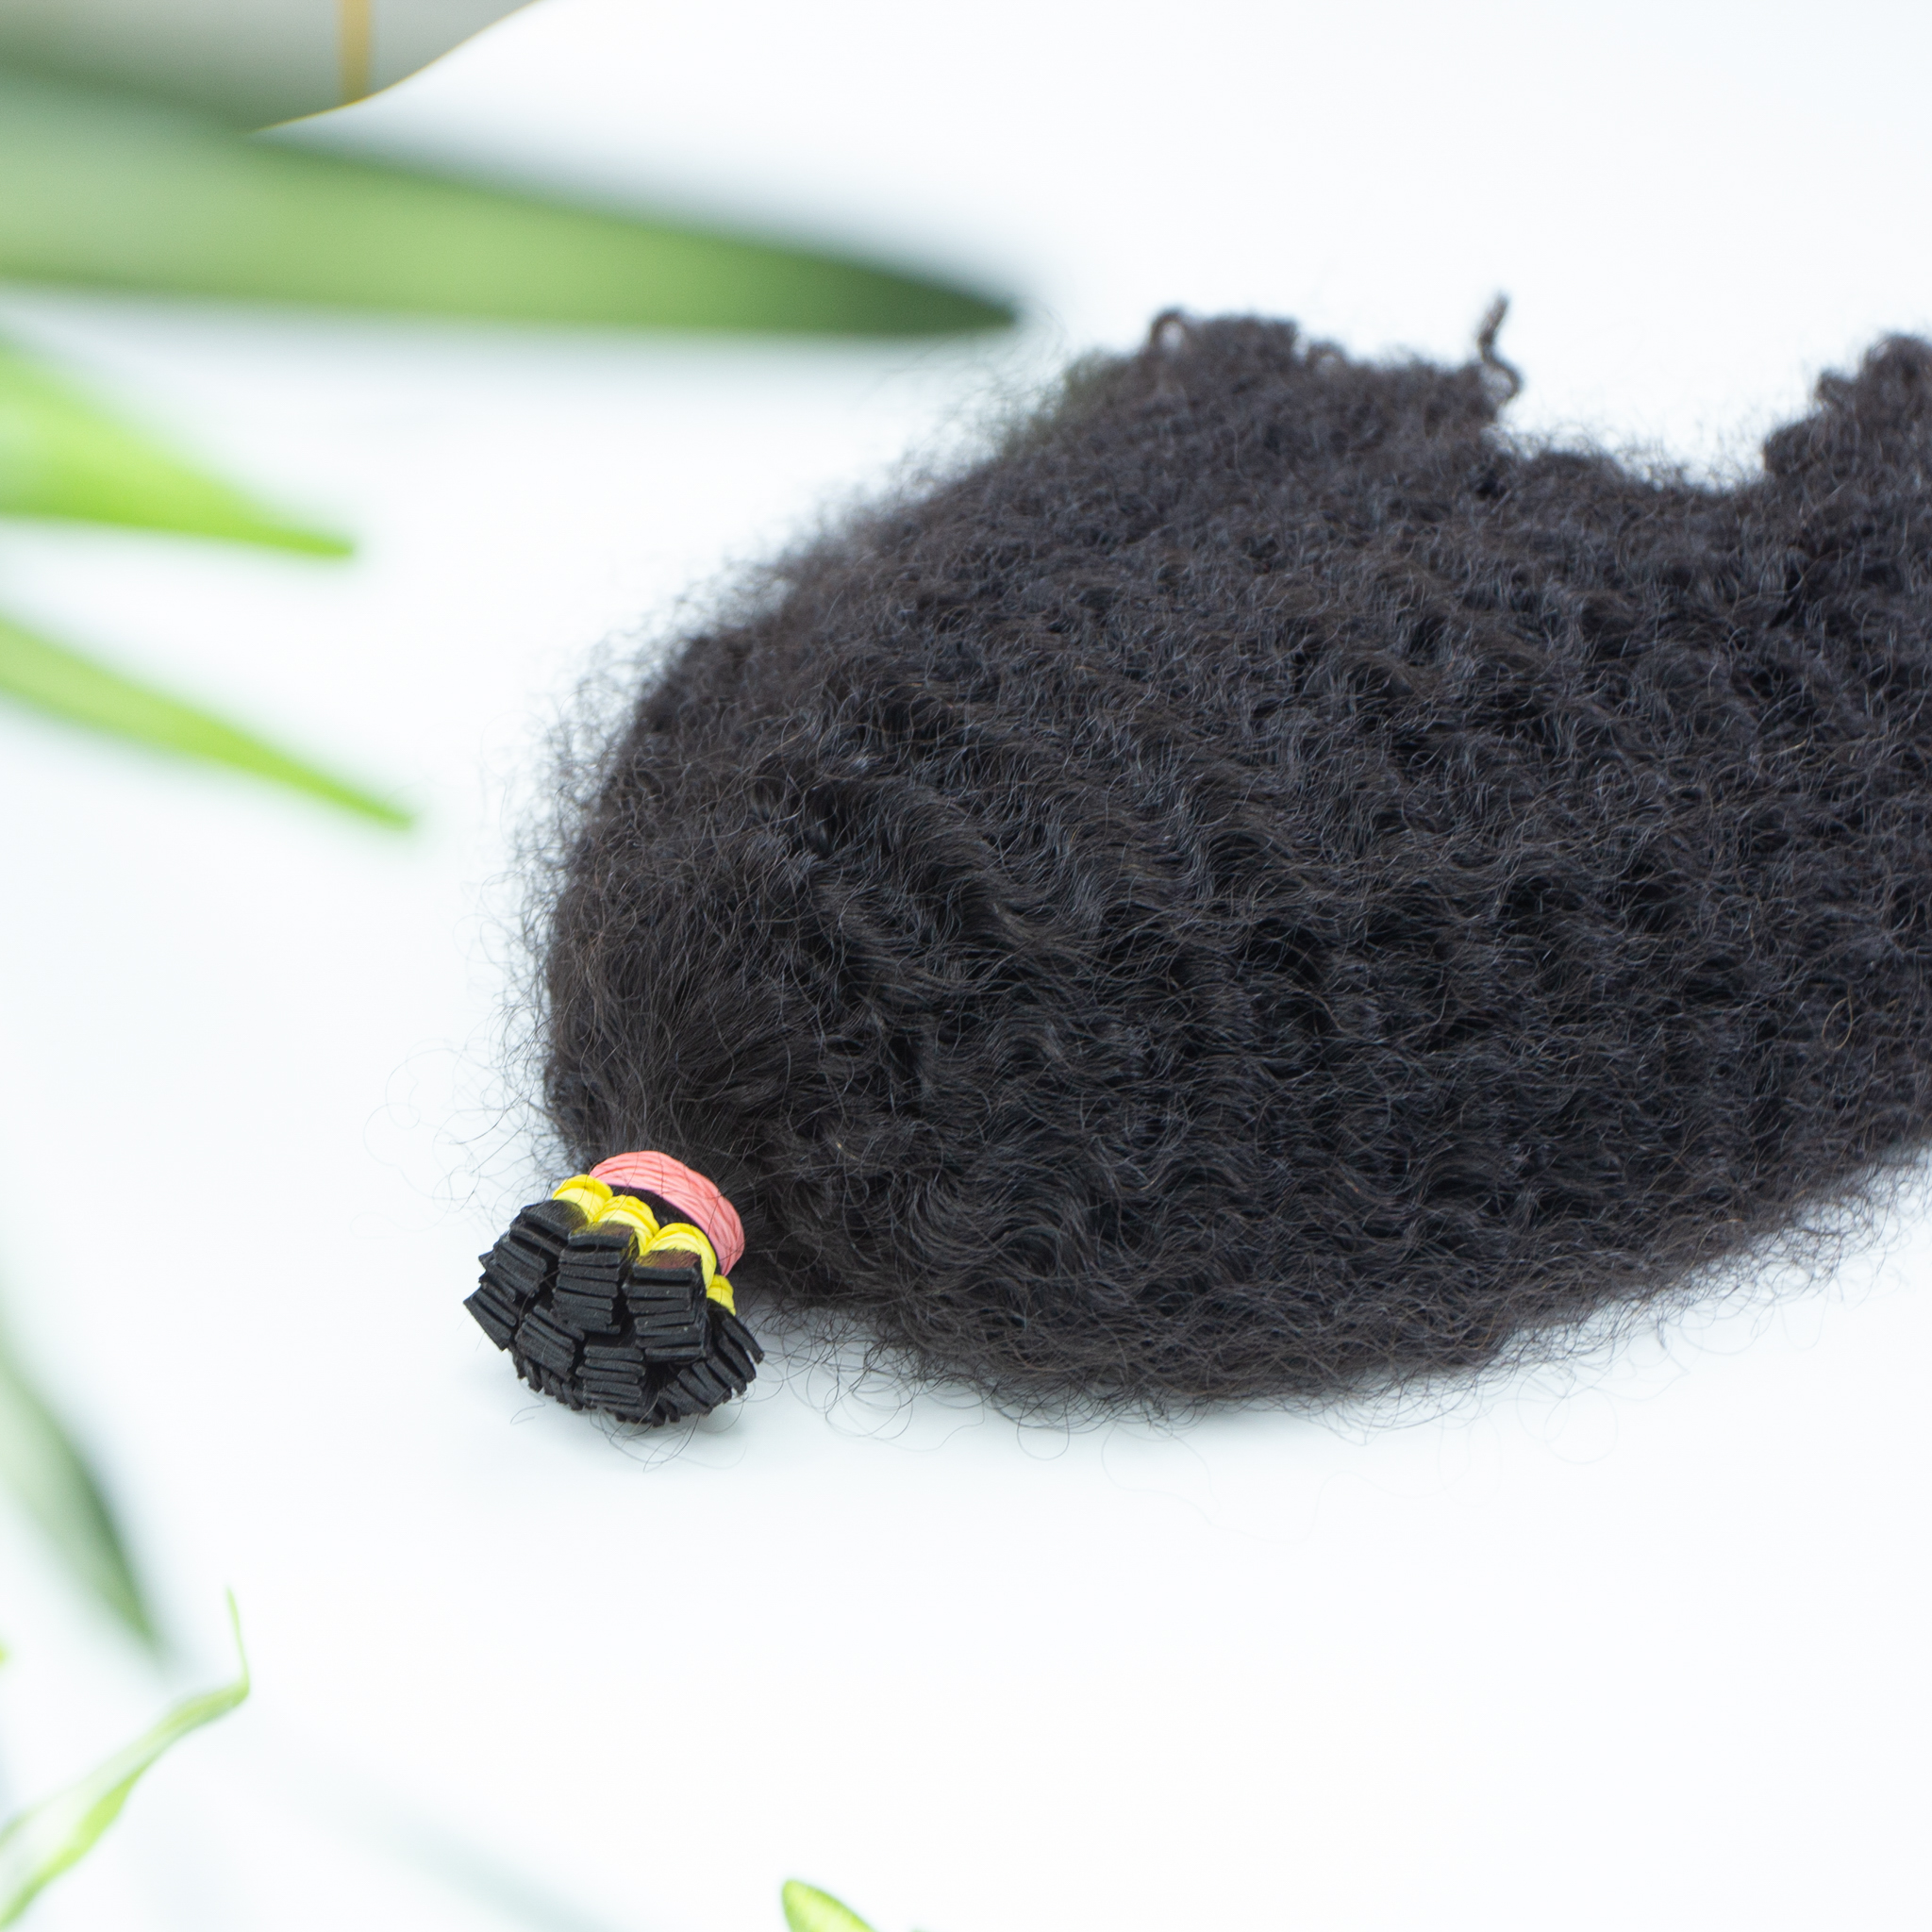
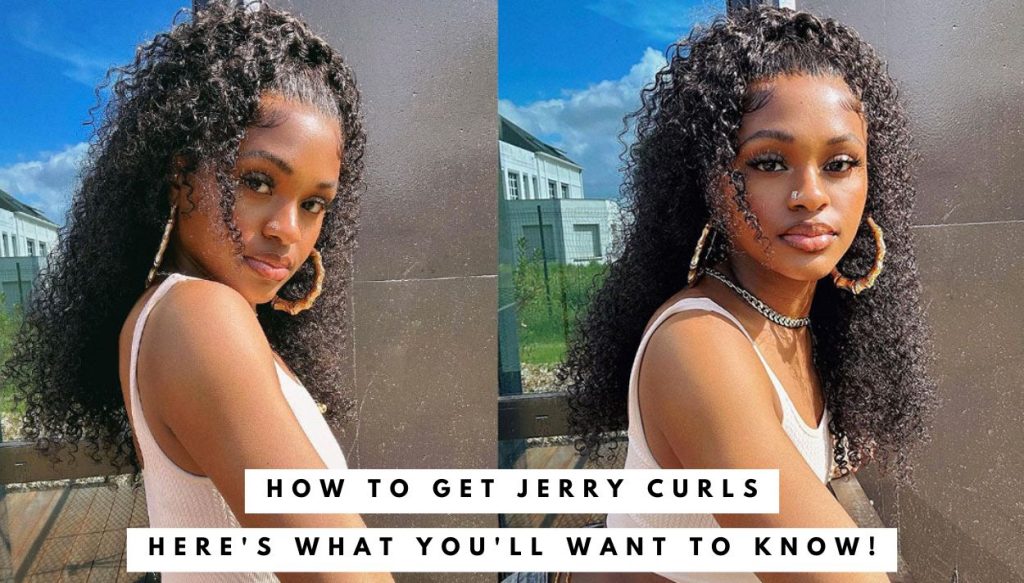
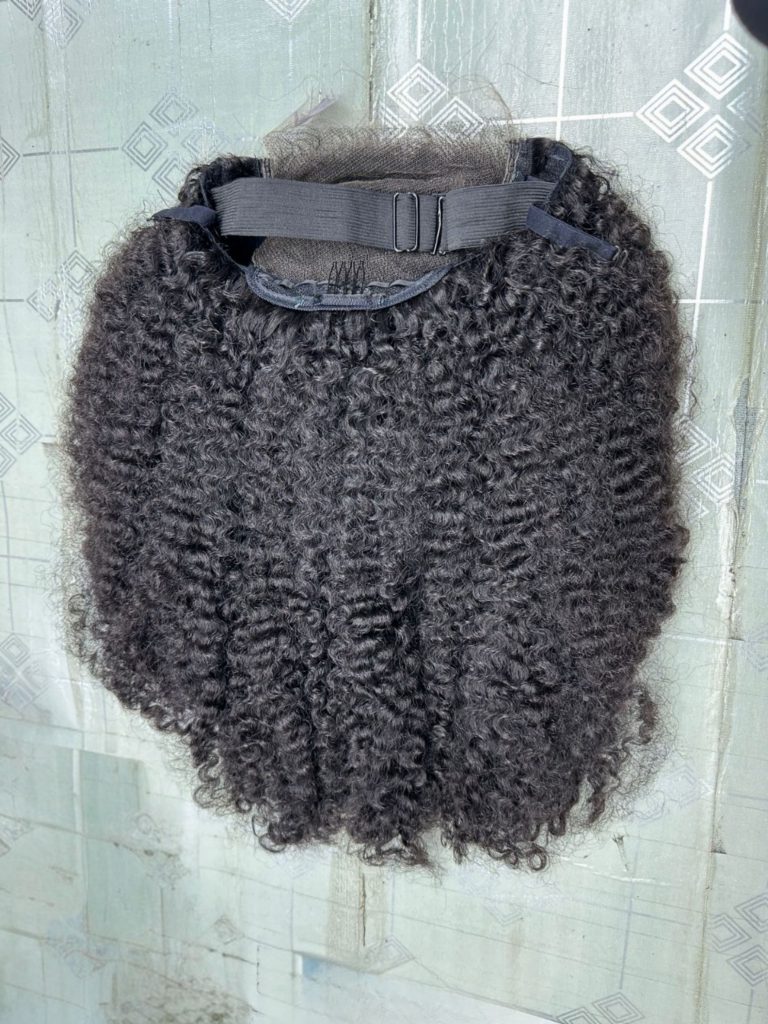
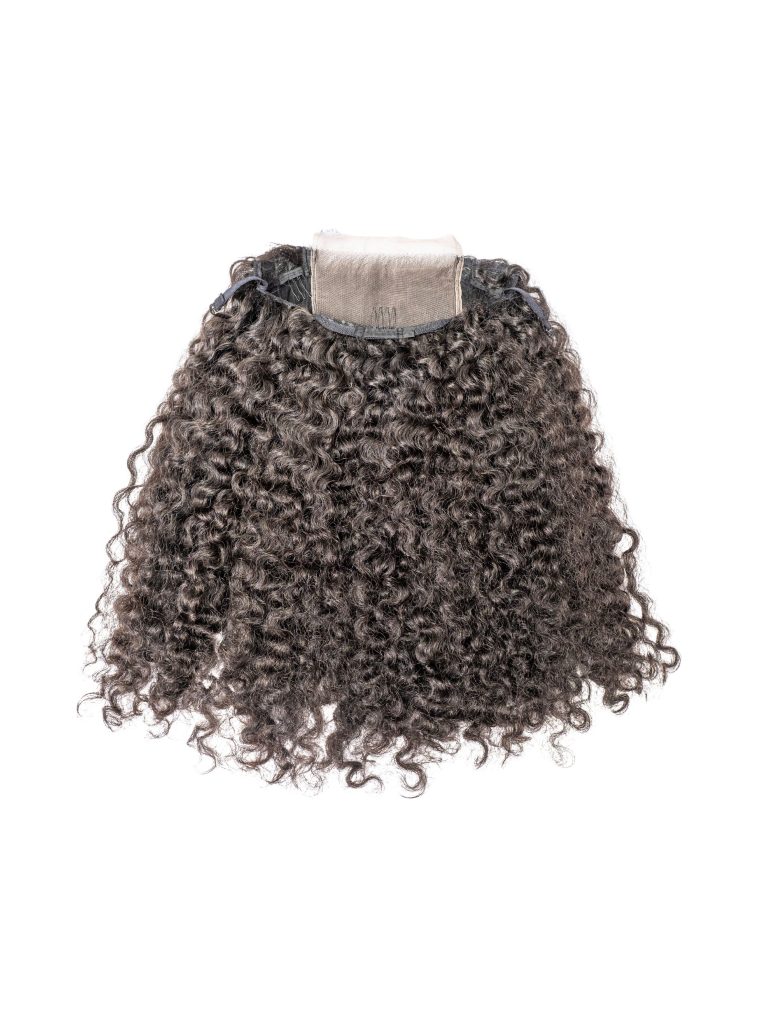
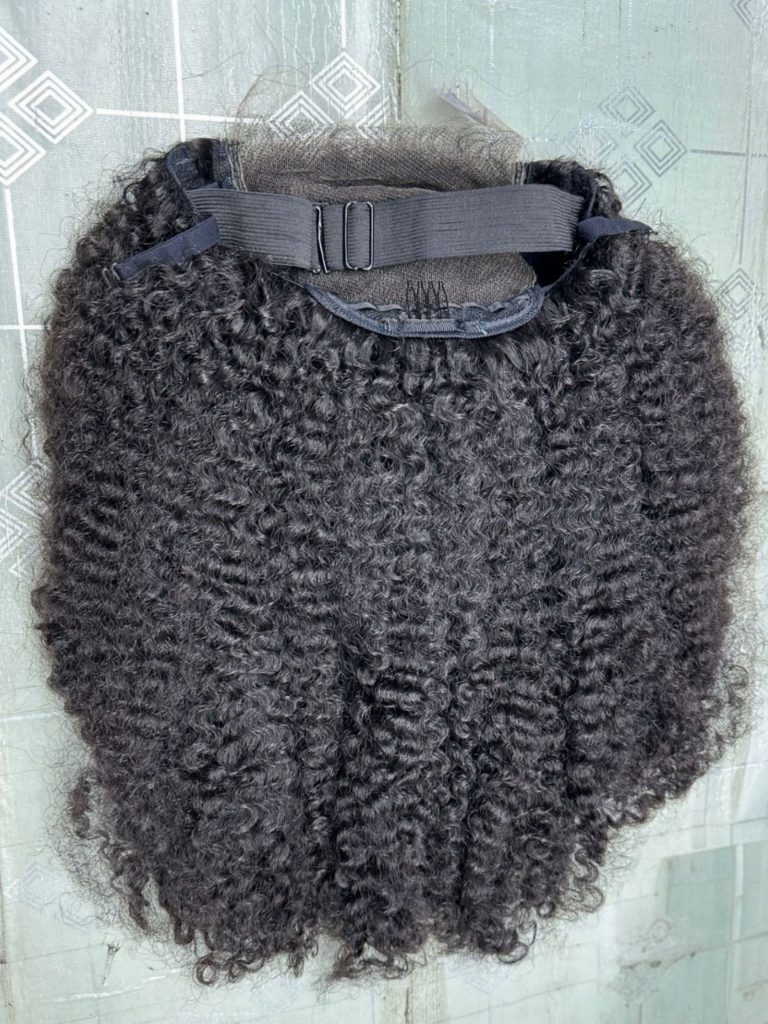
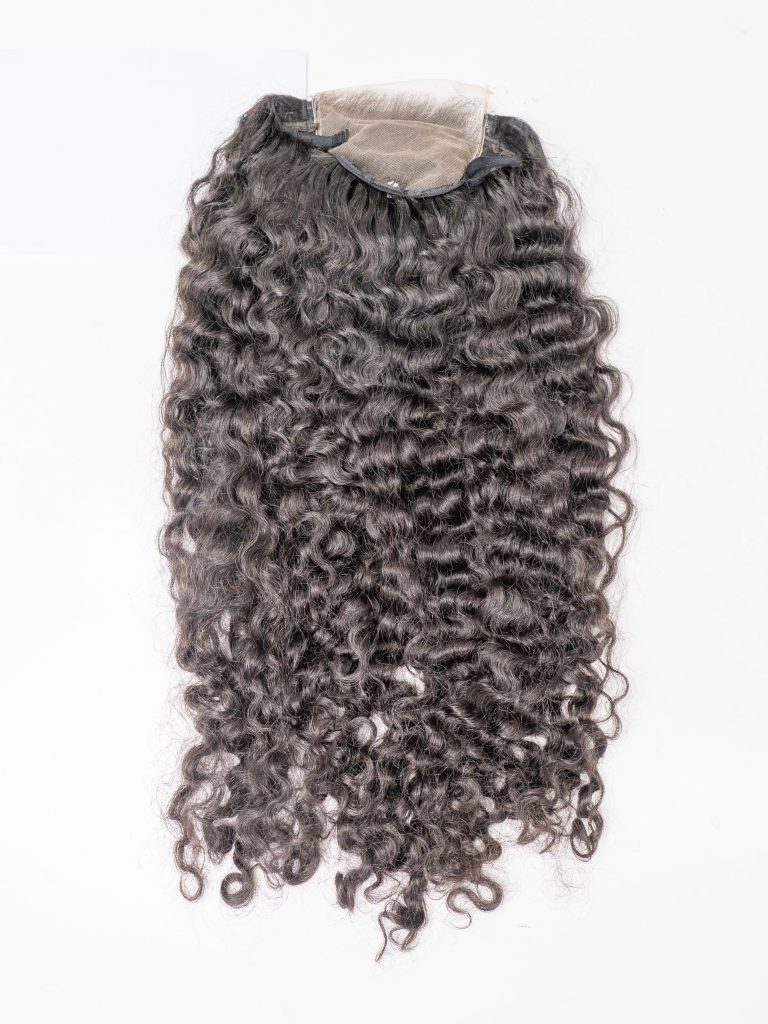
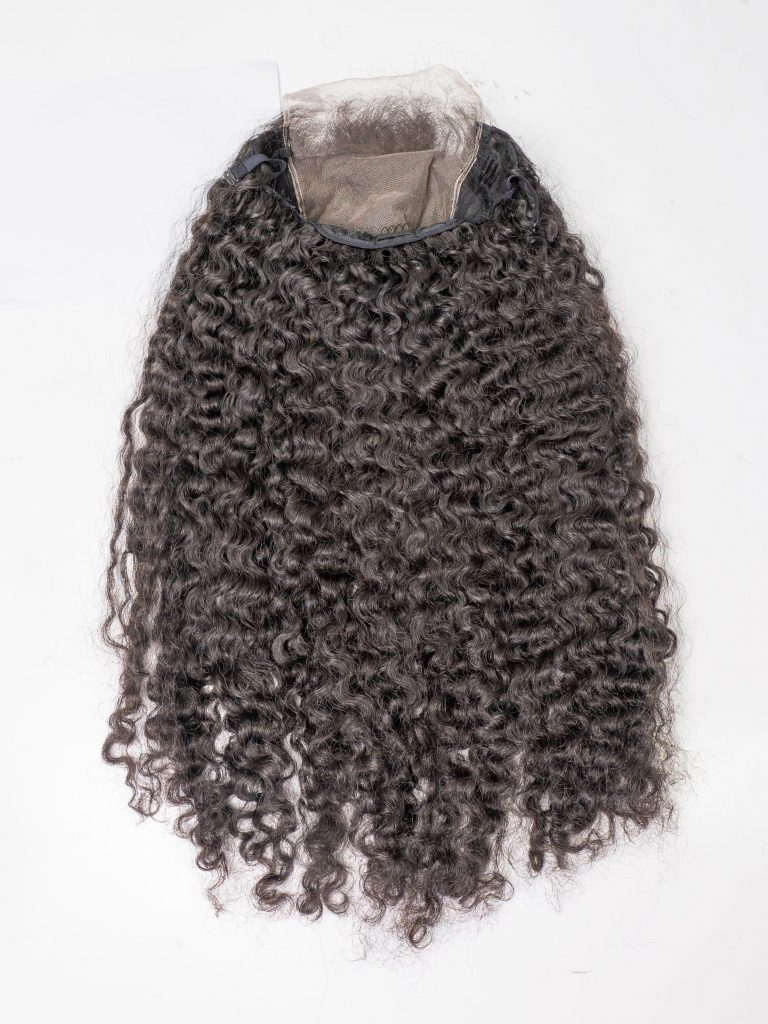
Let’s delve into the world of Jerry curls, a distinctive and iconic hairstyle that truly defined the 80s and early 90s. Sometimes called Jheri curls, this look is all about achieving soft, lustrous, and consistently moisturized curls. The key is that signature sheen and a relaxed, almost wet-look curl pattern. Whether your hair is naturally straight, wavy, or tightly coiled, Jerry curls offer a transformation, adding a touch of glamour and undeniable style. This technique isn’t limited by hair type; it can work its magic on a variety of textures.
In this article, we’ll explore everything you need to know about Jerry curls. We’ll break down exactly what they are, the different methods used to create them – both chemical and natural – and provide comprehensive guides on achieving this style, even if you have shorter hair or prefer to work with your natural hair texture. We’ll cover all the bases, ensuring you have the knowledge and tools to rock this classic look.
What Are Jerry Curls?
So, what exactly are Jerry curls? The story begins with hairdresser Jheri Redding, the innovator behind this iconic look. Redding developed a unique two-part process specifically designed to loosen the naturally tighter curl patterns often found in African American hair. This wasn’t just about straightening; it was about transforming the texture. The first step involved chemically altering the hair to relax the existing curl. The second crucial step used perm rods and a chemical setting solution to create the signature loose, flowing curls that define the style. The result was a dramatic change: hair that boasted a high-gloss sheen and a relaxed, more manageable curl pattern than simply relaxed hair. This made daily styling significantly easier for many.
However, achieving this distinctive look came with its own set of care requirements. Jerry curls demanded consistent attention and maintenance. Because of the chemical processes involved, the hair was prone to dryness and could easily lose its defined curl shape if not properly hydrated. Maintaining the signature sheen and bounce required a daily regimen of curl activator spray and moisturizer. Protective measures, like sleeping with a plastic cap, were also essential to minimize friction against pillows and prevent frizz and breakage. One of the more practical considerations was the potential for the product to transfer. The moisturizers and activators could leave a greasy residue on clothing, furniture, and other surfaces, which could be a challenge to clean.
How To Get Jerry Curls
Let’s break down the process of achieving those signature Jerry curls. It’s a multi-step process that requires careful attention, so let’s walk through it:
1. Preparation is Key:
- Hair Type Matters: Jerry curls tend to work best on hair that already has some natural curl or wave. If your hair is naturally straight, you’ll likely need to get a perm beforehand to create a base texture for the Jerry curl process.
- Length Considerations: Longer hair generally showcases the definition of the curls more effectively. If your hair is quite short, you might consider letting it grow out a bit before attempting this style. This will allow the curls to fully form and have that characteristic drape.
2. Choosing the Right Products:
- The Perm Kit: This is the core of the process. You’ll need a perm kit specifically formulated for African American hair or hair with tight curl patterns. It’s crucial to select a kit that includes a curl activator, as this will be essential for maintaining the look later.
- Hydration is Essential: Invest in a high-quality moisturizing shampoo and conditioner. Permed hair is prone to dryness, so keeping it hydrated is paramount to its health and the look of the curls.
- Curl Activator: This is your daily go-to product for maintaining the Jerry curl look. A good curl activator will enhance and define the curls, giving them that signature bounce and sheen.
- Styling Gel: A styling gel helps to further define the curls, control frizz, and add extra shine.
3. The Procedure – A Step-by-Step Guide:
- Perm Application: This is where precision is key. Follow the instructions provided with your perm kit exactly. This usually involves applying a relaxer or perm solution to break down the hair’s natural structure. Then, a neutralizing solution is applied to set the new curl pattern. This is a chemical process, so careful adherence to the instructions is essential to avoid damage.
- Setting the Curls with Rods: After applying the perm solution, small perm rods are used to create the desired curl pattern. The size of the rods you choose will directly impact the tightness of the resulting curls. Smaller rods create tighter, more defined curls, while larger rods will produce looser, more relaxed waves.
- Neutralizing: This is a critical step. After rinsing out the perm solution thoroughly, apply the neutralizer exactly as instructed in the kit. Neutralizing stops the chemical process and sets the curls in their new shape. This also prevents over-processing, which can lead to significant hair damage.
4. Maintaining Your Jerry Curls:
- Moisture, Moisture, Moisture: Maintaining moisture is the absolute most important aspect of Jerry curl care. Use your moisturizing shampoo and conditioner regularly to keep your hair hydrated and healthy.
- Regular Activation: Regularly use your curl activator to keep those curls defined, bouncy, and shiny. This will help prevent them from becoming dry and frizzy.
- Avoid Over-Processing: Perming too frequently can severely damage your hair, leading to breakage and other issues. Stick to a reasonable timeframe between perms to allow your hair to recover.
5. Styling Your Jerry Curls:
- Styling Gel for Definition: Use a styling gel to further shape and define your curls, controlling frizz and adding shine.
- Minimize Heat: Heat styling tools can be very damaging to permed hair. Try to minimize their use to prevent damage and maintain the integrity of your curls.
- Regular Trims for Health: Regular trims are essential for removing split ends and keeping your hair healthy overall. This will also help to maintain the shape and bounce of your curls.
It’s important to remember that achieving Jerry curls involves chemical processes. If you’re uncomfortable performing these steps yourself, or if you have any concerns, it’s always best to consult a professional stylist. They have the expertise to ensure the process is done safely and effectively. Finally, while Jerry curls were a defining style of a specific era, it’s important to choose a hairstyle that reflects your personal style and makes you feel confident.
Tips For Getting Jerry Curls
To truly maximize your Jerry curl results and keep them looking their best, focus on these key principles: prioritize deep hydration with regular conditioning treatments, use products sparingly to avoid buildup and maintain definition, section hair carefully for even curls, dry gently with minimal heat and minimal touching, protect your hair at night with a silk or satin scarf, get regular trims for healthy growth, avoid over-styling, use clarifying shampoo occasionally to remove buildup, and tailor your care routine to your specific curl type. By focusing on these core principles, you’ll ensure your Jerry curls are healthy, defined, and consistently stunning.
Conclusion
Jerry curls are a fun and fashionable way to curl your hair, whether you have straight, wavy, or kinky hair. So, how to get Jerry curls? The answer is: You can get Jerry curls with a chemical treatment or a natural method, depending on your preference and hair type. You can also get Jerry curls on short hair or natural hair, with some adjustments and variations. By following these tips, you can rock your Jerry curls with ease and grace.
If you don’t want to use heat to make Jerry curls, you can consider human hair extensions to minimize damage. Sky Hair – the best Vietnamese hair supplier and the best wholesale hair vendors. Contact us now to know more details.
