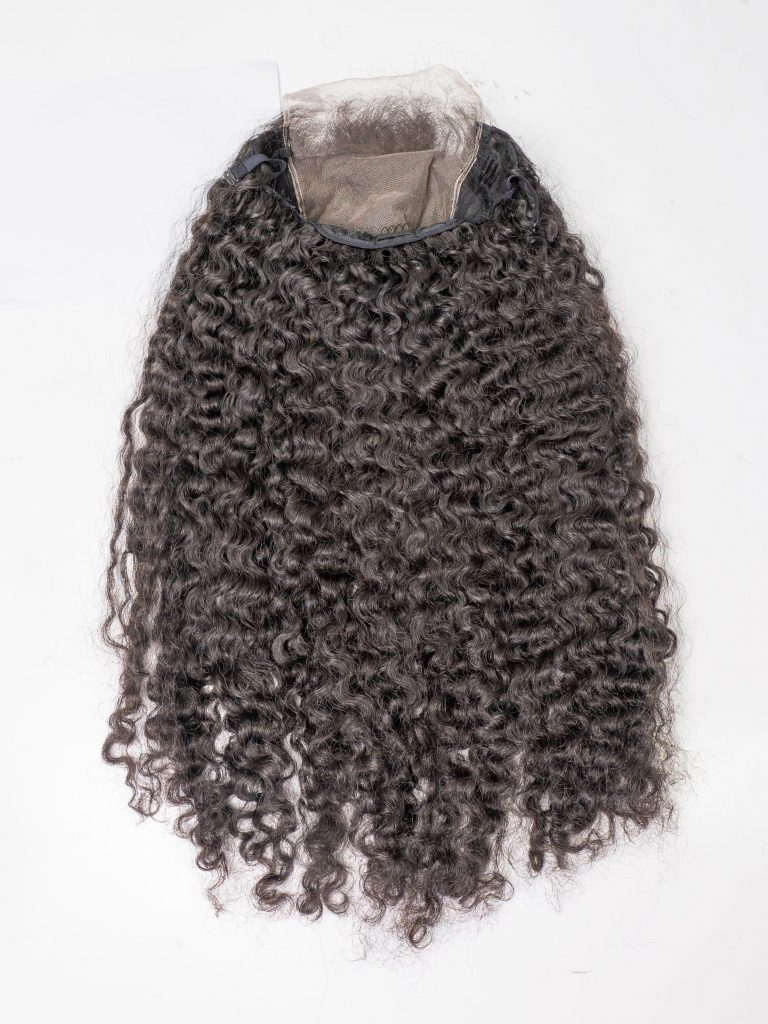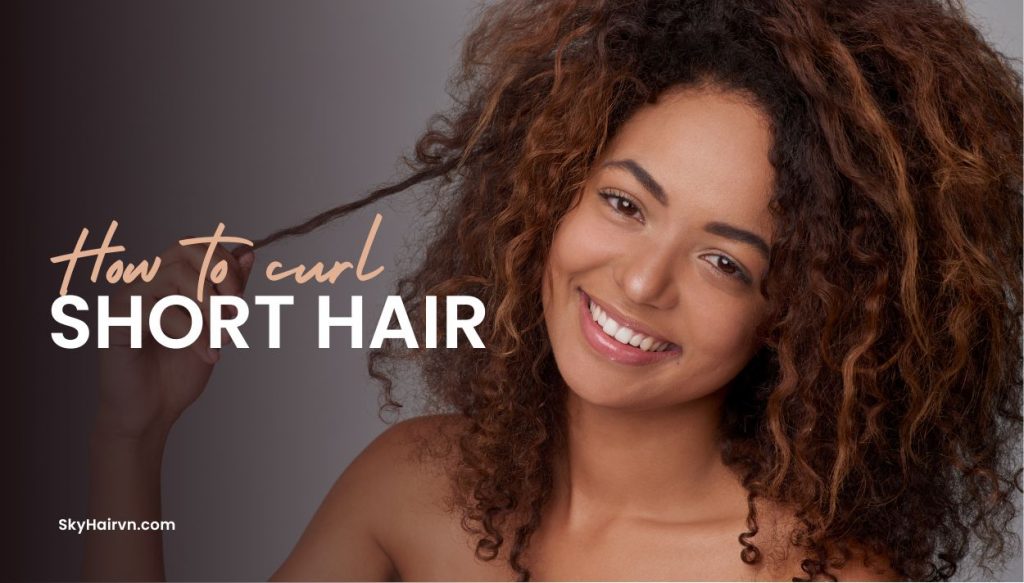
This article offers a comprehensive guide to achieving beautiful, effortless curls on short hair using a surprisingly versatile tool: the hair straightener, also known as a flat iron. Many people believe that curling short hair requires specialized tools like small-barreled curling irons, but this tutorial demonstrates a simple and effective technique using a straightener to create gorgeous curls quickly and easily. This method is perfect for those seeking a fast and convenient way to style their short locks, transforming a straight, sleek look into a textured, curly style in just minutes.
We understand that time is precious, and easy-to-execute hairstyles are a must-have in any busy person’s routine. Therefore, this guide, featuring expert tips and clear instructions, will empower you to effortlessly create stunning curls with a tool you likely already own, making it a potentially game-changing addition to your hair styling repertoire.
Step 1: Prepare Your Hair
Before you begin curling, proper preparation is key to achieving the best results and minimizing damage. Start with dry hair. Wet or damp hair is more susceptible to heat damage from styling tools, so ensure your hair is completely dry before proceeding. Use a brush or comb to thoroughly remove any knots, tangles, or snags. This will allow the curling tool to glide smoothly through your hair, creating even curls and preventing further tangling during the styling process.
A smooth, knot-free canvas is essential for achieving defined and polished curls. Consider using a wide-tooth comb or a detangling brush, especially if you have fine or easily tangled hair, to minimize breakage. This initial step ensures a smooth and effortless curling process, setting the foundation for beautiful, bouncy curls.
Step 2: Section Your Hair for Controlled Styling
Dividing your hair into manageable sections is a crucial step for achieving even and well-defined curls, especially on shorter hair. Begin by creating a part down the middle at the back of your head. This will effectively split your hair into two distinct sections: the left and right sides. This central part doesn’t need to be perfectly straight or precise; its purpose is simply to divide the hair for easier handling. Once parted, use hair clips or ties to secure one section out of the way while you work on the other.
This prevents loose strands from getting mixed in and ensures that you curl each section thoroughly and evenly. Working in sections provides greater control over the curling process and prevents you from accidentally re-curling already styled pieces, which can lead to heat damage and uneven results. This methodical approach ensures that every strand receives the desired curl, resulting in a polished and cohesive final look. Depending on the thickness of your hair, you may even want to further subdivide each of these two main sections into smaller subsections for even more precise styling.
Step 3: Further Subdivide for Precision and Volume
After dividing your hair into two main sections (left and right) as described in the previous step, it’s time to further refine the process by creating smaller subsections within each of those larger sections. This technique is particularly beneficial for shorter hair, as it allows for greater control and ensures that every strand is properly styled. Take the loose section of hair (the one you are currently working on) and divide it again, horizontally, creating a top section and a bottom section. This essentially splits your hair into four quadrants: top left, bottom left, top right, and bottom right.
Using a hair clip or tie, secure the top section out of the way, leaving the bottom section free. This focused approach prevents you from trying to curl too much hair at once, which can lead to uneven curls or difficulty maneuvering the styling tool. By working with smaller subsections, you can achieve more consistent and defined curls, especially closer to the roots. This method also helps to create more volume, as each subsection can be curled individually, resulting in a fuller, more textured final look. This meticulous subdivision is key to achieving professional-looking results, even with shorter hair.
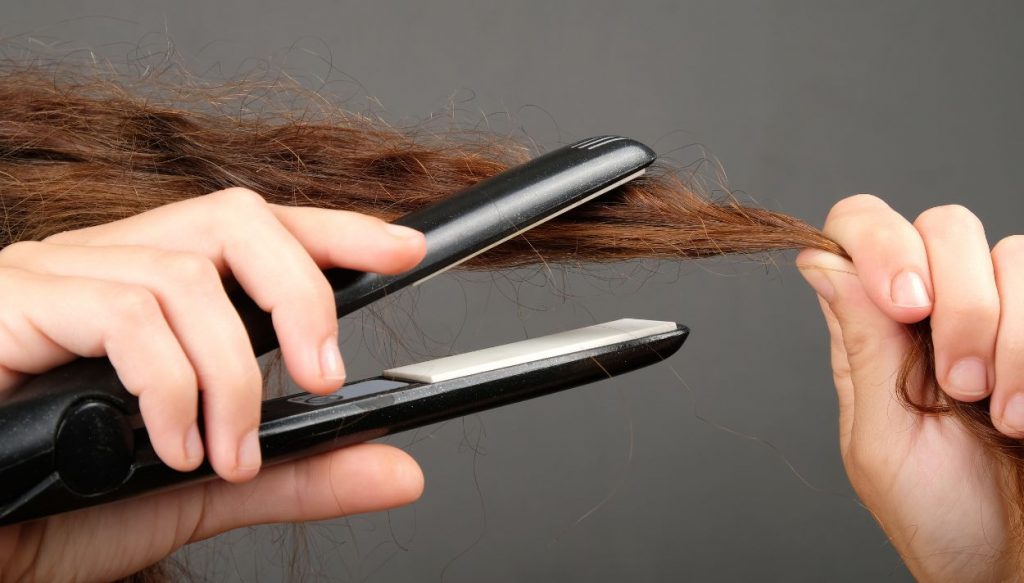
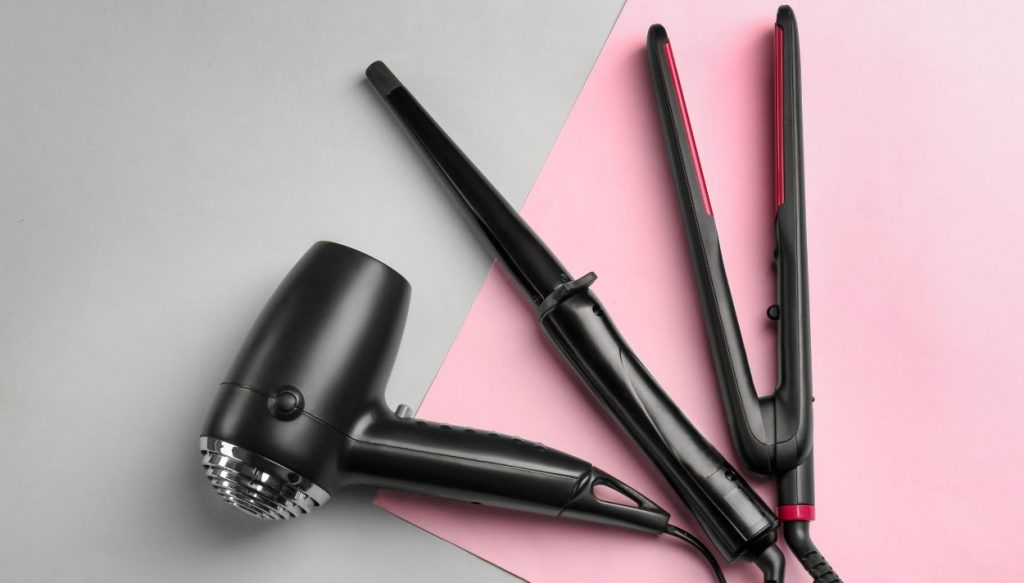
Step 4: Mastering the Curling Technique with a Straightener
This step details the core of the curling process: using a flat iron (straightener) to create curls. There are two primary methods, each yielding a different curl type:
Step 5: Systematic Curling for Even Distribution
Begin the curling process at the back of your head, working your way forward. This systematic approach ensures that you don’t miss any sections and creates a more balanced and even overall look. Take small sections of hair, no wider than the width of your straightener plates, and curl them using your preferred method (either the diagonal for loose waves or the parallel for tighter curls). Consistently curling towards the front of your face creates a flattering frame. This methodical approach, combined with small sections, is crucial for achieving consistent and defined curls throughout your hair.
Step 6: Completing Each Section and Styling Around the Face
Once you have finished curling the bottom section of hair on one side, repeat the process on the top section of the same side. Remember to maintain consistency in your chosen curling method for a uniform look. After completing one side of your head, move on to the other side and repeat the entire process, starting with the bottom section and then moving to the top. When you reach the sections of hair that frame your face, pay special attention to the direction of the curl. To create curls that sweep away from your face, point the straightener away from your face as you curl. This technique opens up the face and creates a more flattering and balanced appearance.
Step 7: Finishing Touches and Final Styling
After you have curled all of your hair, allow it to cool completely. This is important because the curls are still malleable while warm. Once cooled, use your fingers to gently “brush out” or separate the curls. Avoid using a brush or comb at this stage, as it can disrupt the curl pattern and create frizz. Using your fingers will create a softer, more natural, and effortless look. This step is crucial for achieving that coveted “undone” yet polished finish.
Heat Protection: Before using any hot styling tools, always apply a heat protectant spray to your hair. This vital step creates a barrier against heat damage, preventing dryness, breakage, and split ends.
Hairspray (Optional): If you desire extra hold and want your curls to last longer, lightly mist your hair with hairspray after styling. Choose a hairspray with a flexible hold to avoid stiffness.
Sharing Your Look: We encourage you to recreate this look and share your photos on social media using the hashtag #skyhair. We love to see your unique interpretations and styling results!