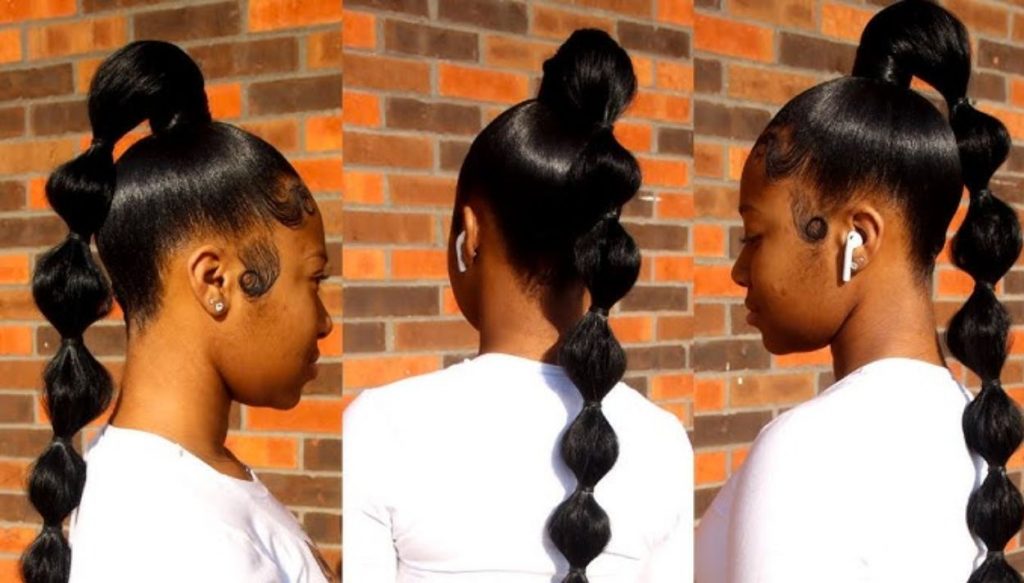
The bubble ponytail is a fun, stylish, and surprisingly simple hairstyle that adds a touch of flair to a classic look. This tutorial provides a step-by-step guide to creating this trendy updo, perfect for any occasion, from casual outings to more dressed-up events. Unlike intricate braids or complicated updos, the bubble ponytail is quick and easy to master, making it an ideal choice for busy individuals who want to look put-together without spending a lot of time on their hair. This versatile hairstyle works well on various hair textures and lengths, although longer hair allows for more pronounced “bubbles.” Whether you’re looking for a quick everyday style or a unique twist on a traditional ponytail, this guide will show you how to effortlessly achieve a chic and eye-catching bubble ponytail.
Let’s get started
Let’s begin creating your bubble ponytail! The beauty of this hairstyle lies in its adaptability; it can be achieved regardless of your current hair state. Whether you have freshly styled hair, day-old curls like in our example, straight hair, or even hair that’s a bit unruly, this tutorial will work for you. The initial condition of your hair is not a limiting factor. However, if your hair tends to be flat or lacks volume at the crown, we recommend adding some lift by gently teasing the roots using a teasing comb. This will create a fuller base for your ponytail and enhance the overall look of the bubble effect.
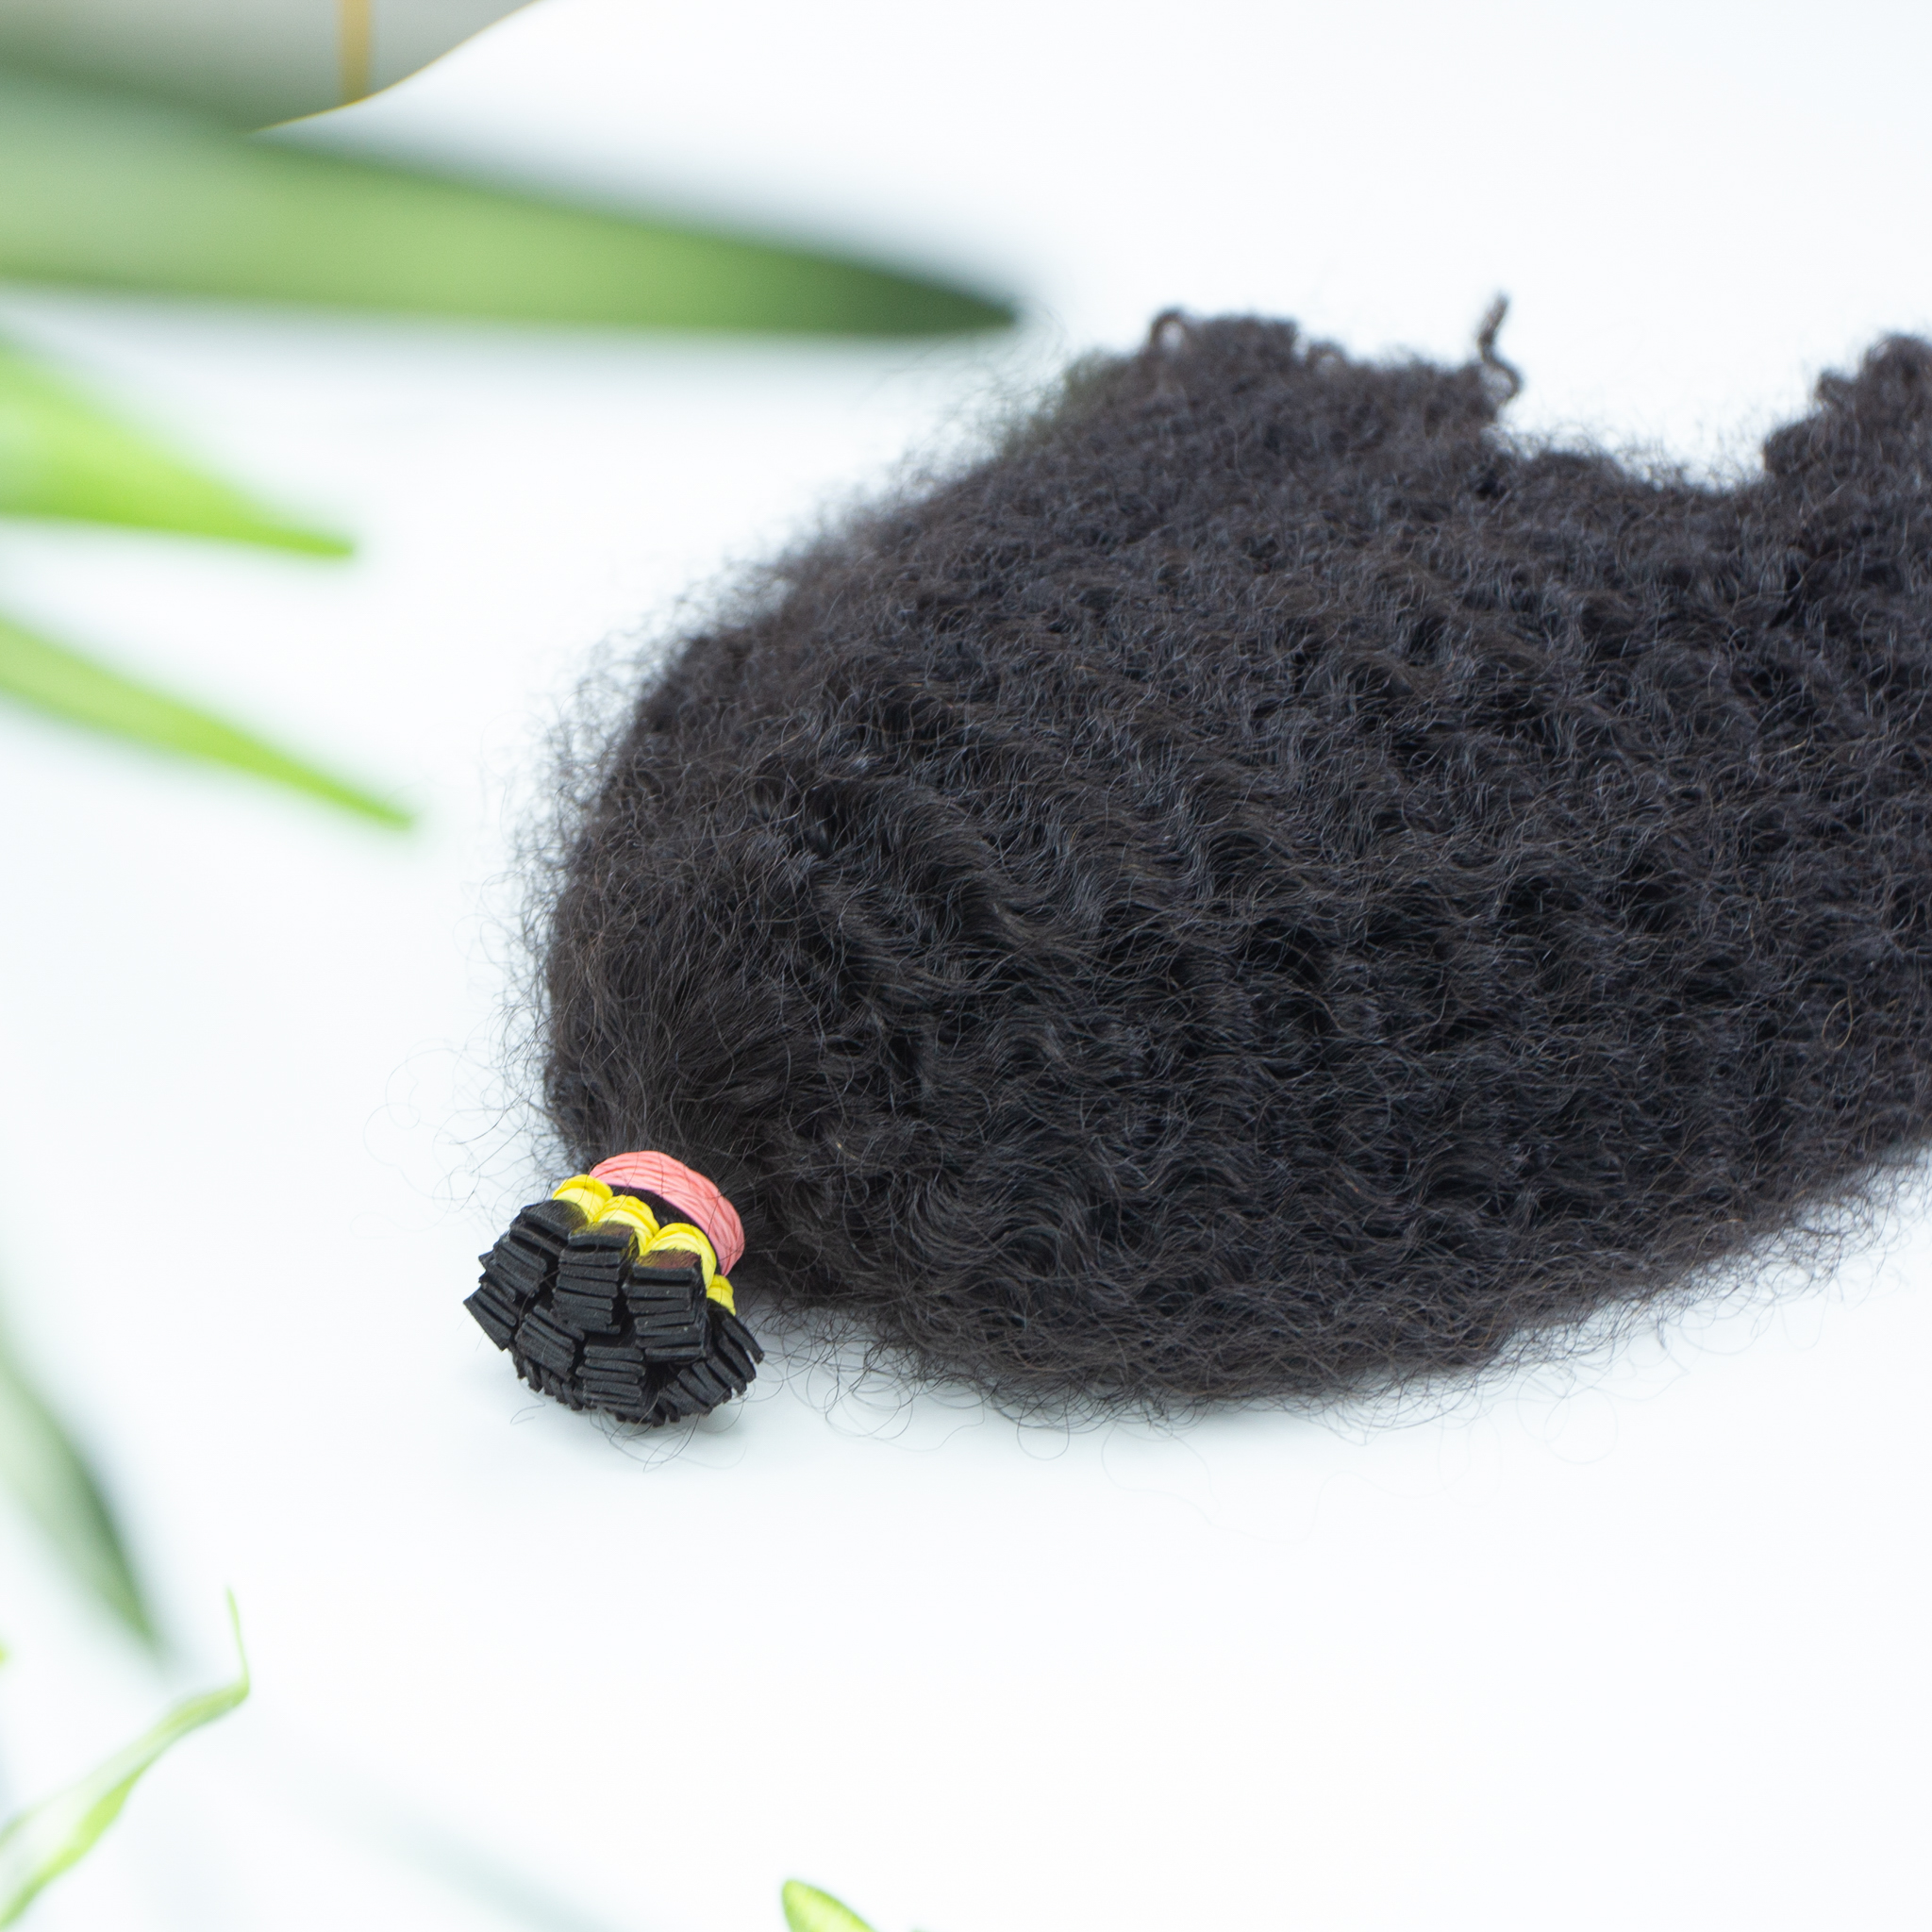
In our demonstration, we’re also using clip-in hair extensions to add extra length and volume. These extensions have been custom colored for a seamless blend with the model’s natural hair. If you’re interested in learning more about the process of choosing, coloring, and clipping in hair extensions, we have a dedicated post that provides detailed instructions and helpful tips. But remember, extensions are entirely optional; this bubble ponytail looks fantastic on natural hair of varying lengths as well. So, whether you’re starting with freshly washed hair, second-day texture, or adding extensions, you’re ready to begin.
Step 1
Pull up half of your hair and secure it with a clear elastic. I also tug on some pieces that are pulled back to give the top section of my hair some volume instead of having it completely slicked back.
Step 2
Take a section of the hair in the half-up ponytail and wrap it around the clear elastic until you get to the end of your hair (don’t wrap it super duper tight though!). Then, you’re going to find the clear elastic underneath the ponytail (where it isn’t visible) and pull the small section of hair through the elastic so it stays in place. The only way you’ll have enough “give” to find the elastic is if you don’t wrap the hair super tight at first. Once the hair is threaded through the elastic, you can pull downwards to tighten the hair wrapped around the pony.
The goal is to completely cover up the elastic and to not see the end of the hair section that’s wrapped around the elastic (it should be hidden under the pony).
Step 3
Tease the ponytail. This ponytail is going to be your first “bubble” and you want it to have plenty of volume!
Step 4
Repeat Steps 1-3 until you get to the end of your hair!
Pro tip: Because there’s not much of a “bubble” yet, you’ll have to tug a little at this section. Remember, you teased this part of your hair for volume, so it’ll be easy to create a fuller effect!
Step 5
Tug at all of the bubbles to loosen them up a bit and to give them a little personality. You want all of the bubbles to be about the same size (vertically & horizontally), and you want the overall look to be messy. If the hairstyle looks a little too polished for your taste, continue tugging and teasing until you like the overall look! And I always hairspray everything down to keep all of my hard work in place.