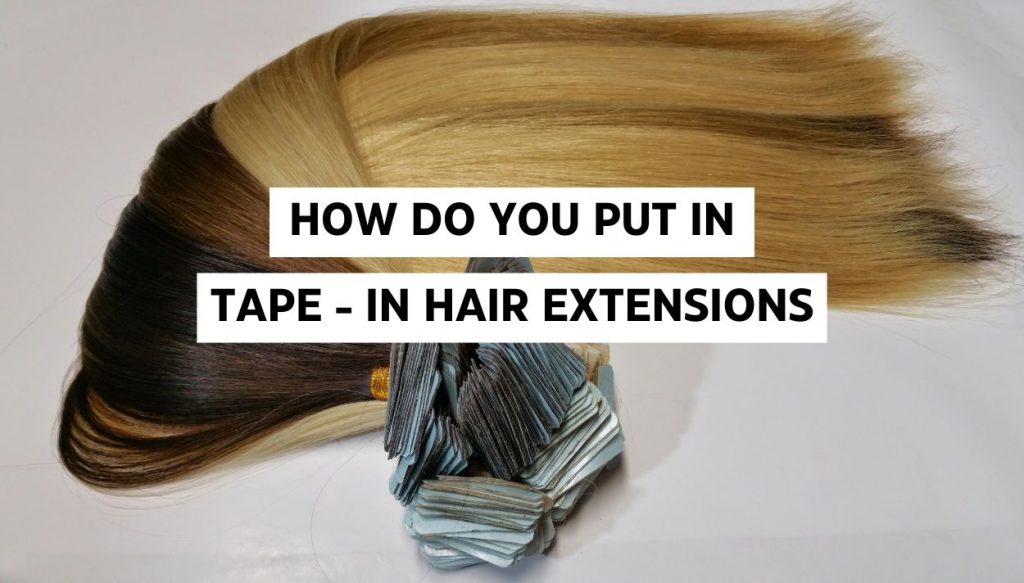
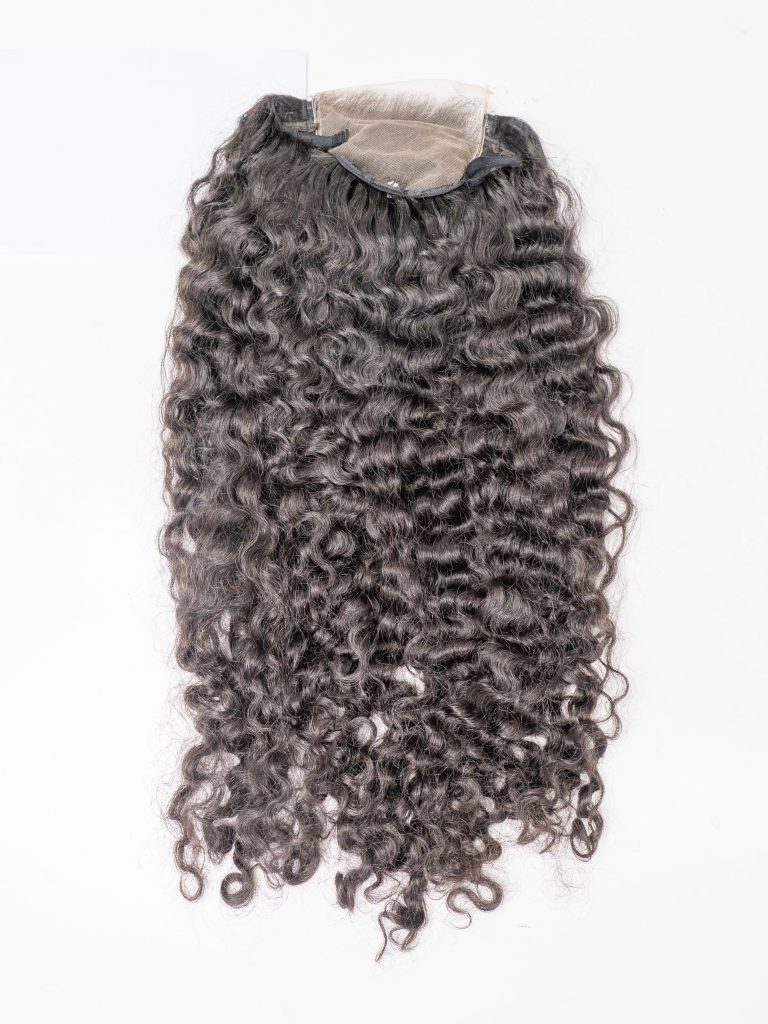
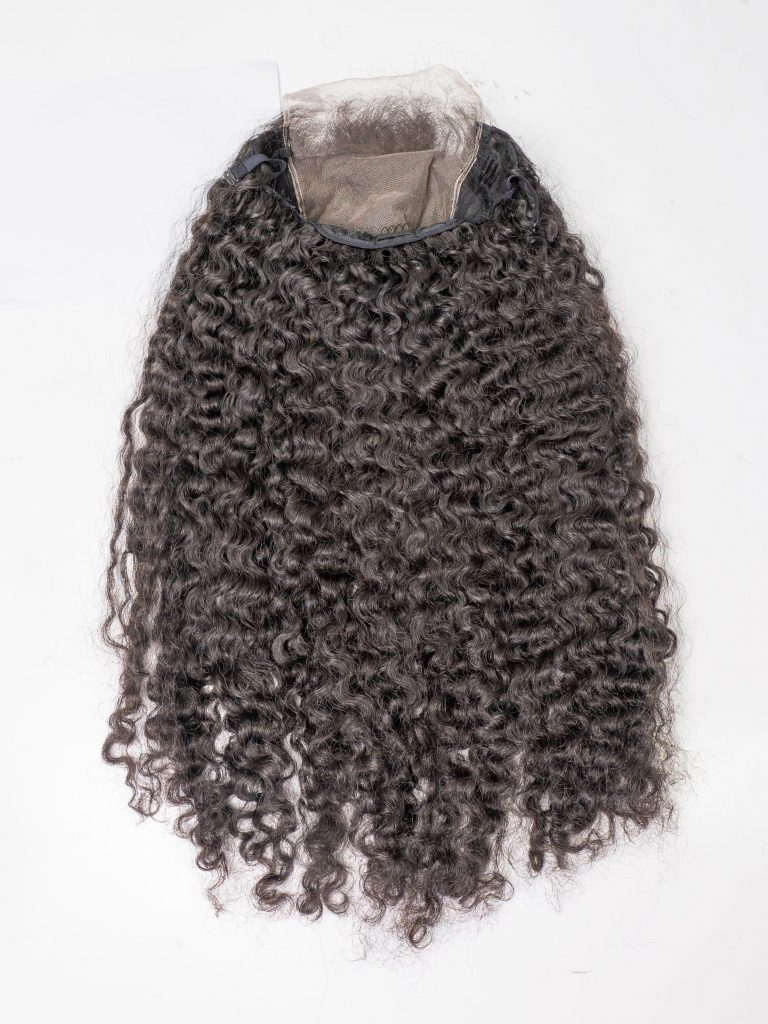
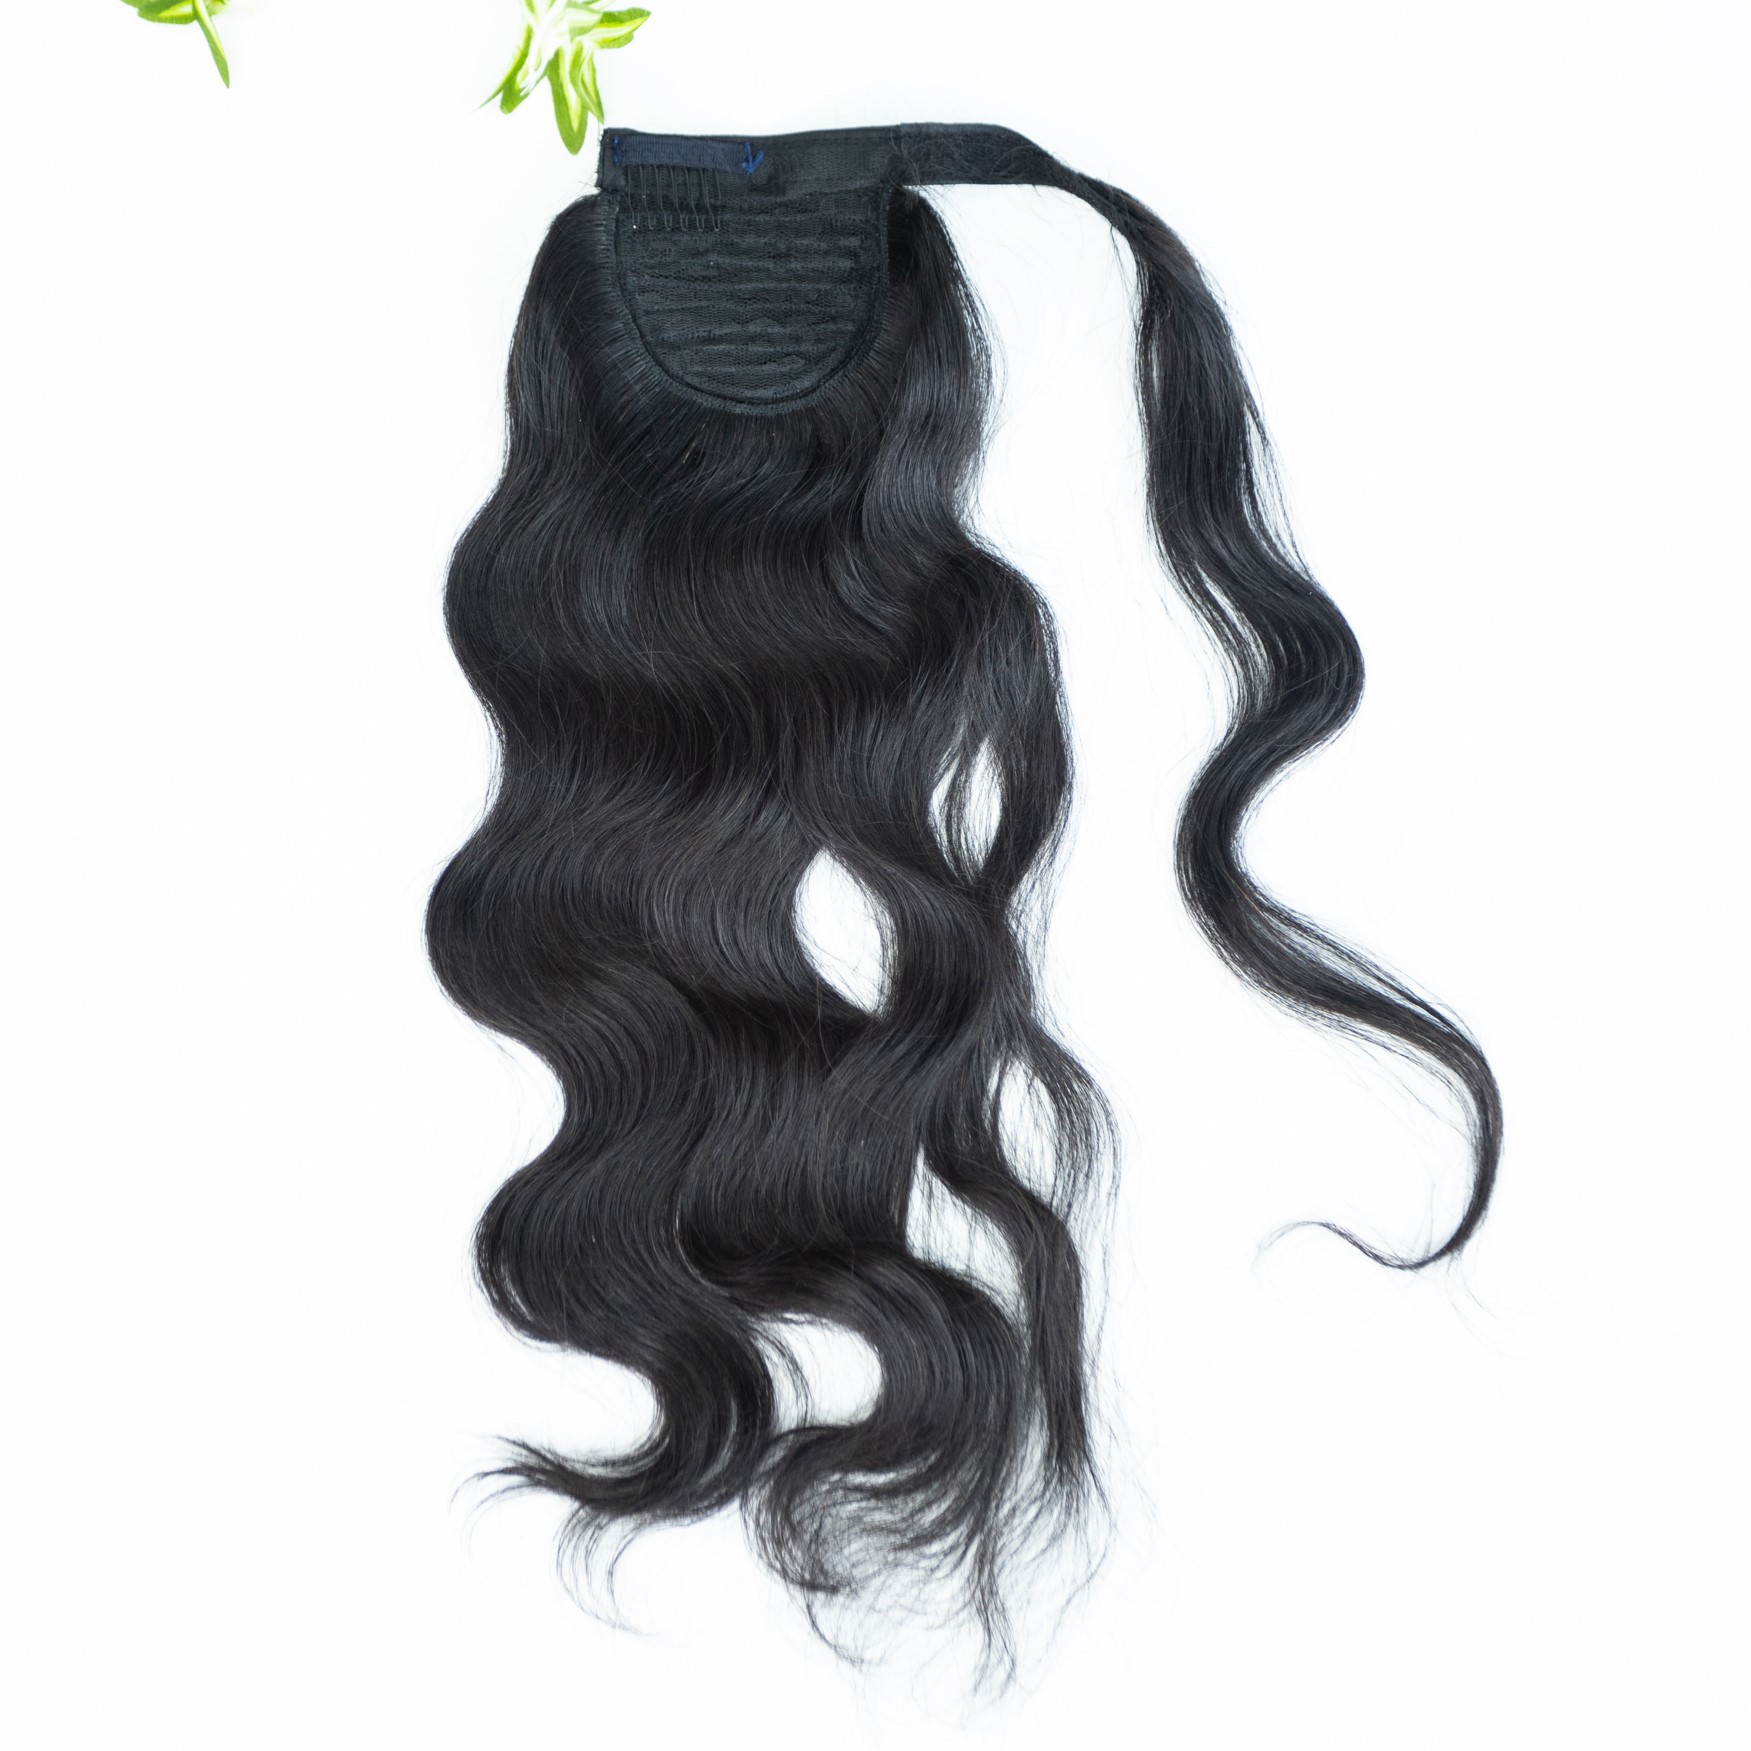
Tape hair extensions are an incredibly popular method of hair extensions due to how flat they sit against the head and how quickly they can be installed. Tape hair extensions should only be applied by trained professionals, however, if you are a qualified technician looking to brush up on your tape hair extension application method, here is a quick rundown on best practices for applying tape hair extensions.
Must Be Clean Hair Before Apply Tape Hair Extensions
To ensure optimal adhesion and longevity, tape hair extensions should be applied to clean, dry hair. Before beginning the application process, verify that your client has washed their hair with a clarifying shampoo free of conditioner. This will prevent product buildup and silicones from interfering with the adhesive.
When attaching each tape piece, create a clean section devoid of stray hairs. Flyaways caught in the tape can lead to traction alopecia, so use a hair gripper to secure any loose strands away from the area.
Tools you will need
A brush, A comb, Some clips to hold hair back whenever you’re not working with that particular section of hair and regular old hair ties. So this is all you need to get started outside of the hair itself.
Step To Tape-In Hair Extensions
Step 1: Prep Your Hair
First, give your hair a good wash with shampoo, but skip the conditioner. Conditioner can interfere with the adhesive on the tape-in extensions. Once your hair is clean and dry, give it a quick brush to get rid of any tangles.
Step 2: Section Your Hair
Next, we’ll section off the top part of your hair. This section will be left out to cover the tape lines and create a more natural look. Start above your temple and pull the hair straight back, securing it with a clip.
Step 3: Create a Clean Part
Pull the sectioned hair straight up into a little bun to keep it out of the way. Make sure the part you create at the back of your head is fairly straight, but it doesn’t have to be perfect.
Step 4: Apply the Tape-In Extensions
Take a tape-in extension that’s about an inch and a half wide and place it along the sectioned line. The color should be a close match to your natural hair, but a perfect match isn’t necessary. A little variation can actually look more natural.
The adhesive on the tape-in extension is very sticky, so try to avoid touching it with your fingers as much as possible.